Step by step process of how to add a new user and team member to your AgentFire website, with the Team Link Addon, along with how Team Link works from your team website. This tool allows all visitors to be assigned to the designated team member.
DISCLAIMER: If you are running Google Ads, please ensure to only use one ad account for your website to avoid getting blacklisted. This means if any agent using Team Link would like to run their own Google Ad Campaigns, you set those assets up inside the primary Google Ads account used for your website. We always suggest consulting with a PPC expert before launching any campaign.
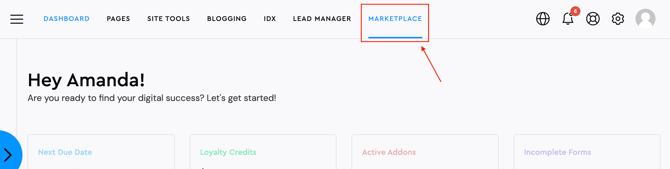
- Log into your AgentFire account, and head over to the marketplace
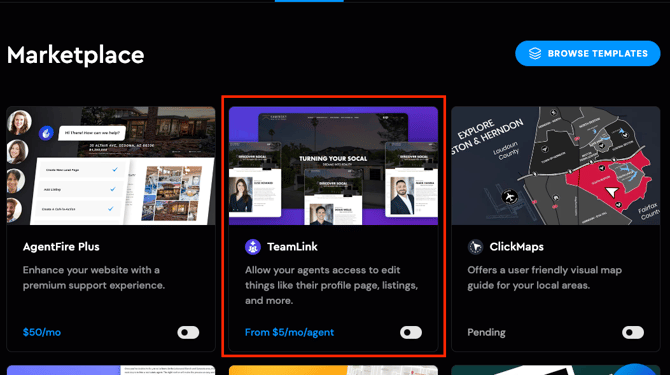
- Once you are in the marketplace, scroll down to the Team Link Add-on
- This Addon varies in price based on how many agents you are enrolling.
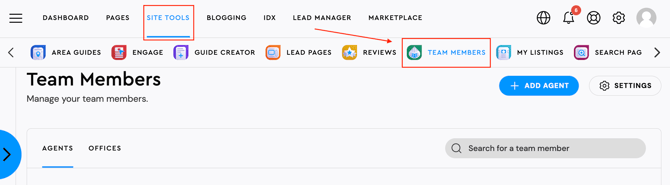
- Once you have turned on this feature, go to your AgentFire dashboard and over to site tools
- Once in Site Tools, click on team members
- "Add new team member"
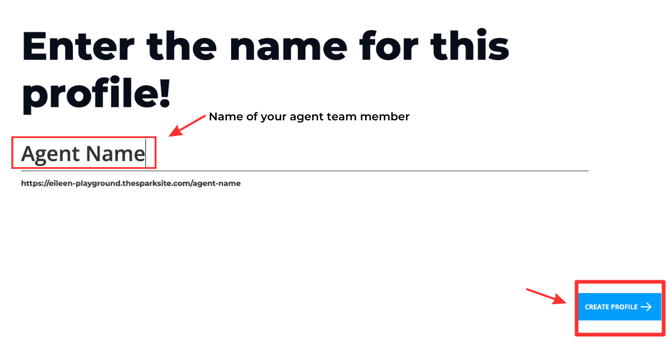
- After clicking "Add New Team Member", create a profile for your agent and name the page your new agent's first and last name.
- This will create a sub page on your website
- For Example "www.areallygreatrealestateteam.com/agentname"
- Click "Add Agent"
- Once you have created a profile for your new agent, please notify the success team that you would like to add a Team Link user so we can make sure your billing account is updated. You can email our Success team at success@agentfire.com. We can create the Team Link User account once a Team Member Profile is created or you will have access to your Dashboard.
- You can go to your dashboard, scroll down to Site Tools -> Team Link

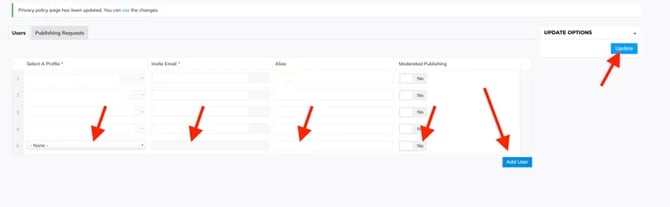
- To add a new user, click "Add New"
- A dropdown will appear with your team members, select the team member
- Their email address will appear
- Add an alias (this will be used for their Team Link)
- Once you have filled this out, be sure to click the blue "Update" button to save changes
- Team members Team Link User dashboard will not have all the same features as the main AgentFire account, but they will have access to update their outward-facing profile, My Listings Pages, reviews, and blog posts.
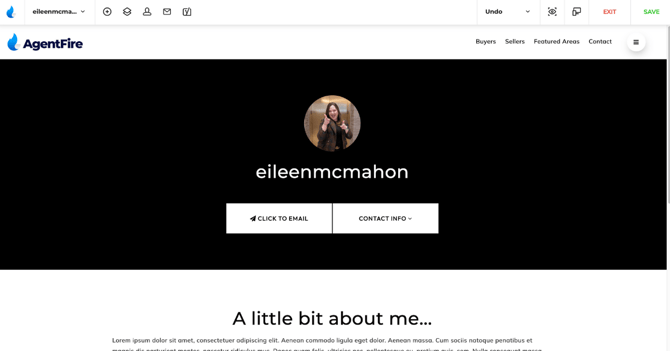
- Users can edit this outward-facing page by clicking "Profile Page" at the top of the dashboard

- This will then redirect the team member to the editor of their profile to update their bio, add any additional blocks like featured listings & areas, blog posts, reviews, and Social Media posts.
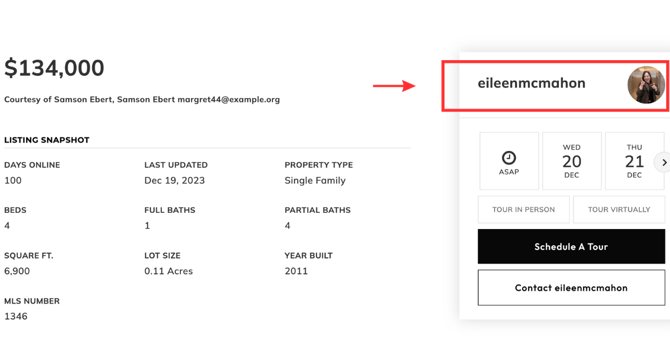
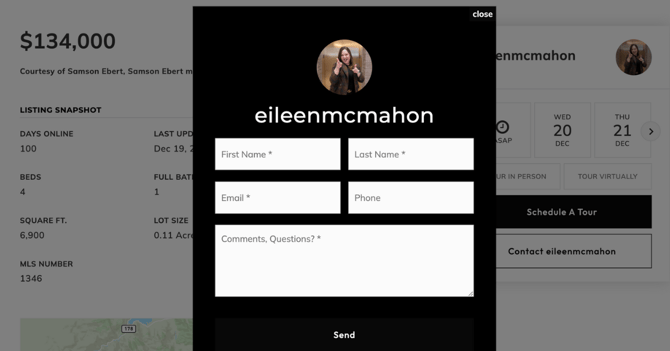
- Now that the team member profile and user account is set up, anyone who searches for properties from their profile, will now have the attribution of the assigned team member
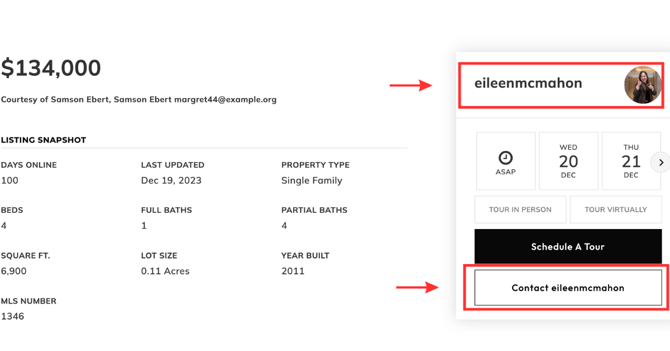
- Visitors who click on the "Contact" button will now receive the lead in their account and will be submitted into the CRM synced with the website.
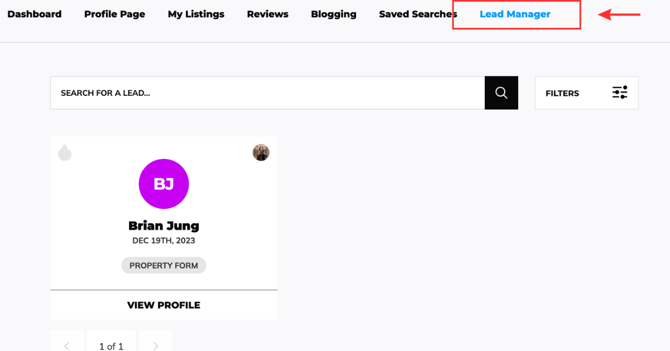
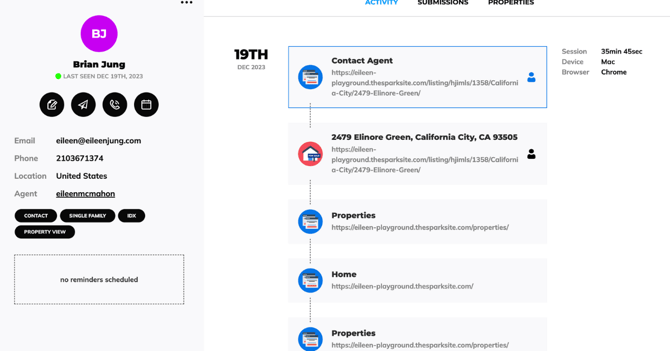
You will also be able to view the new lead in your AgentFire lead manager
- Next you will also be able to go to the Lead Manager and get your slug URL which can be added to any link on the team website. If you have had a Team Link User account for a while you may see your slug starts with ?a= which will still work. If you are a newer User your slug will probably start with a #.
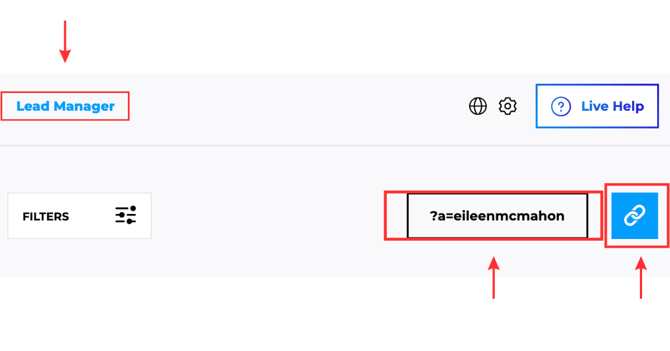
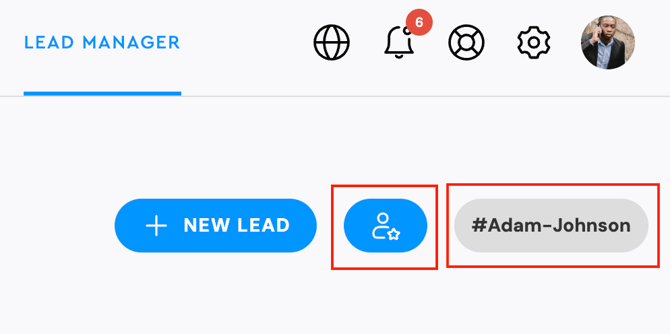
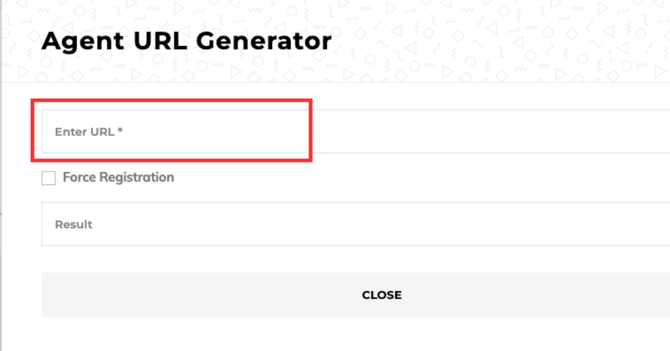
- By clicking the blue link button, you can create your own link (which is recommended for precise link creation) and adding your URL slug to the end.
- Team Link can also be used to create your own saved searches; you will go to the forward facing version of your website and search for properties
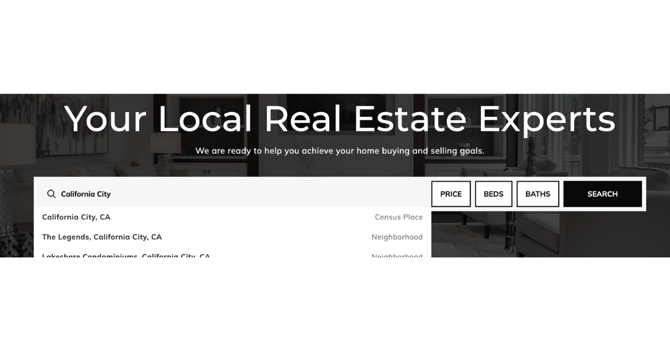
- Once you search an area, you will see a button that says "Save Search"
- You will then proceed to naming the saved search
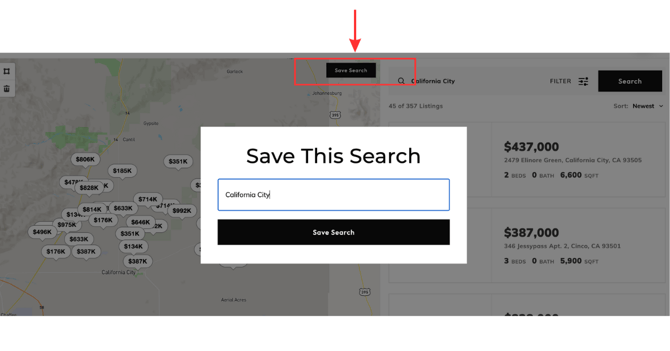
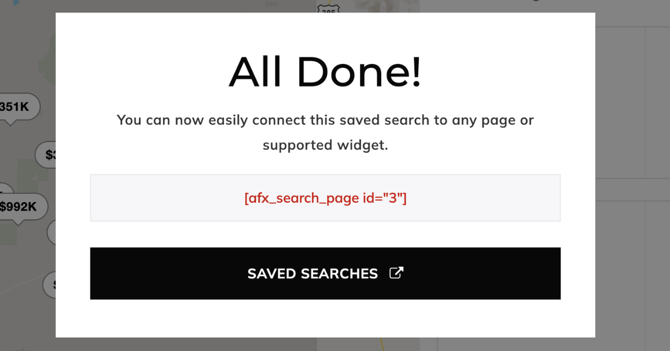
- Once you have done this, it will route back into your saved searches in your AgentFire account
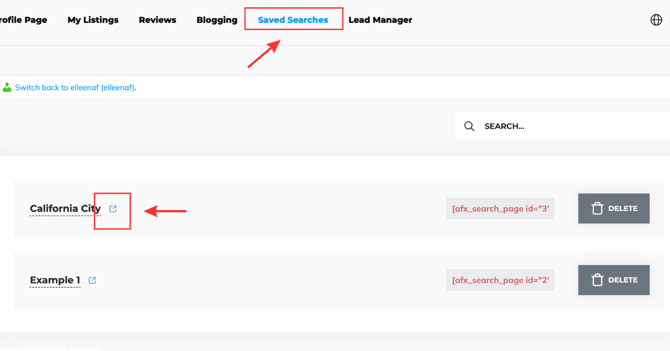
- Anytime someone views a property from your saved search, it will automatically have the team members attribution attached