01. Setting up Google Search Console
One of the first steps after your site has gone live is to set up a Google webmaster tools account for your new website.
We highly recommend following all steps outlined in the video series for connecting Google Search Console and Google Analytics to your account here:
Adding Your XML Sitemaps
A Google Search Console will allow you to monitor your site health, as well as some other useful stats (if anything is adversely affecting your site, you'll receive an email along with a 'message' in your Google Search Console).
A Google Search Console is also important in hooking up your XML Sitemap (More info here), which is basically something that makes it much easier for Google to index all of the great content (and IDX listings) on your AgentFire website. Once you've setup a Google Search Console, make sure to check out our 'Adding your XML Sitemap to Google Search Console' tutorial!
To set up a Google Search Console:
Go to https://search.google.com/search-console/welcome
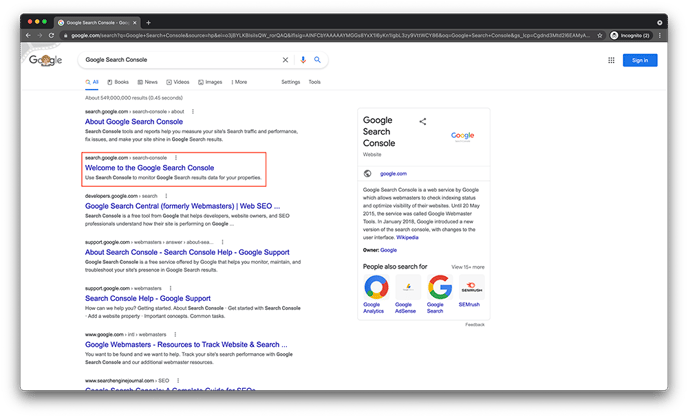
-
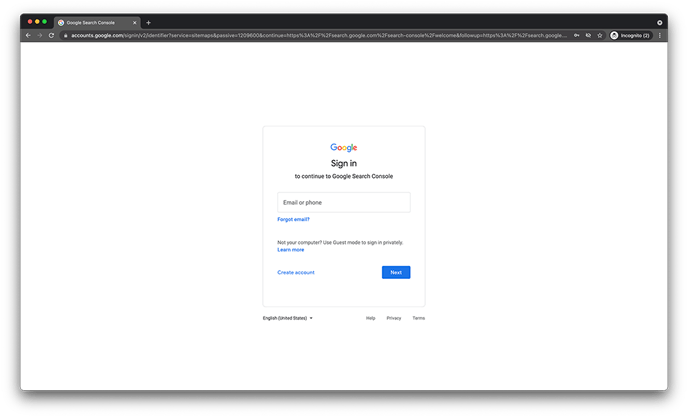
If you are not currently logged into your account, make sure to sign into the email you want associated with your Google Search Console
Once logged in, select Domain or URL Prefix property type, add the site URL
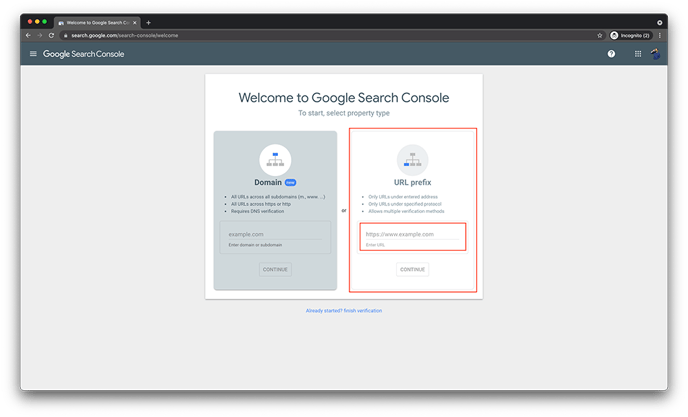
Type in your domain name into the URL prefix. A new window will open and we'll select the HTML tag dropdown and then copy the HTML tag. Select Copy on the meta tag.
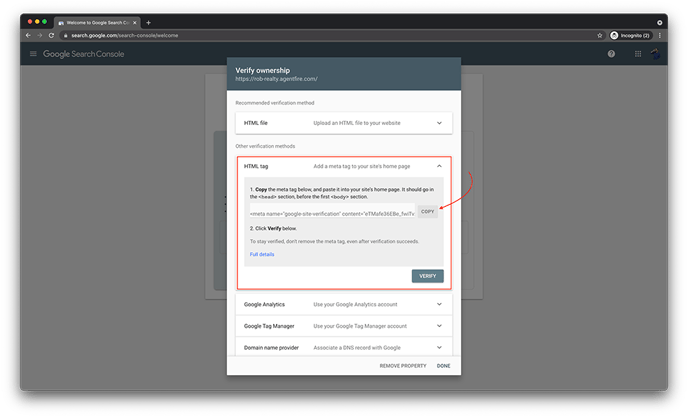
Open a new tab and log into your AgentFire Dashboard. Select the hamburger menu, open Site Settings, Open AgentFire Settings and then select the Header/Footer Scripts & Metas

Paste the HTML Tag into the Site Meta Tags area and select Update

Be sure to Save your Changes!
Head back to the browser tab or window where the verification is located and click the 'Verify' button at the bottom of the page
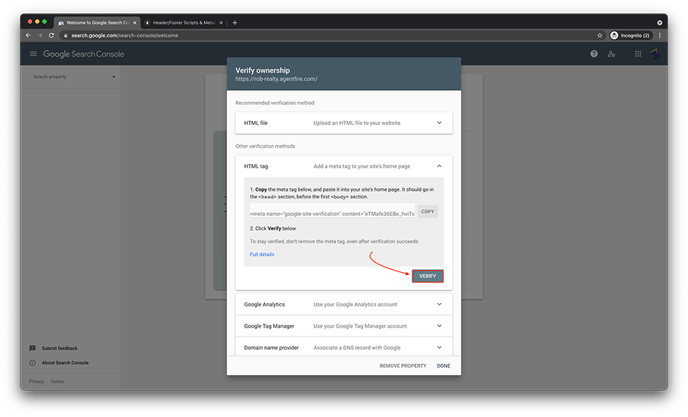
**Please Note The Verification process my take 24 hours. If the site fails to verify, try again the following day**
Once you have setup your Google Search Console, Move on to your Analytics:
