
How to create IDX pages using IDXPress.
IDX Pages are ideal when you are trying to target a specific type of property (i.e. condos, waterfront, golf homes etc.)
Creating the IDX Page

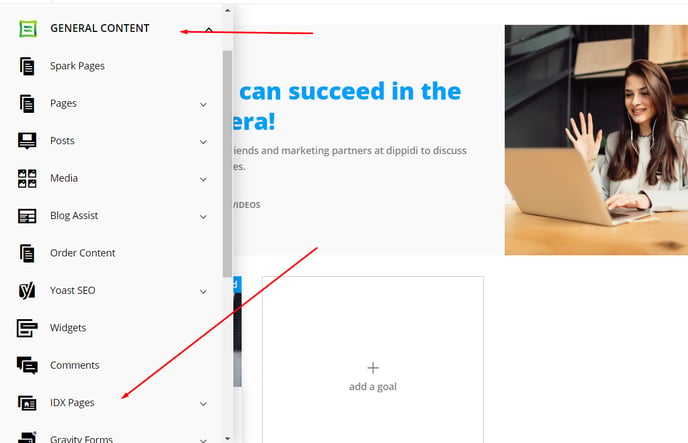
In your admin dashboard, head over to General Content > IDX Pages > All Pages or Add New.
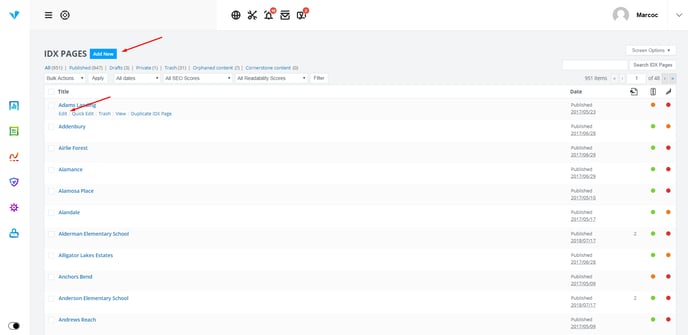
If you click on the All Pages you will see a list of previously created IDX Pages. Hover your mouse over one IDX Page to start editing, or create a new one.
Whether you are editing or creating a new one, the next page will be the back end setup of the IDX Page. Let's hop into the settings!
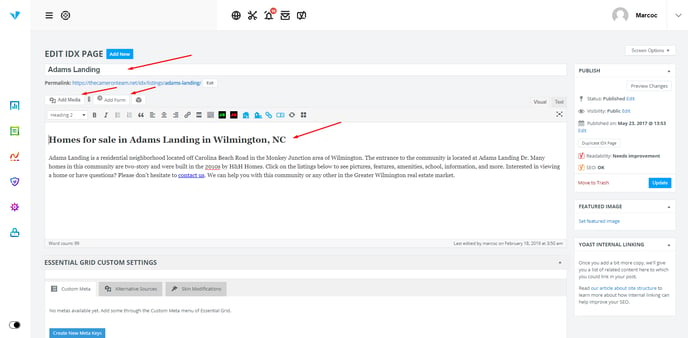
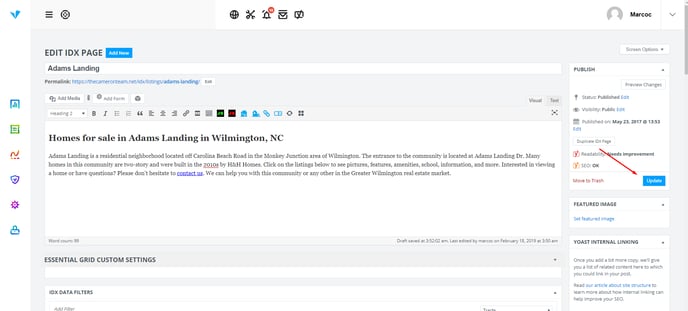
Title and Description
This section is the same as the standard visual/text editor you use for blog posts and pages. Give your IDX Page a title, a short description, and even add images or forms.
IDX Data Filters
Here you will need to set up the criteria (filters) for your IDX Page. On the right side of the panel you will notice a "Choose a criteria" dropdown. Collapse it to see the available criteria.
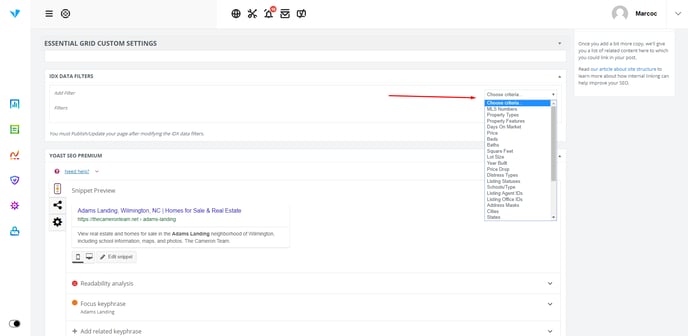
Typical filters include: price, bedrooms, bathrooms, property type, property features, communities, tracts, Agent/Office ID's, MLS number filter, etc.
So let's take an easy example Adams Landing as an example and we will filter the results by Tract.
To do this, select Tract from the dropdown, and then start typing the area name in the small field "Search Tracts". (In this case, Adams Landing)
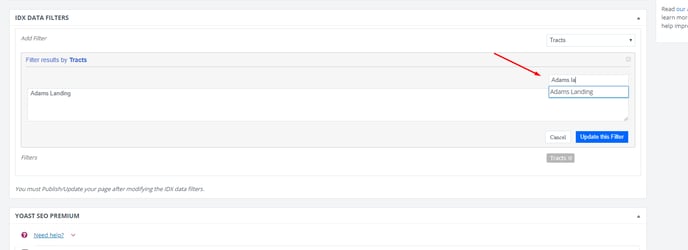
As you start typing, search suggestions will appear, by clicking on one (Adams Landing) it will automatically add it to the filters.
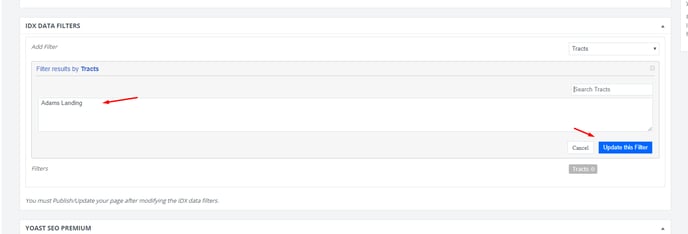
As you see the are name on the left side added, you can click on Update This Filter.
NOTE: You can add multiple filters, and multiple entries to a certain filter.
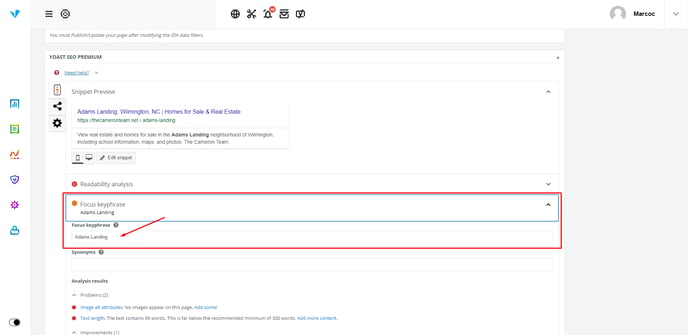
Yoast SEO
As in every page, post, Neighborhood Guide, or IDX page, we recommend adding a focus keyword in the Yoast section.
After you are done with this, scroll back to the top and Update/Publish the page.
Preview of the IDX Page
 Did this answer your question?😞😐😃