Each team member entry should look professional whether someone discovers your profile via search engine or through social media.
The page settings area focuses on SEO and social sharing qualities of your team member entry. Configuring titles, descriptions and images for platforms like search engines, social media platforms can ensure that no matter how your content is consumed or viewed, it's going to look fantastic.
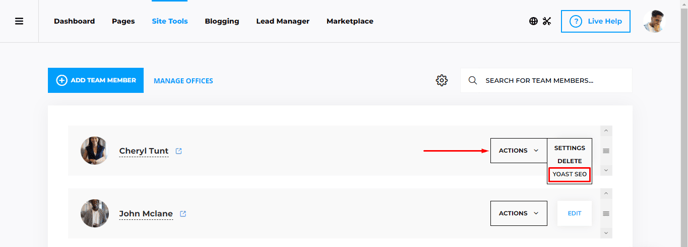
Open your settings panel by navigating to a team member and pressing the Actions > Yoast SEO buttons.
If you haven't already, we recommend reviewing and configuring your agent photo, and your team member attributes here if you haven't already.
Once you have reviewed your attributes and set a photo, it's time to configure your SEO, Sharing and Meta Settings.
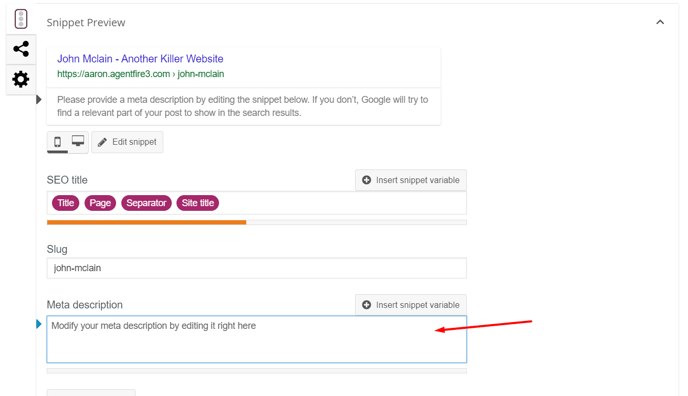
The first item in your page settings area is the meta description option. This is how you control what your team member entry will appear like in a search engine result. If you need assistance with understanding a meta description and title, we'd recommend reviewing this excellent overview of the topic from Yoast SEO.
It's important to craft a page title and description that include the best features and description of this property.
Enter your meta description.
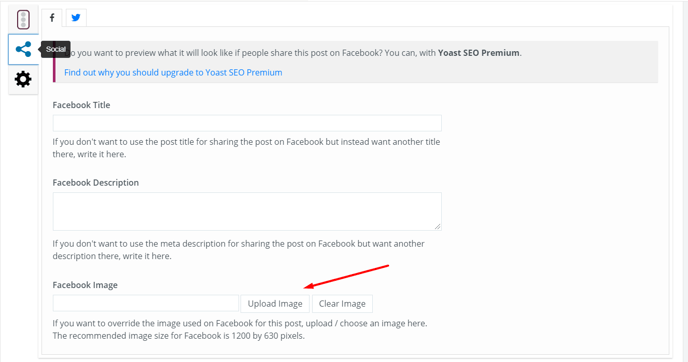
With your description configured, it's time to review how your team member profile will appear in Facebook if the link is shared to that platform. In the page settings is an area for you to configure a title and description for your Facebook share.
We recommend utilizing the Facebook Sharing Debugger to review and optimize the appearance of your shared listing page.
Create a Title and Description for your Facebook sharing.
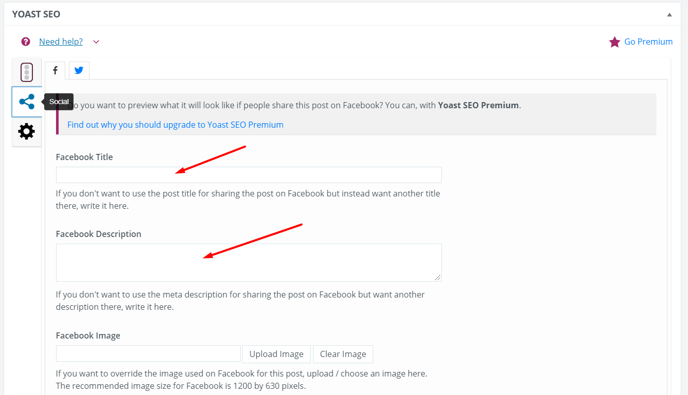
You will also want to include an image to display in the preview snippet created by Facebook. Facebook requires that your image be at least 1200px wide and web optimized in order for it to be displayed.
Click to add your Facebook Snippet Image.
You may use a profile photo here, but keep in mind you should not use the same image you optimized for use with the entry. This image needs to be at least 1200px wide, and we recommend adhering to a default aspect ratio of 16:9.
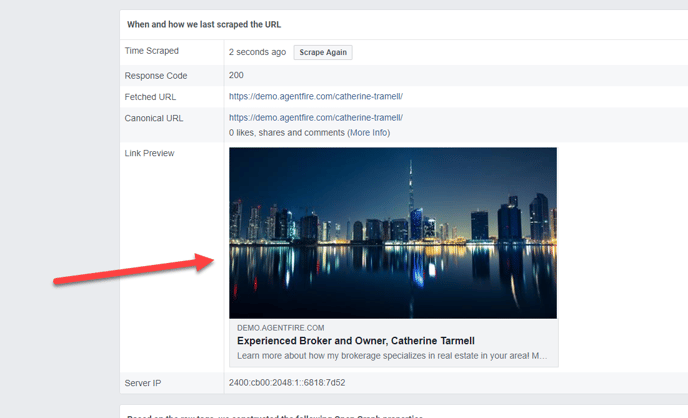
If you need to make changes to the Title, Description, or Image you may save those changes, and then request that Facebook "Rescrape" the page. This will clear their platform of the currently cached/stored snippet, and will re-create a new one.
Click Rescrape in the Facebook debugger as needed.
The snippet displayed here is saved and stored. Facebook will display this same snippet for any and all users sharing the link to the Facebook platform!

Your finished Facebook sharing view should look and feel inviting, exciting and complete.
Once you are happy with your Facebook snippet, it's time to do the same for your Twitter sharing appearance.
Add your Twitter title and description
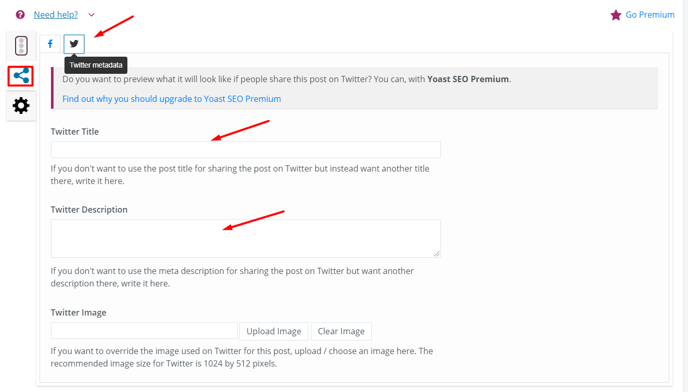
The description and title as well as image are also available for debugging as needed through Twitters Card Debugger.
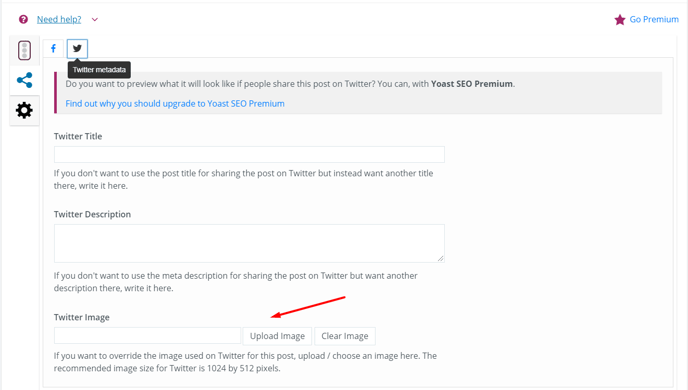
You will also want to include an image to display in the preview snippet created by Twitter. Twitter requires that your image be at least 1200px wide and web optimized in order for it to be displayed.
Attach your featured image to use with Twitter sharing.
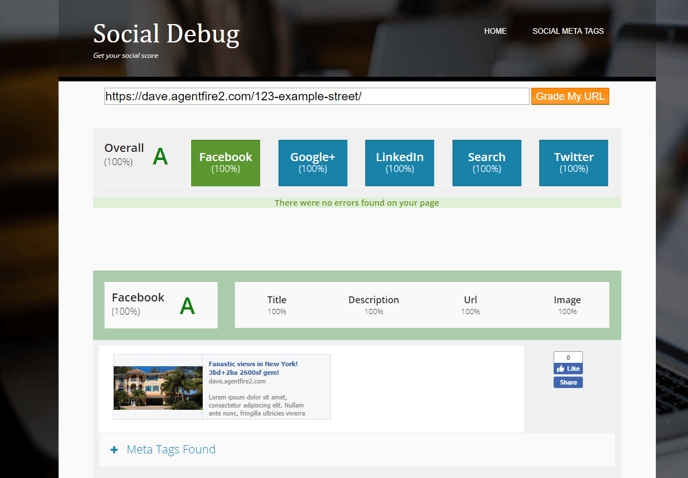
Once you have completed the social sharing descriptions, you may elect to view the results in a social debugger, and we recommend using Social Debugger for this. This handy site will provide you with a combined view of all major social networks and display how they appear, as well as an overall grade on completeness.