
Important Note: If you want to use this block, please note that this is entirely designed to work only with our Home Values™ (Express Setup recommended)
As you purchased the addon from the Marketplace, and the plugin is activated you will be able to add it to your Spark Pages as a block with a few customization options. Here is how you can access and customize:

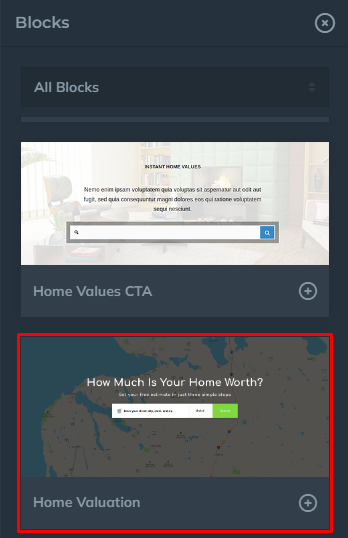
Open a new page or start editing an existing one in the Spark Editor, and to get started, click Add Block, and select Home Valuation.
Once you added the block, collapse the Home Valuation Settings tab to see what you can customize:
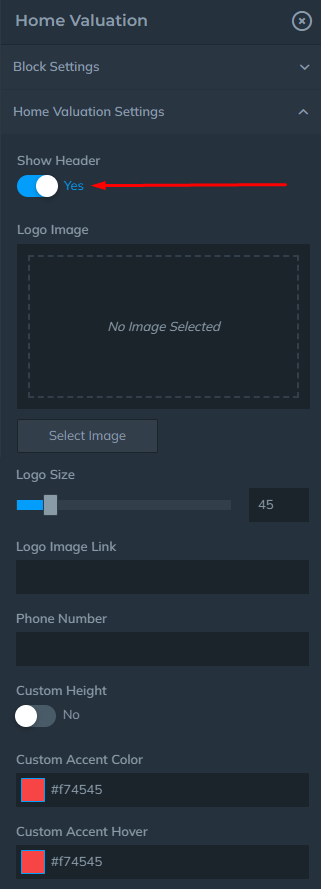
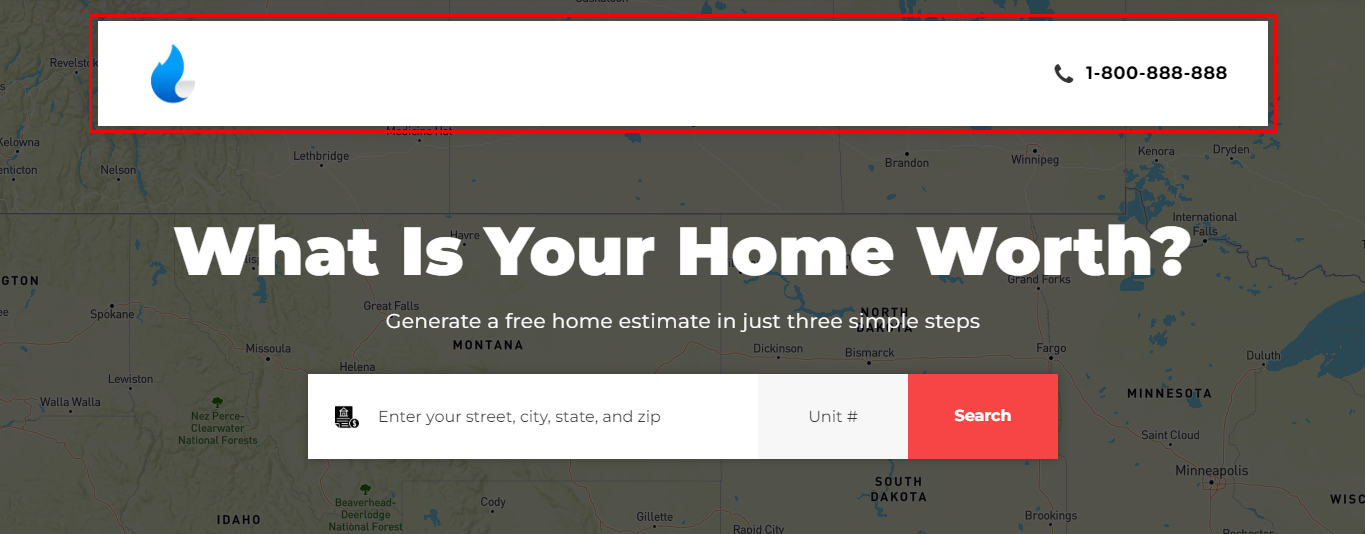
Show Header - Display the banner on the top of the page, with the logo and contact information.
Logo Image - Select an image from the media library, or upload to set the logo.
Logo Size - You can adjust your logo size with a small bar that is provided from 25-150
Logo Image Link - Add a logo via link
Phone Number - Enter your phone number
Active Color - Choose a color from the palette that will match the interface. The active color of the search button is what you will see in the preview.
Within the Home Valuation Content tab, the following options will vary depending on the "step" you will select from the dropdown.
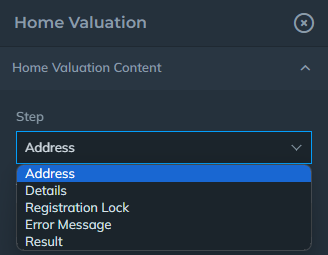
We will break down the options for each step:
Address
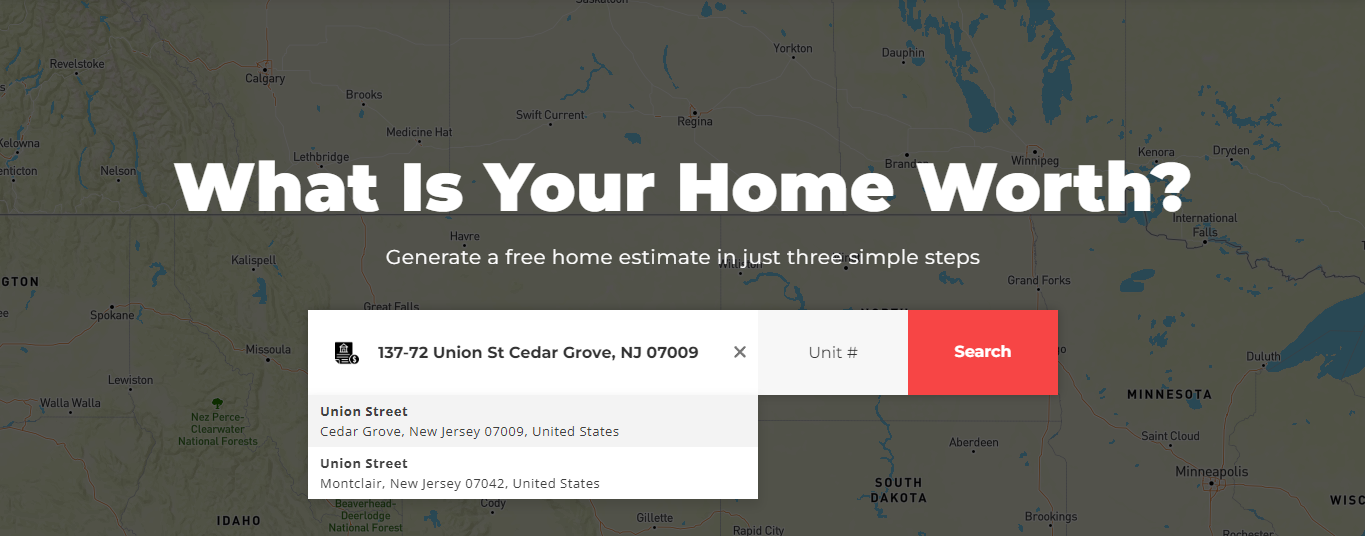
The first step is where leads enter the property address.
Preview of the Address Step:
These are the options that are available for customization:

Show a Custom Background - If selected Yes, you will be able to place an image from the media library. If No is selected, the background will be the map of an address.
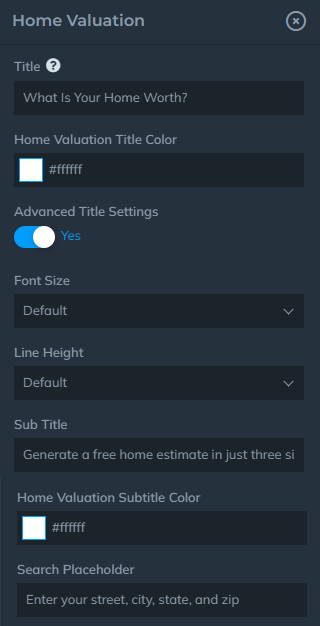
Title, Title Color, Font Size, Line Height, Search Placeholder - Insert the title and subtitle, edit the color, size, and line height. You can adjust the placeholder text for search bar as well.
Details
In the Details step, you will have customization options for the map.
Overlay Color - Choose an overlay color from the palette. The bottom bar is controlling it's density.

Map Style - Set the map style by choosing the following options (you will be able to see the change on the right side in the preview mode)

Initial Map Center - The map will be centered to the address of your choice.
Initial Map Zoom - Determine the initial zoom of the map through the bar provided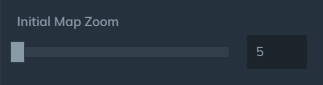
Preview of the Details Step:

Registration Lock
Registration Lock lets you capture leads by giving them 3 options, Facebook, Google, or Email registration.
Preview of the Registration Lock Step:

Registration Lock can be set to:
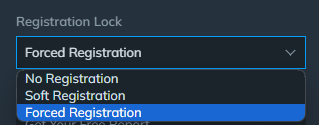
No Registration - No Registration will be required. (This will automatically remove this step)
Soft Registration - Users are prompted with the registration options, but they can dismiss it with the X button that appears in the upper right corner of the window.
Forced Registration - Users are forced to register from one of the given options to see the report.
Error Message
The Error Message provides you a way to capture leads and provide personal home valuation, if there is no automated data for the home that is being searched.
Preview of the Error Message Step:

You can adjust the Title, Text, and Button Title, which of course is shown in the preview.
Result
Preview of the Result Step: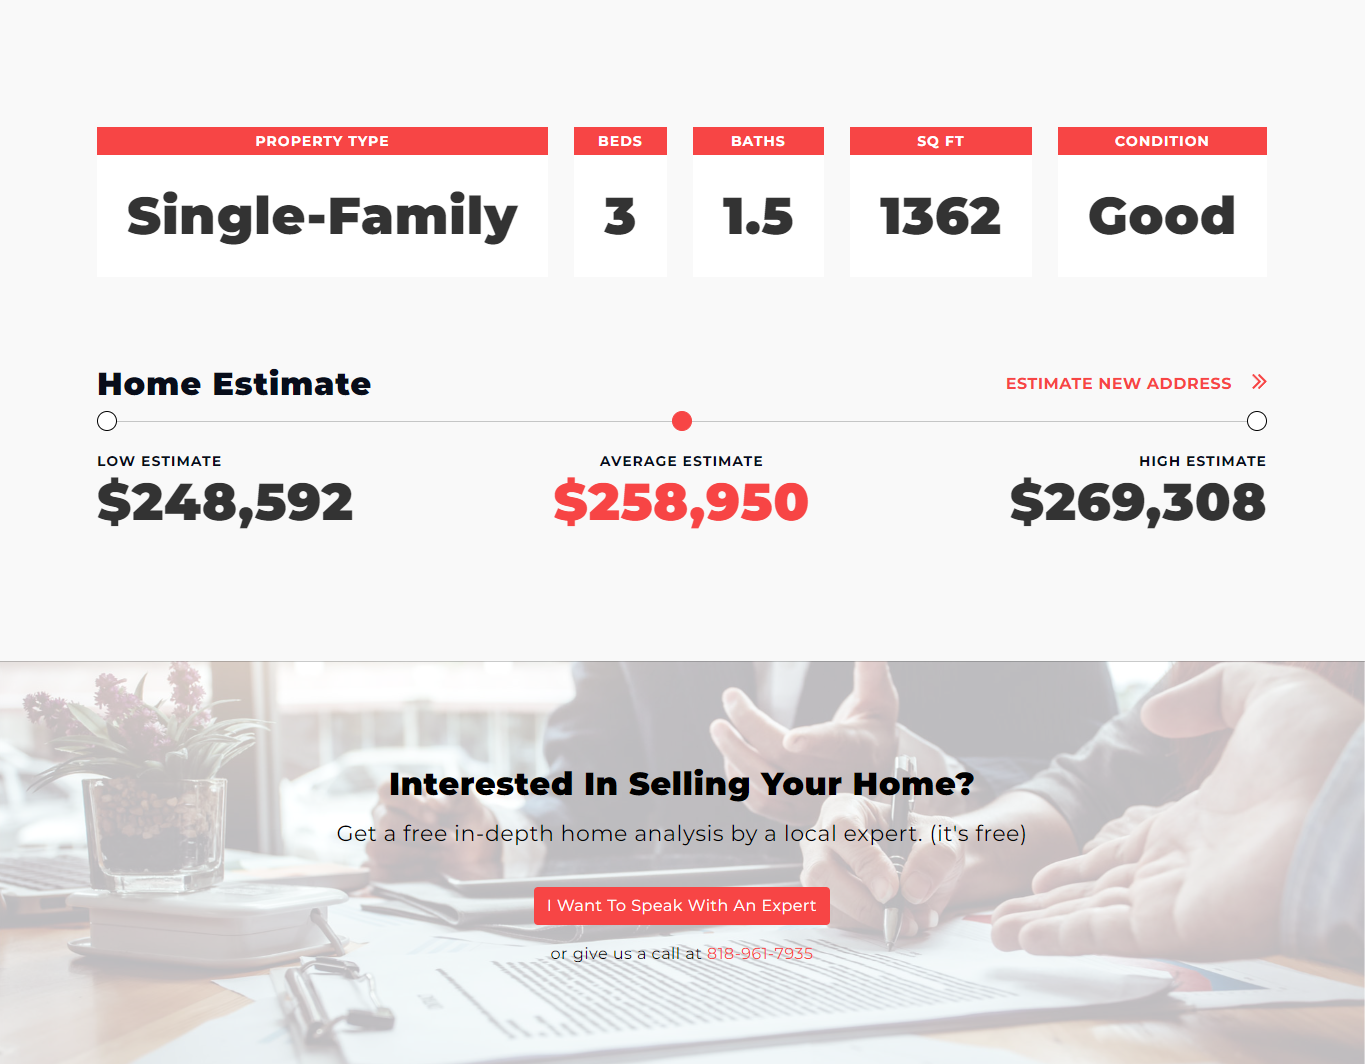
Options you can customize:
Search More Listings Link and Text - Determine the URL and the text for the Search More listings section in the report.
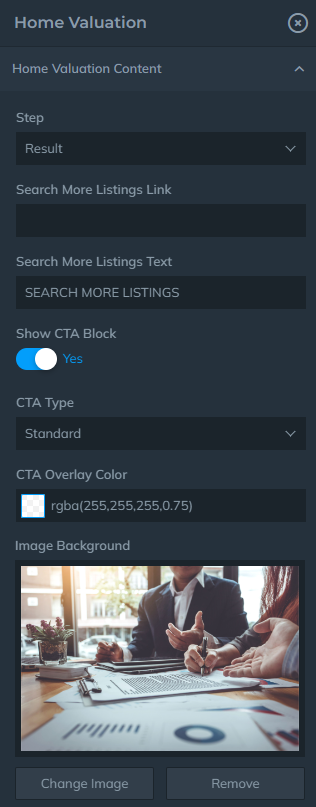
Show CTA Block - Add a customizable CTA section below the report.
Note: the following customization options are available only if you enable the CTA block, or rather select "Yes".
CTA Type - Can be Standard (Image) or Video
Overlay Color - Set the overlay for the image or video
Image Background - Choose a background for the CTA. If the CTA is set to video it will still require a static background which will be the starting point of the video. It is recommended to have a screenshot of your video start.
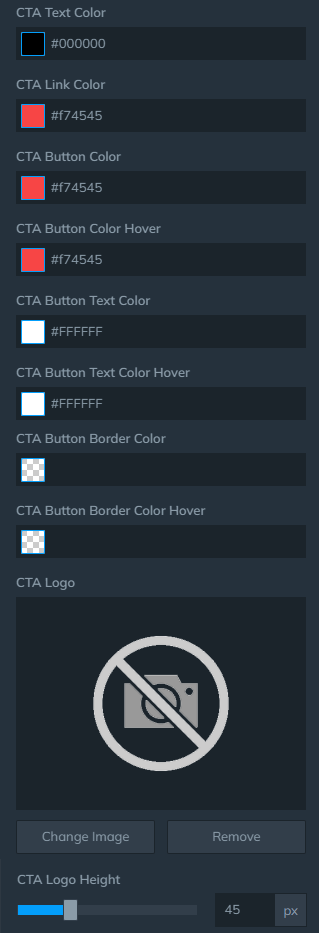
Customize all the colors for this section from the options above. You can also add your own logo onto the CTA, which can be resized to your desired height with CTA Logo Height slider.
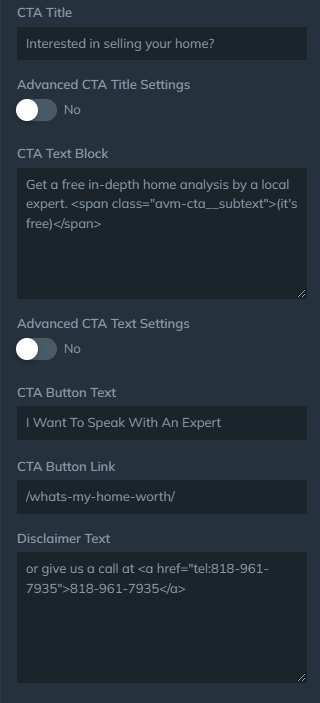
Set the CTA Title, fill the Text Block with desired content, button text, and place a link to the page you want your leads to go towards.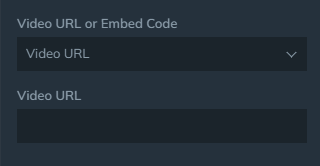
If the CTA type is set to Video, then you will have an option to add the video via URL or Embed code.
Preview of the CTA Block:
