Guide Creator: Buyers and Sellers Guides- Adding and customizing its Contents
Learn how to add content to your guides using the Guide Creator Plugin. In this segment we will show you how to add content to your guides. Let's hop into it!
On your dashboard, head over to the Site Tools - Guide Creator:

Then click on the Edit Guide button for the guide you wish to add content to.
Once you entered the Guide Editor, you will notice there are 3 tabs on the left side. The first one is Add Block, then Layers View, and the last one is Settings.
Layers View

The first tab will be Layers View, where you can add your content via Blocks. If you choose a Blank Layout, this tab will be empty, and you can add new blocks by clicking on the Add New Block button in the bottom left corner of your screen.

As you click on the button, a window will pop up, with all the different block types. On the top left corner, you can sort out some block categories in case you want to find a specific type of content you want to add. Once you settle on your choice, click on the Add Block button to proceed.

For this tutorial, I added a General Block. The block can be deleted, duplicated, and renamed as you hover over the block title, and click on it.
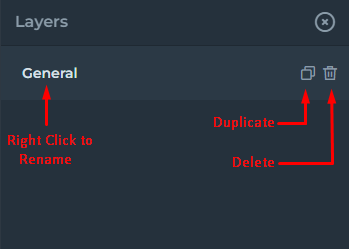
If you want to rename it, a new window will pop up, where you can type the new name in the field.

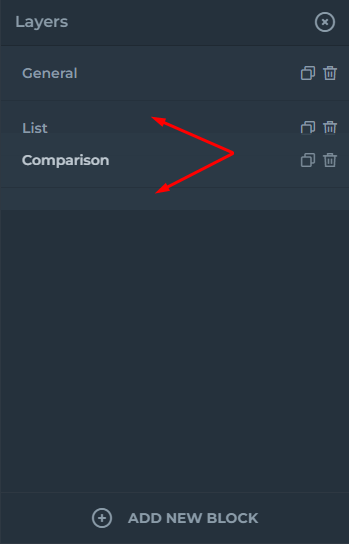
The block order can be moved up and down as well. If you have multiple blocks, you can simply drag them into the desired place.
Editing the Block Content

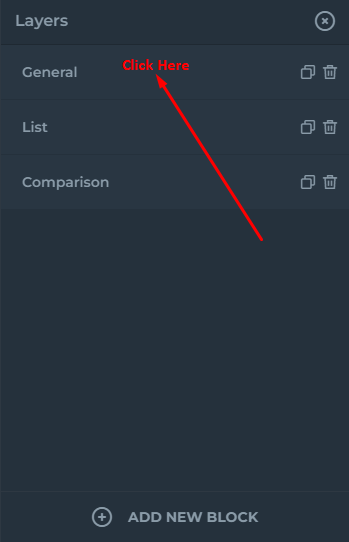
To adjust the settings, and add content within your Block, click on the middle of the block.
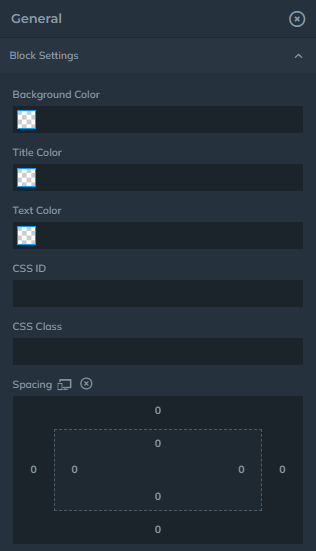
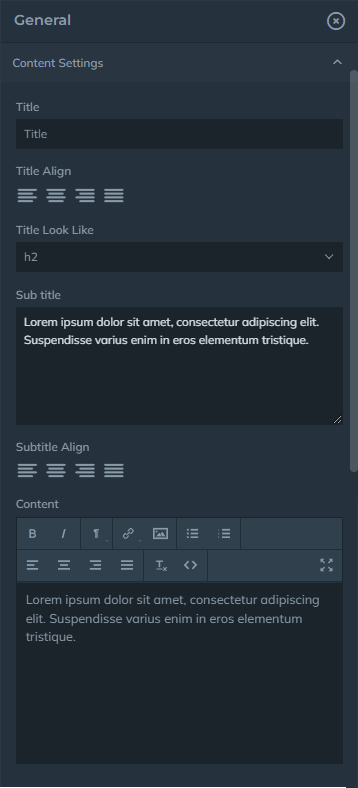
The screenshot below shows the options and customization settings for the given block, which is in this case the General Block I added previously.
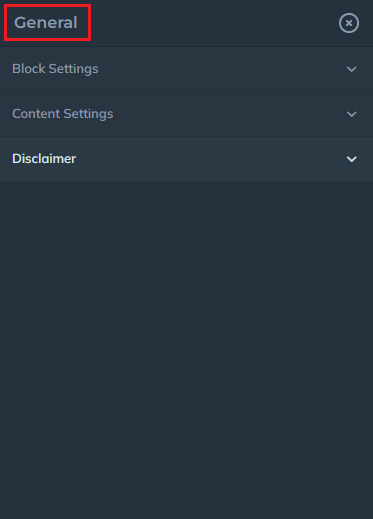
NOTE: Each block will have different settings, depending on the block type!
For example, in the General Block, under Block Settings, you can adjust things mainly focused on the appearance, colors, and spacing.
Under Content Settings, you can edit the title, subtitle, and text, and their alignment.
Under the Disclaimer Settings, you can edit the Background Color, Text Color and add necessary padding(spacing) to the text.

When you are finished with editing the block, you can return to the Layers View tab to look at the layout page, where you will see page layout made out of the blocks. From here you can add another block, or just save the changes you made, and exit the page.
Add Block
Every tool has its own unique templates to choose from, these are meant to perfectly fit your needs based on the tool you're using and what you're trying to accomplish. When you click on the add block button you can explore all the different templates available for your guides:

Guide creator also has the ability to use the spark creator which has the ability to further customize its contents and create unique beautiful contents in your guides. For more information on this tool, check this article.
Settings
On the settings in the Header tab you'll be able to assign the article to an agent or office, edit the title if needed, edit the excerpt and the read more text label:

Then on the Page Settings tab, you'll be able to hide/show the header and footer, customize the guide's width, lock the guide (Note: It won't show on AF editor, only on live):

Once finished, don't forget to Save your changes: 
If you have any further questions on this topic, you're welcome to reach out to support at support@agentfire.com

