
Each ConvertPage contains a variety of editable options and design options, making them flexible and beautiful no matter your goal.
ConvertPages operate very similarly to Engage Calls to Action, by making available a number of available settings and toggles to personalize and enhance any available ConvertPage layout.
If you are new to AF plugins, we recommend getting started with our introduction to the AF editor.
General Editing Advice for ConvertPages:
Open your selected template by clicking the Edit button, the AF editor will load and display the page template on the right, and your AF editing panel with Design and Lead Form tabs on the left.
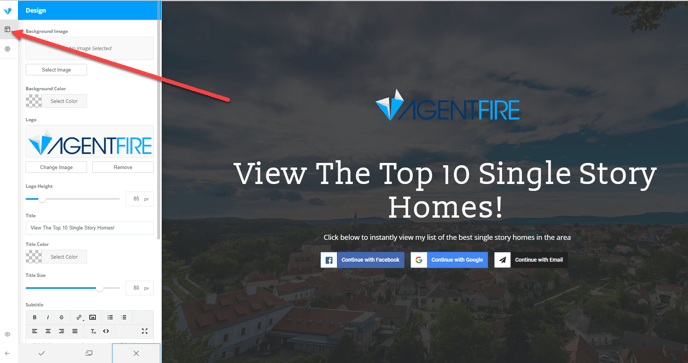
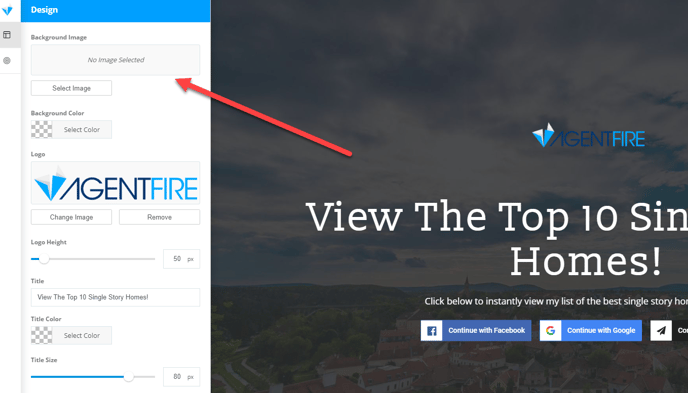
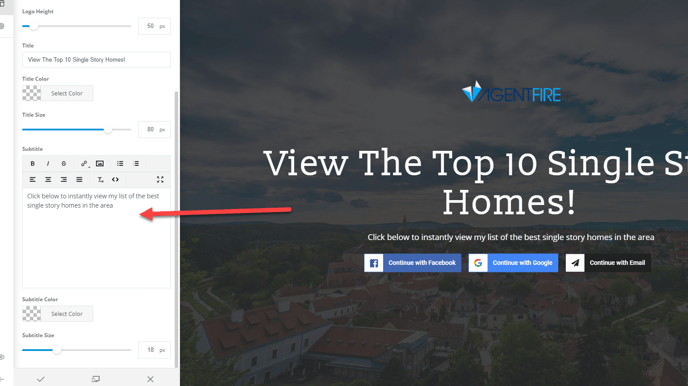
Available Options in your ConvertPages Design Tab:
As you scroll through the left panel, note that you can typically change the image background or use a color. You may also choose to use your normal brokerage logo or utilize a different logo for your ad.
You'll also find areas where the titles, text, and descriptive paragraphs are also editable, making your unique splash page simple and easy to customize for your project.
Selecting a Lead Form and configuring notifications:
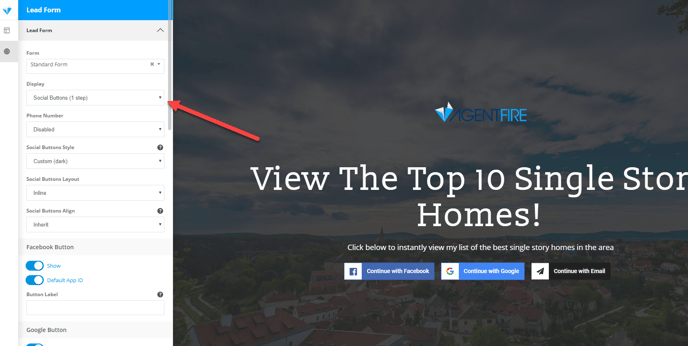
Once you are satisfied with your overall layout, you will want to configure the Lead Form Settings for this page. Tab to the Lead Form option in the editor and Open the Lead form Category.

You may choose to use a standard form (this is the default and is typically the form to choose) although there are rare exceptions to this recommendation.
Select a Standard Form with a 1 step social display.
Typically, a One step Social form is going to provide great results. Selecting this option displays only social buttons with email fallback, asking only for name and email address.
Note: you may use the 2 step form if you would like to use social buttons but also ask for a phone number.
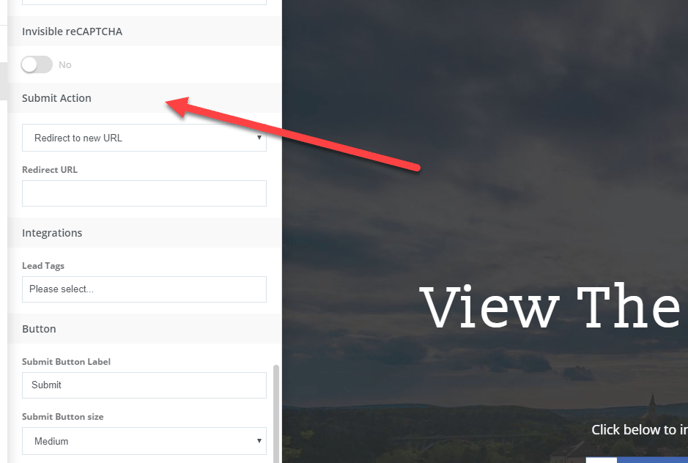
In most cases, the main settings for this template have already been configured for you. However - whenever you are using a Lead Form as part of a Lead Page offering, you will typically want to select "Redirect To a New URL" as the Submit Action for the form. This will allow you to redirect visitors who complete the form to be sent to the page where your conversion offering exists.
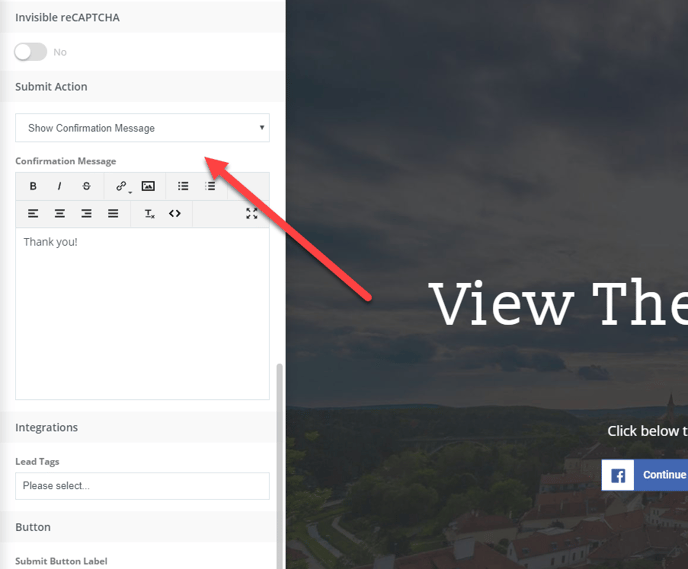
In some cases, depending on the nature of your offering - you may need to instead utilize a confirmation message.
A confirmation message appears directly on the page in place of the form location when a user submits the form.
If you want the user to receive information in an email notification, you will want to first create a custom Lead Form user notification to attach as a notification option.
To add a user notification, visit Editing Custom Notifications in the following tutorial:
Editing your user notifications.