Lead Manager: CRM Integration for your site with LionDesk
Instantly route your site leads to your preferred CRM! Liondesk offer easy-to-use APIs.
Connecting a CRM is a simple API based setup within your Lead Manager. To complete a CRM connection, you will need to perform the following steps:
-
Obtain your API Key
-
Save your API key in the Lead Manager
-
Enable CRM routing in lead forms as desired.
Connect LionDesk V2

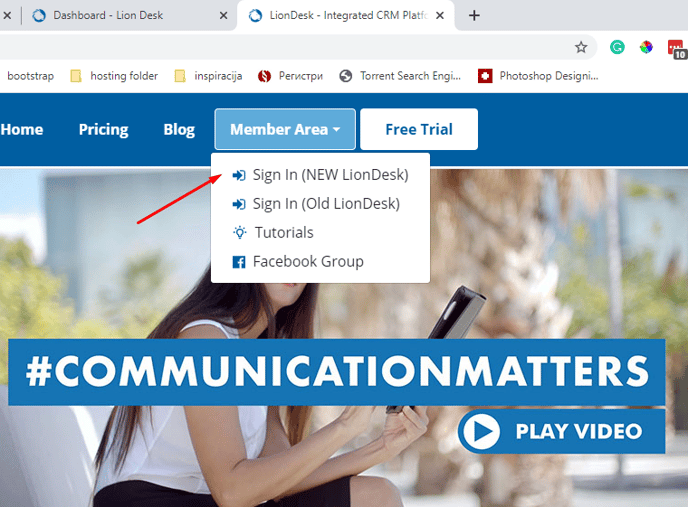
Sign Up or Login in LionDesk account.
If you want to access LionDesk in the new dashboard follow these steps:
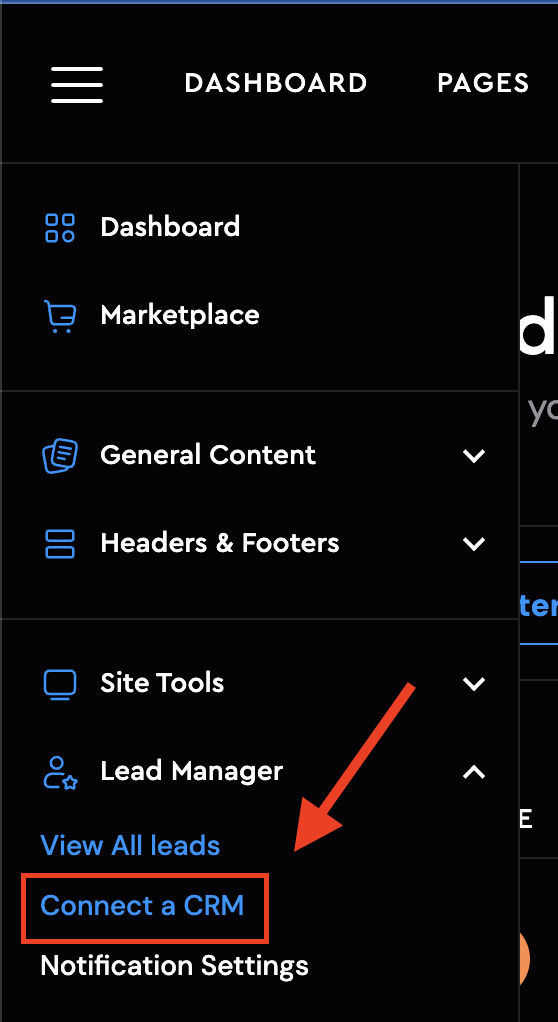
Head over to AgentFire Lead Manager -> Connect a CRM
Click on Add and select Liondesk V2 and hit

Name your integration and hit the update button:

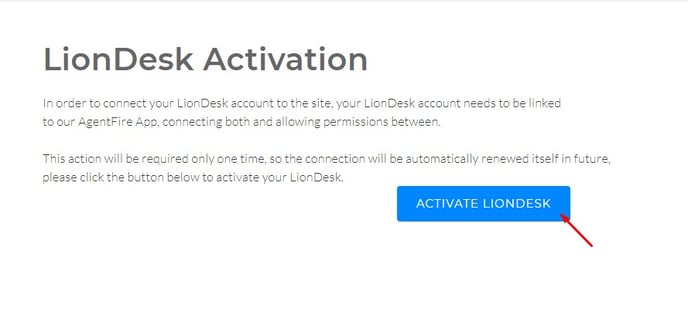
Click the green button, Connect with Liondesk, and follow the steps:

LionDesk V1 (Deprecated) --> https://api.liondesk.com/docs.html
Go to Settings -> 3rd Party Integrations and click "Enable" for AgentFire
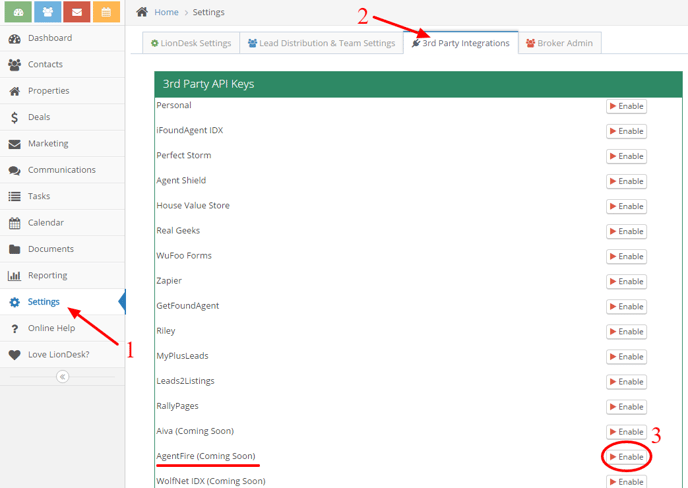
Liondesk will generate new API Key which can be used in your site

Gravity Forms Adjustments (optional)

Gravity Forms can also support lead routing of supported lead payload data. Enabling CRM integration is available within the Settings Tab of an individual form.
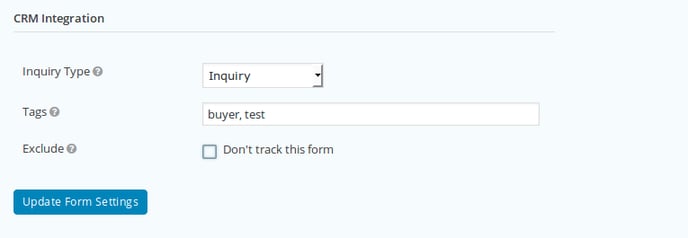
On Settings page for the forms you can find CRM Integration options:
-
Inquiry type. By default all forms have "Inquiry" type, but you can select suitable type for the form. For example "Seller Inquiry" for the "Free Home Evaluation" form. It allows better organize inquiries in CRM
-
Tags. You can setup comma separated tags for the form, for example you can set tag "buyer" for "Request a Buyer Guide" form. These tags will be added to the (crm) person which sent the form.
-
Exclude. Enable this checkbox if you want to exclude the form from CRM tracking.
CRM Integration module recognized form fields by field type (email, phone, name, address) and by field label.
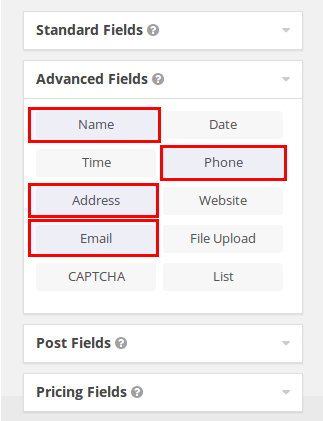
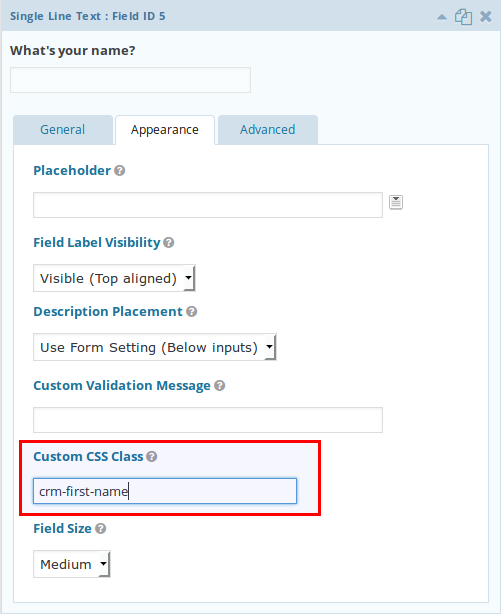
If want to use default text field for name, phone, etc you can force field type by adding custom CSS class:
-
crm-first-name
-
crm-last-name
-
crm-email
-
crm-phone
-
crm-message
