CRM: Opt in Language
CRMs require specific opt-in language so consumers can agree to receive communication updates. If your CRM requires changes to the opt in language, here are the steps to update.
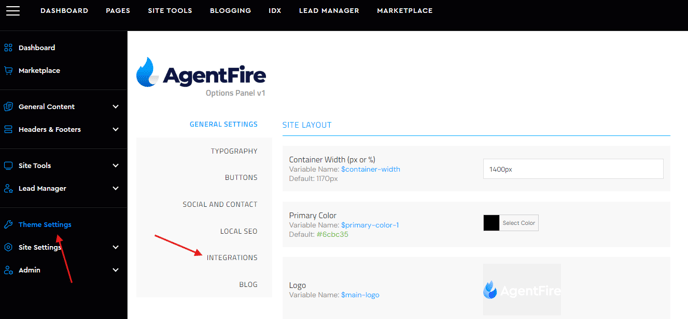
1. Navigate to Theme Settings > Integrations.
2. Scroll down to 'Default Disclaimer Text'
This is located at the bottom of the the Form Disclaimer section. Make sure the language is updated correctly in the Default Disclaimer Text box:
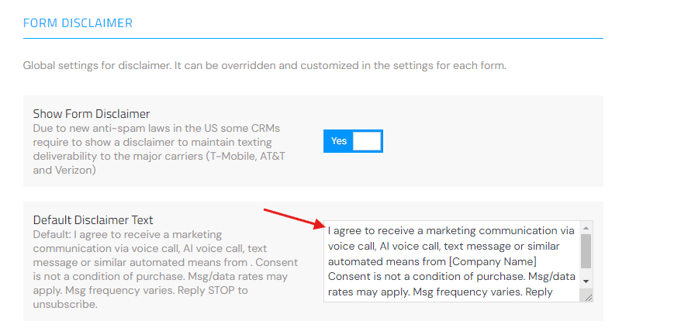
The following language is accepted by most CRM companies and complies with the 10DLC regulations:
I agree to receive marketing communication and customer service via voice call, AI voice call, text message or similar automated means from [company]. Consent is not a condition of purchase. Msg/data rates may apply. Msg frequency varies. Reply STOP to unsubscribe.
3. Update your Privacy Policy (if applicable)
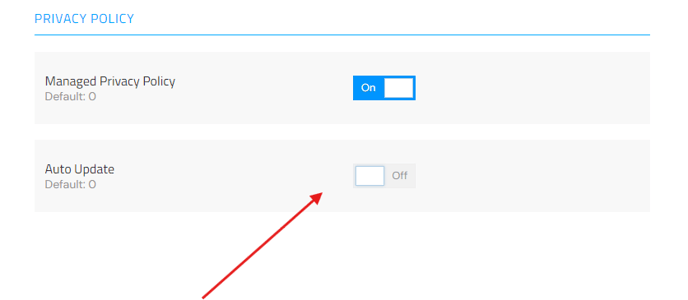
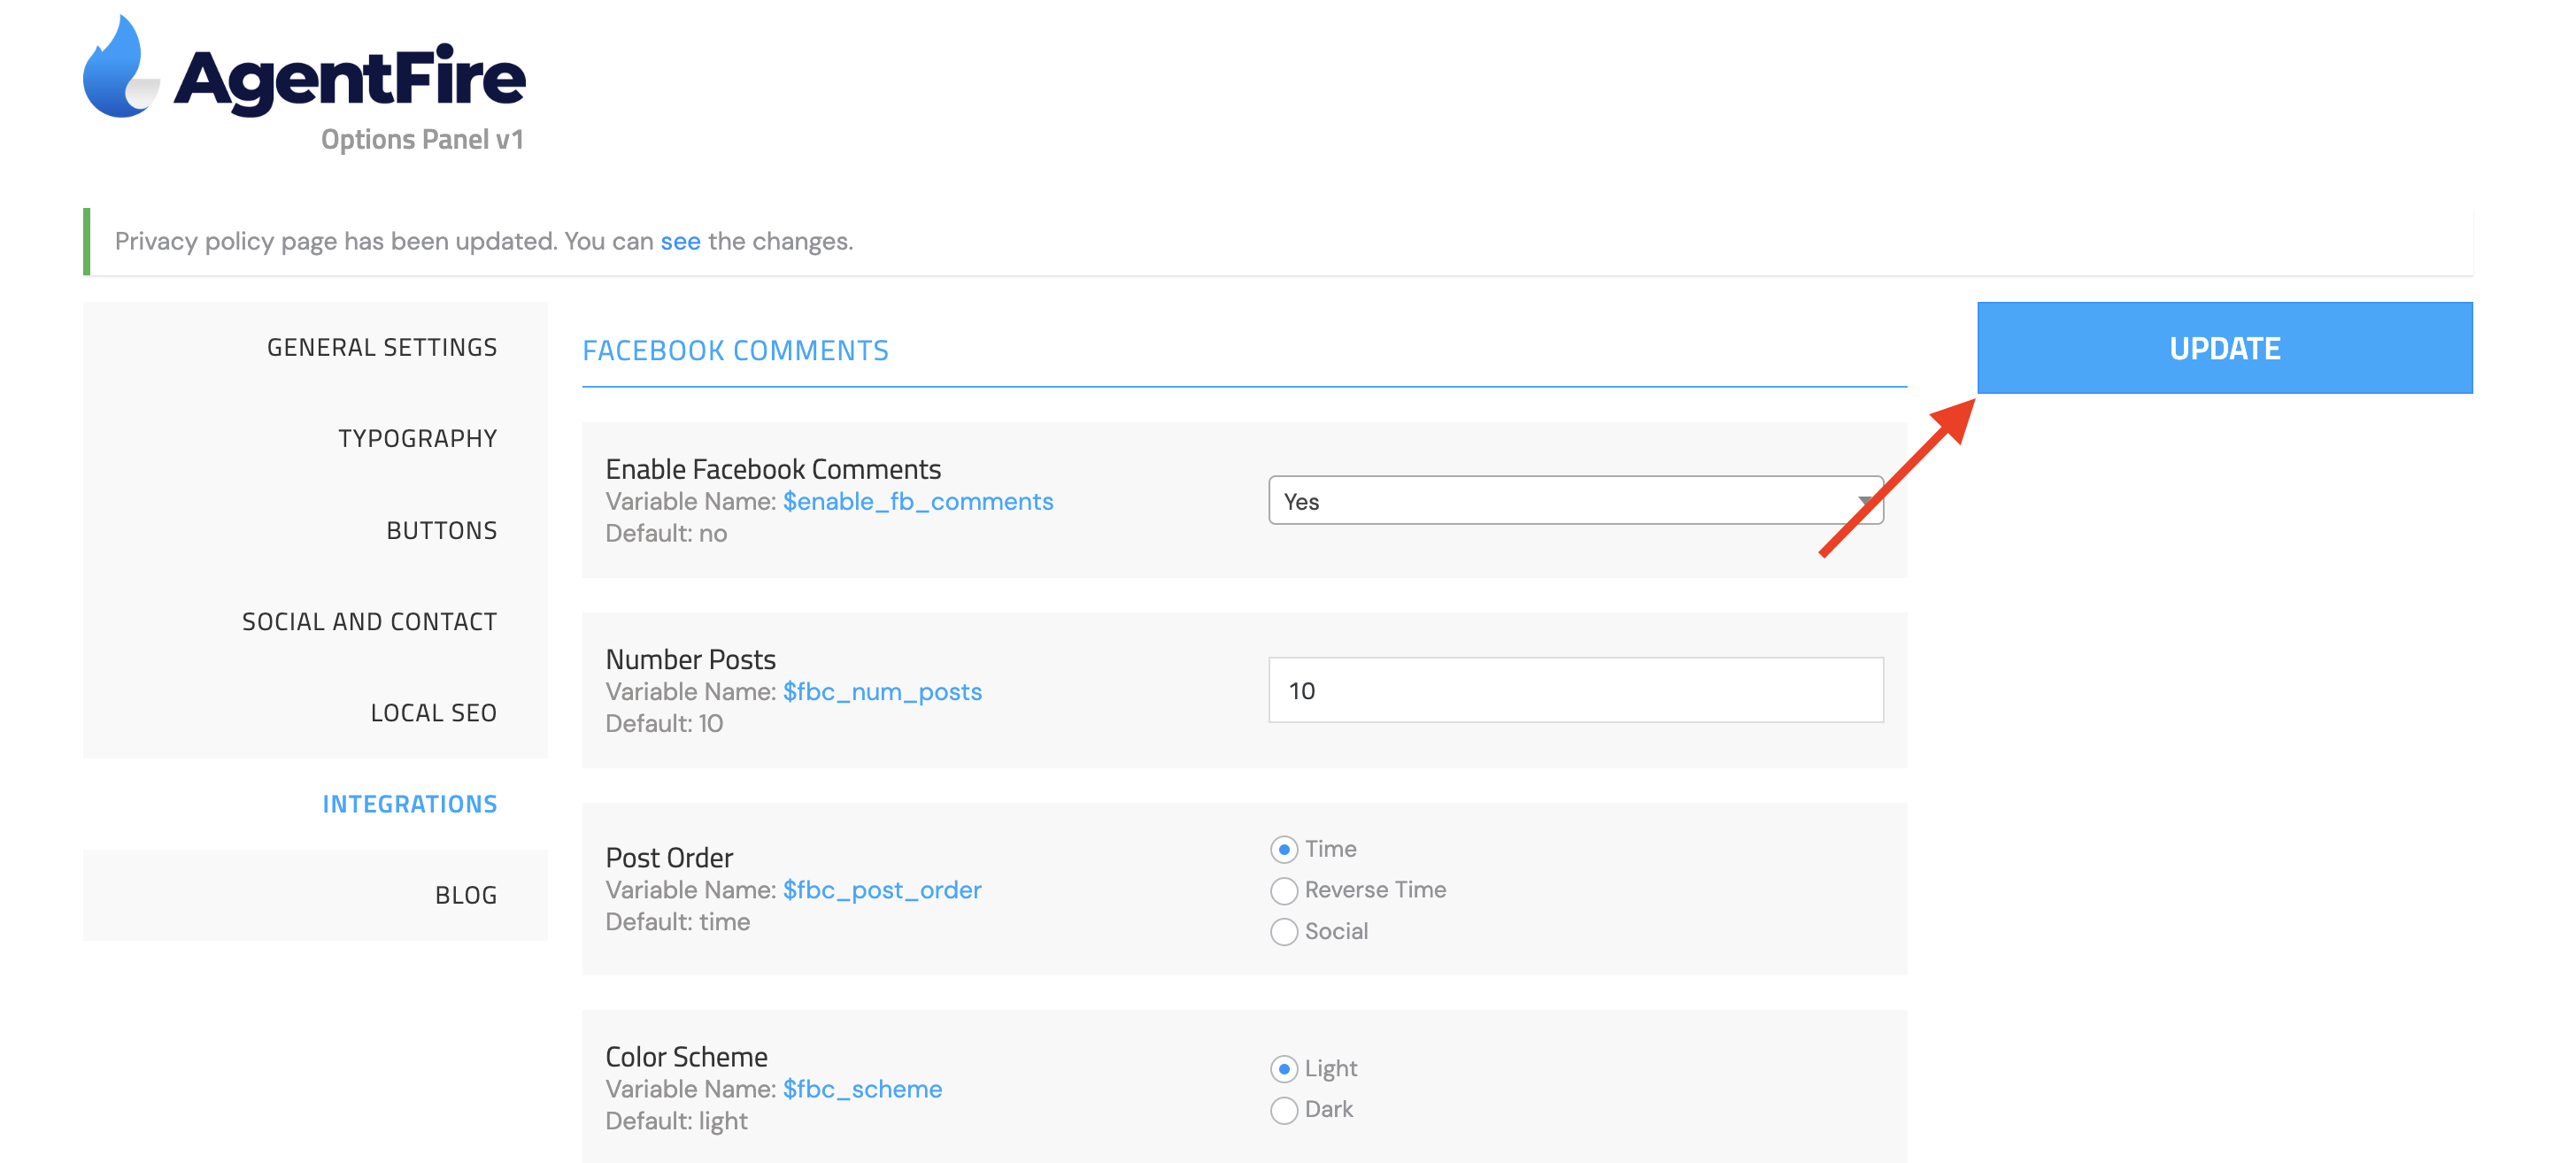
Next, if you need to update your Privacy Policy, scroll up to the Auto Update option under the Privacy Policy section and switch it to 'OFF.' This will prevent any changes you make to the policy from being 'reversed' or 'erased' when the Privacy Policy automatically updates to the latest version.
4. Ensure the Opt-In Language is clearly visible
Even though you’ve updated the language from the Theme Settings, which applies globally to all forms on your site, some issues may still occur. It’s crucial that the correct language is both accurate and visually displayed; otherwise, your compliance submission may be rejected, or you might face delays in getting it approved by your CRM.
To ensure your forms are fully compliant with 10DLC regulations, we recommend the following best practices:
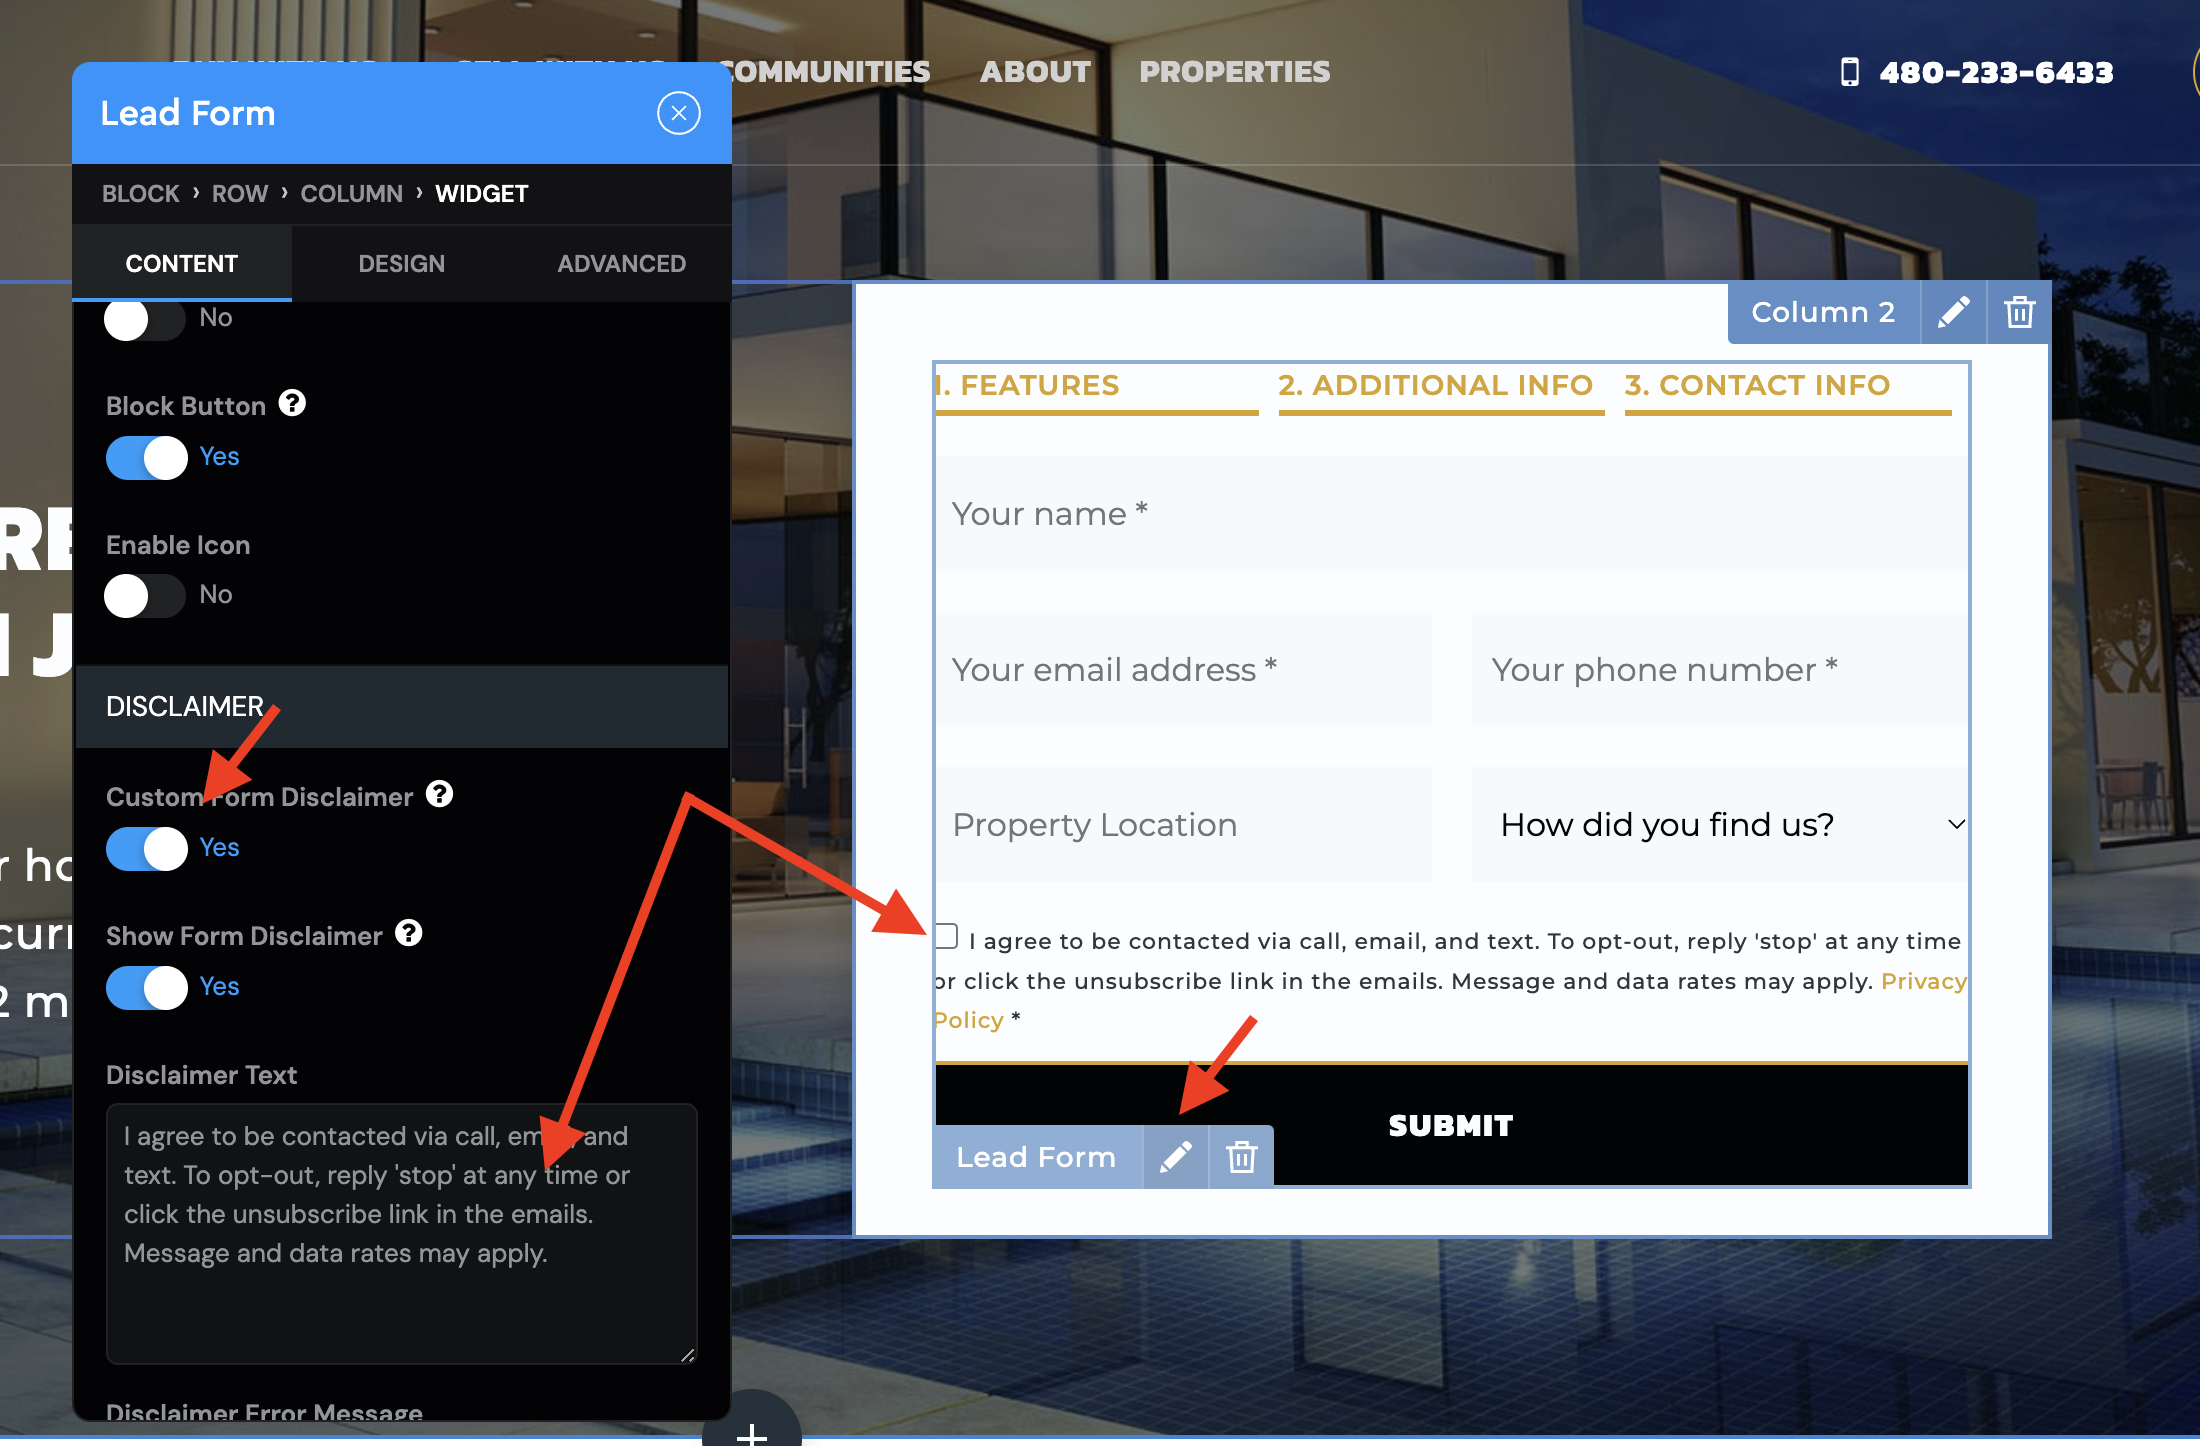
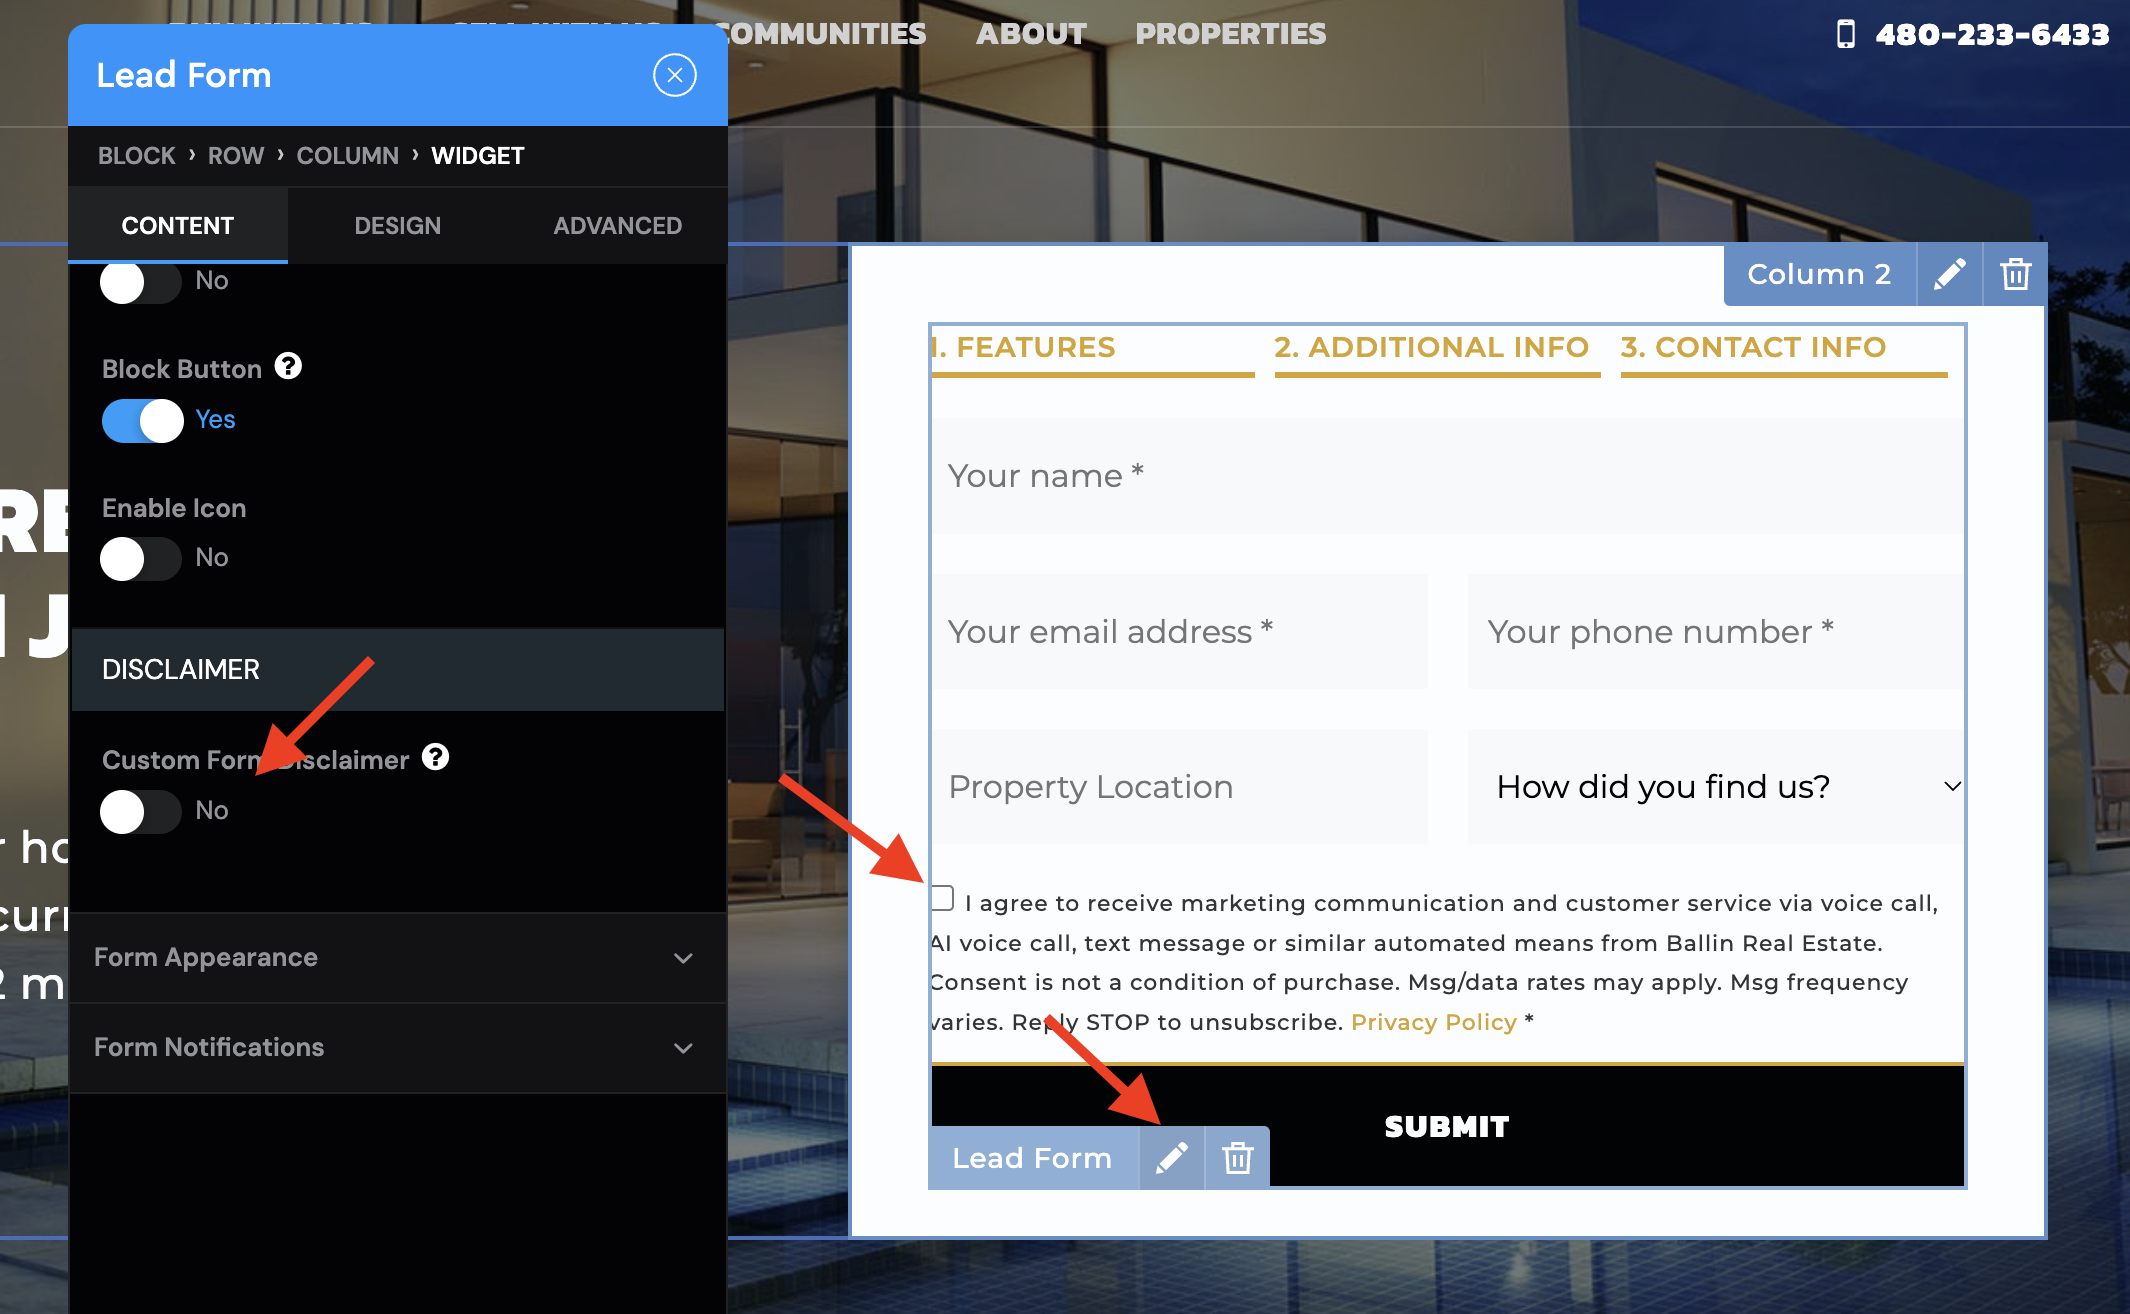
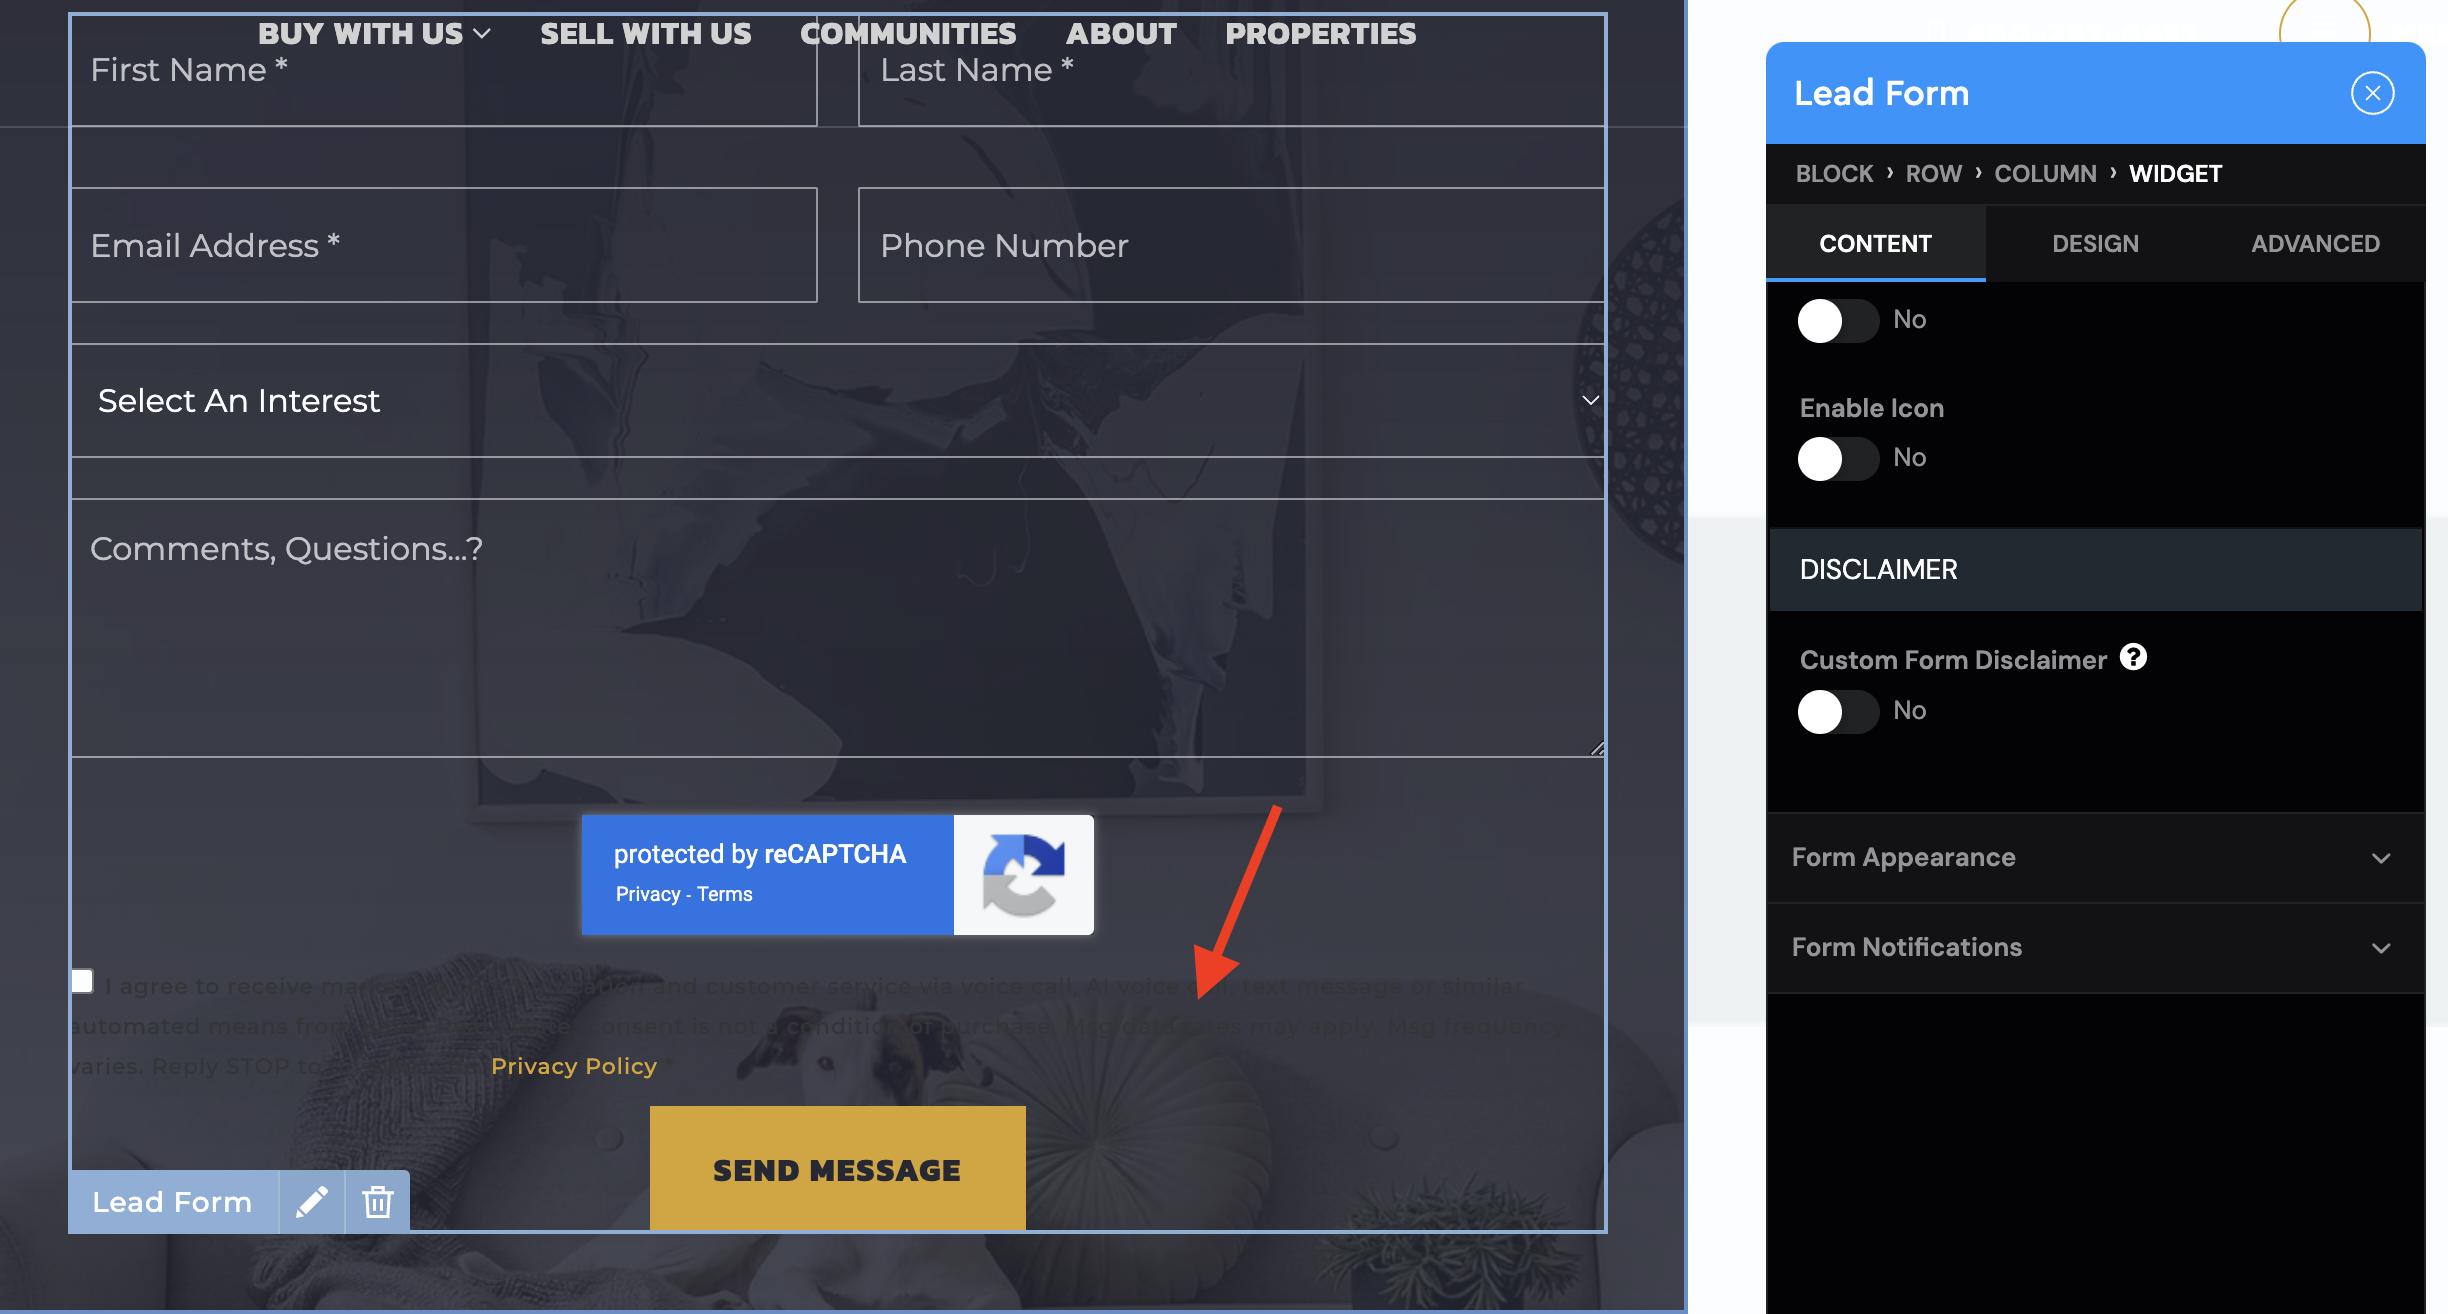
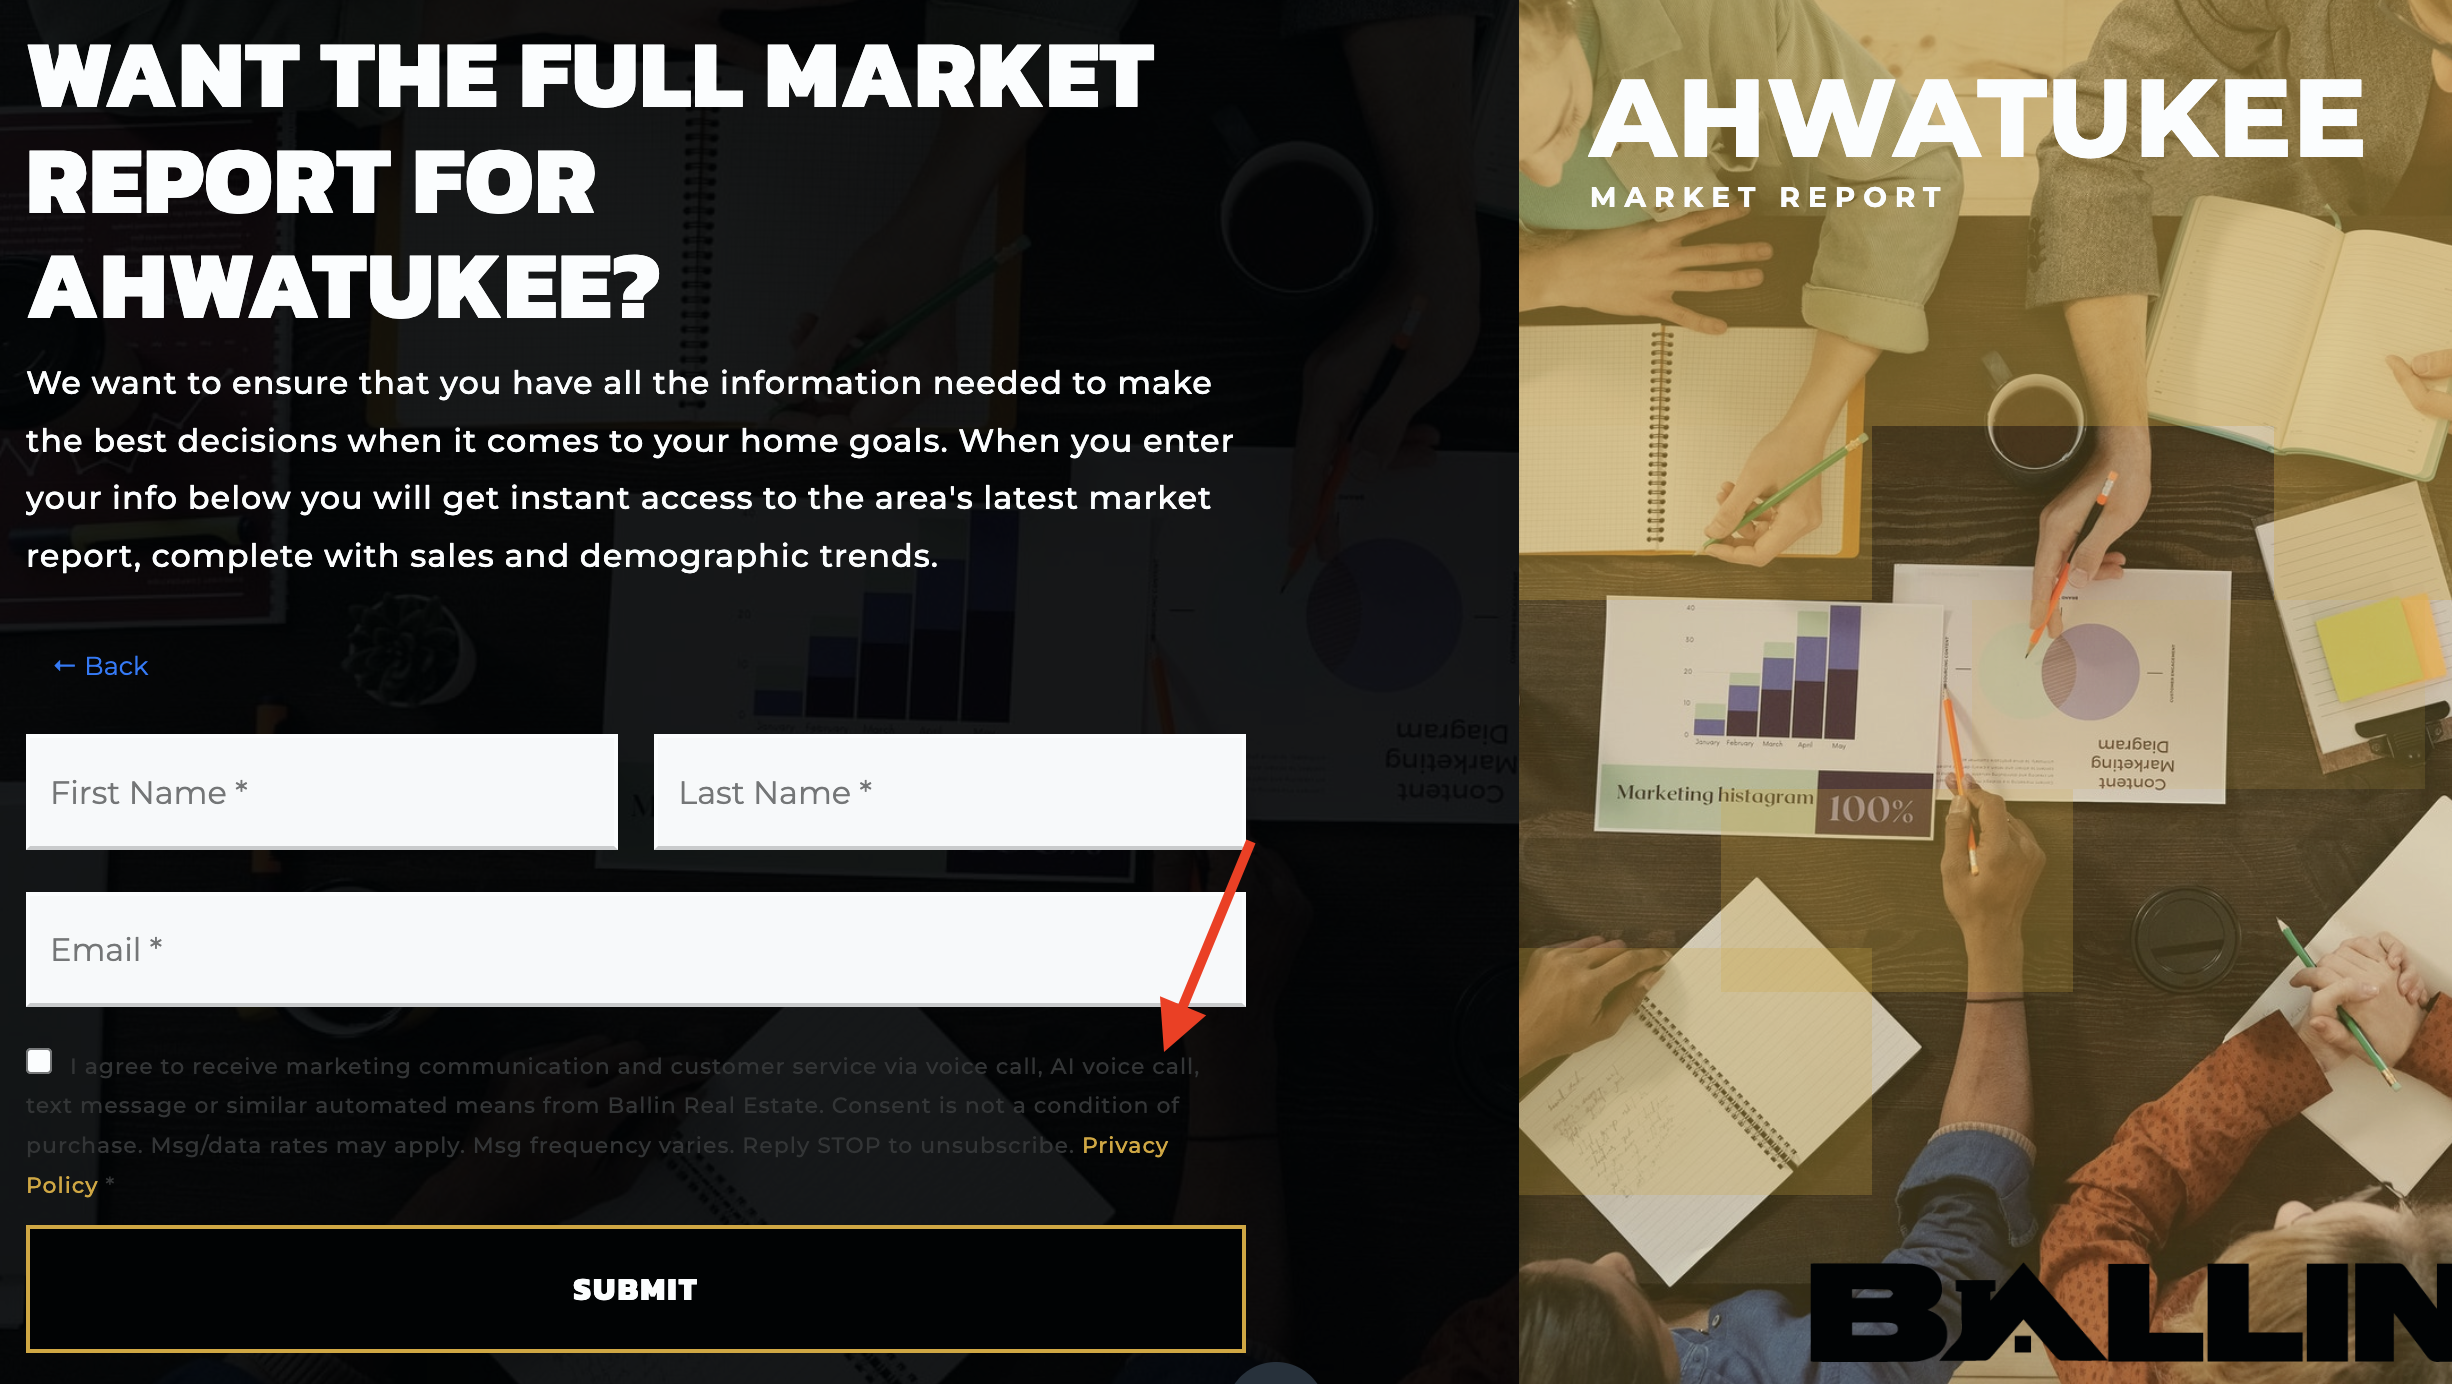
In this case, copy the opt-in language from the Theme Settings. Then, enable the 'Custom Form Disclaimer' and make sure the 'Show Form Disclaimer' option is toggled on. Paste the text into the 'Disclaimer Text' box. The 'Append Privacy Policy Link' option will be toggled on by default—do not disable this setting. Next, update the 'Disclaimer Font Color' to white or #FFFFFF, and adjust the 'Disclaimer Link Font Color' and 'Text Font Size' if needed, especially if the global hyperlink color affects the text's visibility:
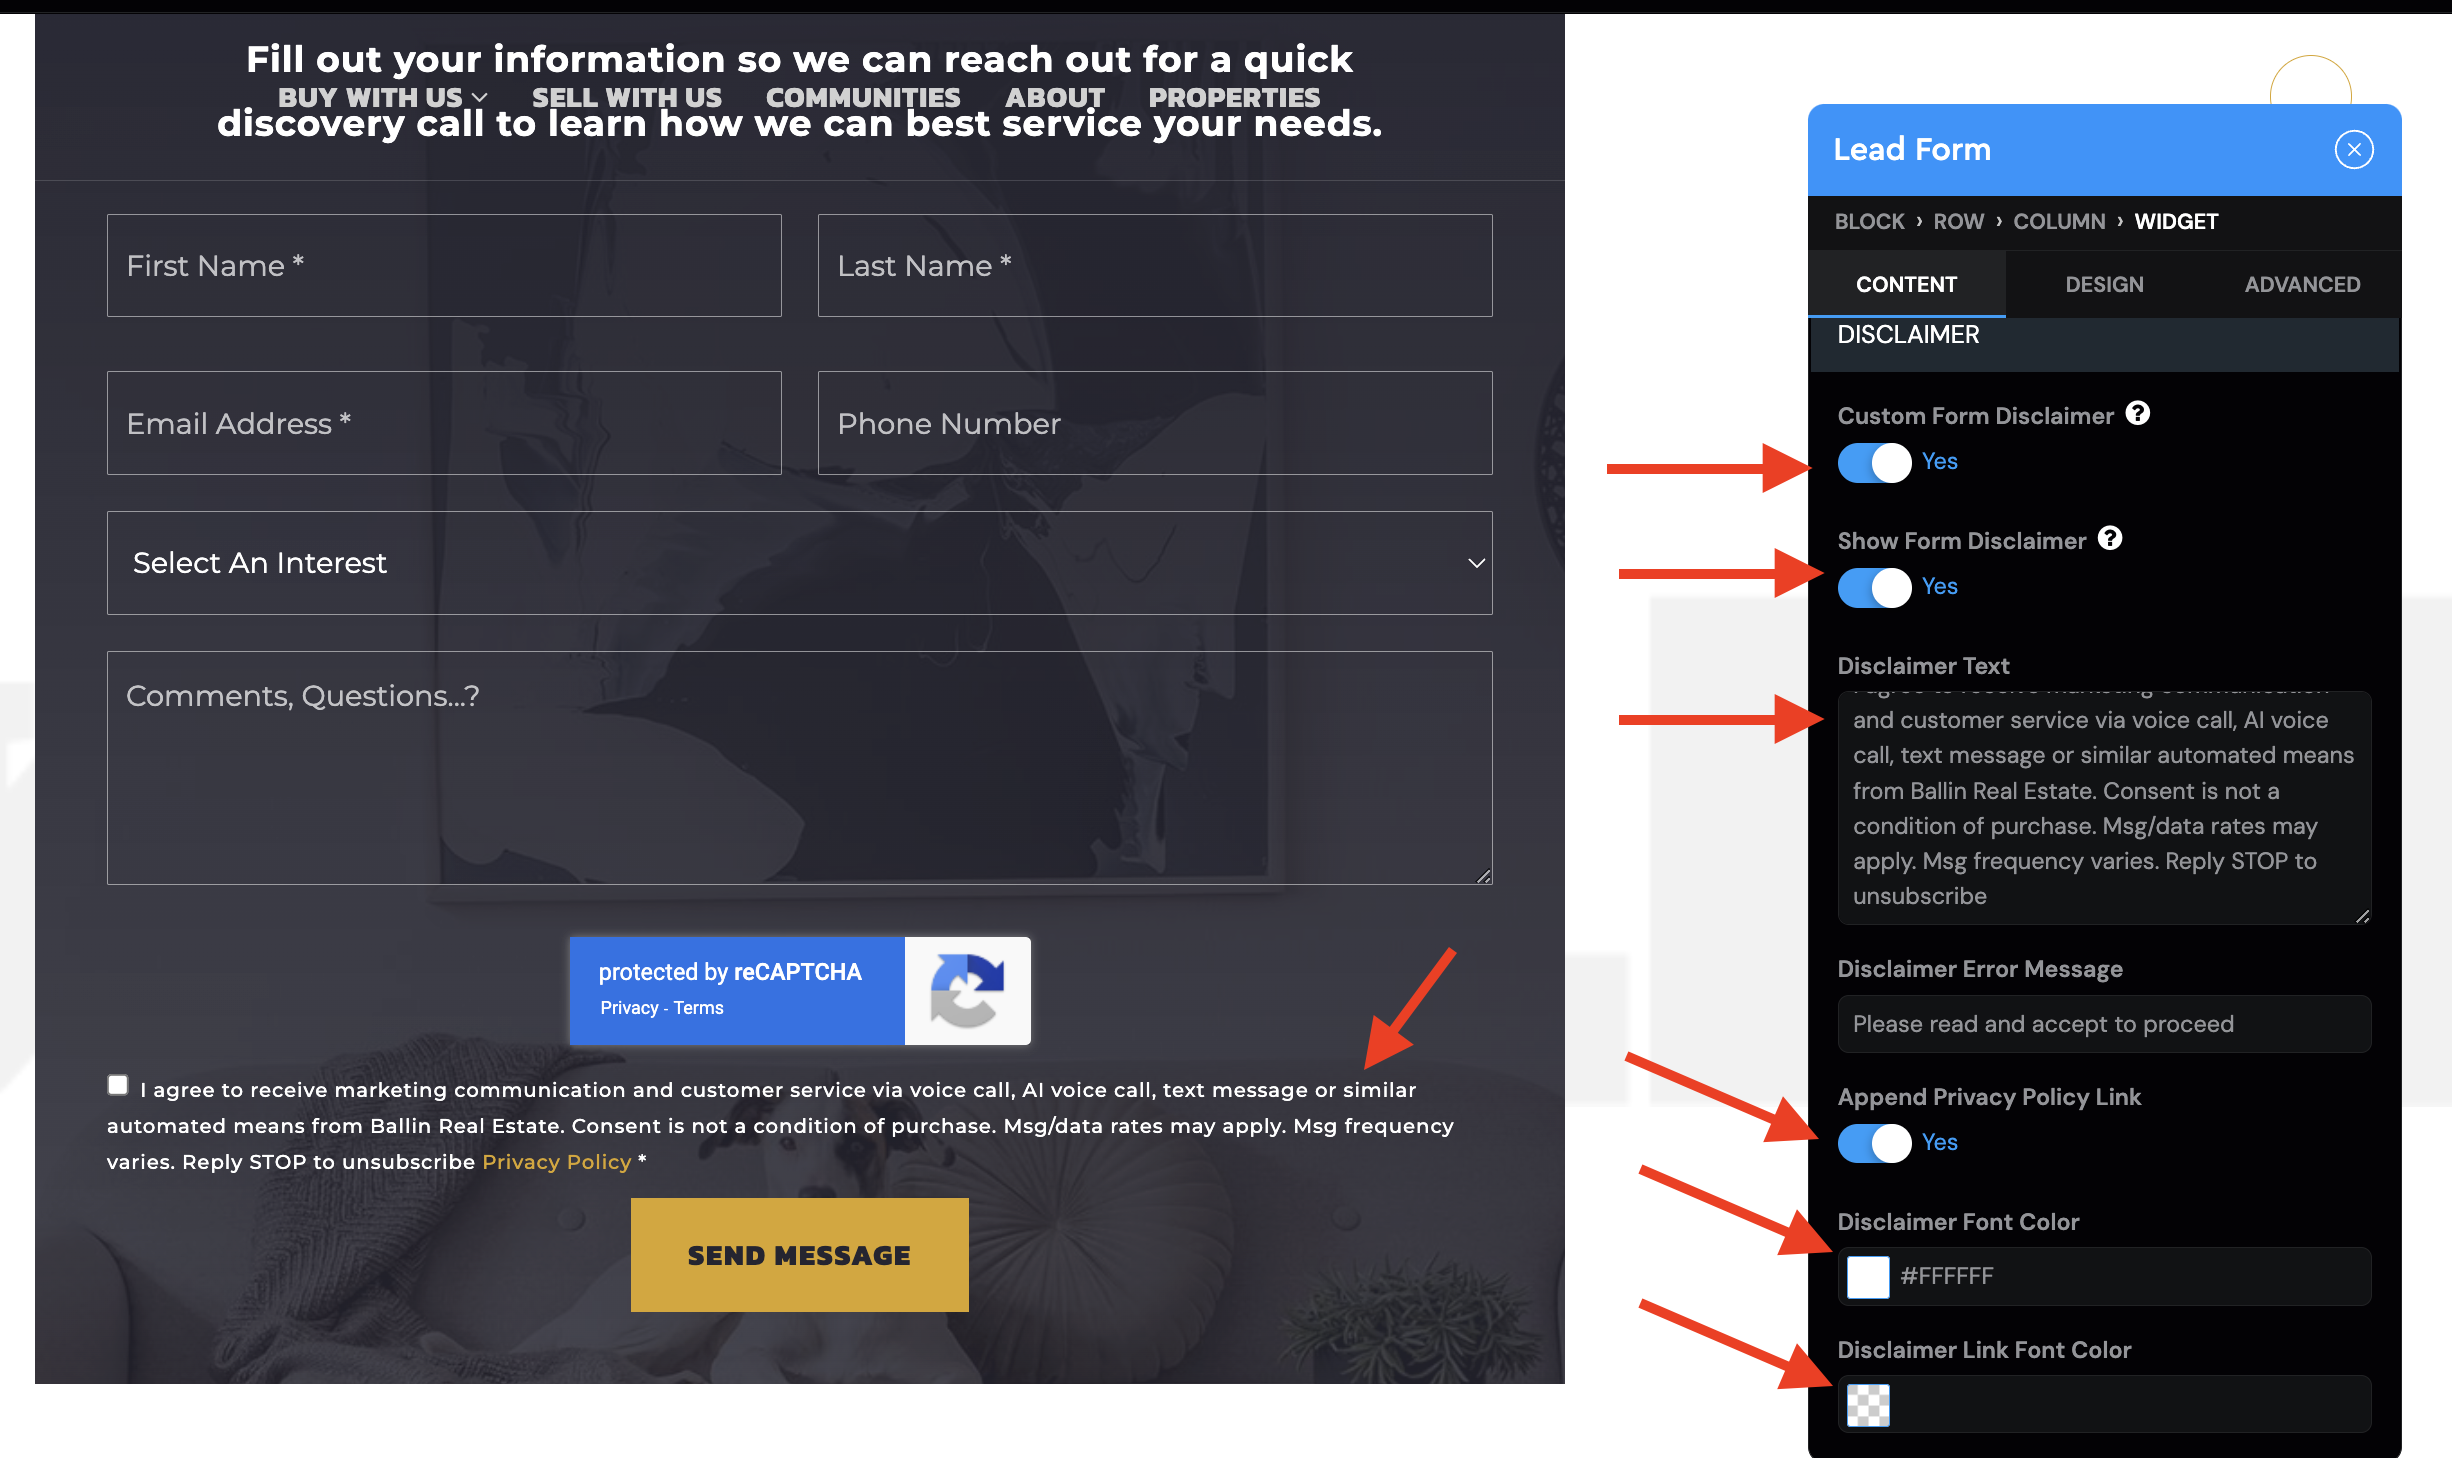
Repeat the same for all forms that need it:

AgentFire IDX
If you’re currently using AFIDX, no worries—their forms will have the opt-in language properly updated. If, for any reason, the language isn’t visible, please reach out to our support team for assistance.

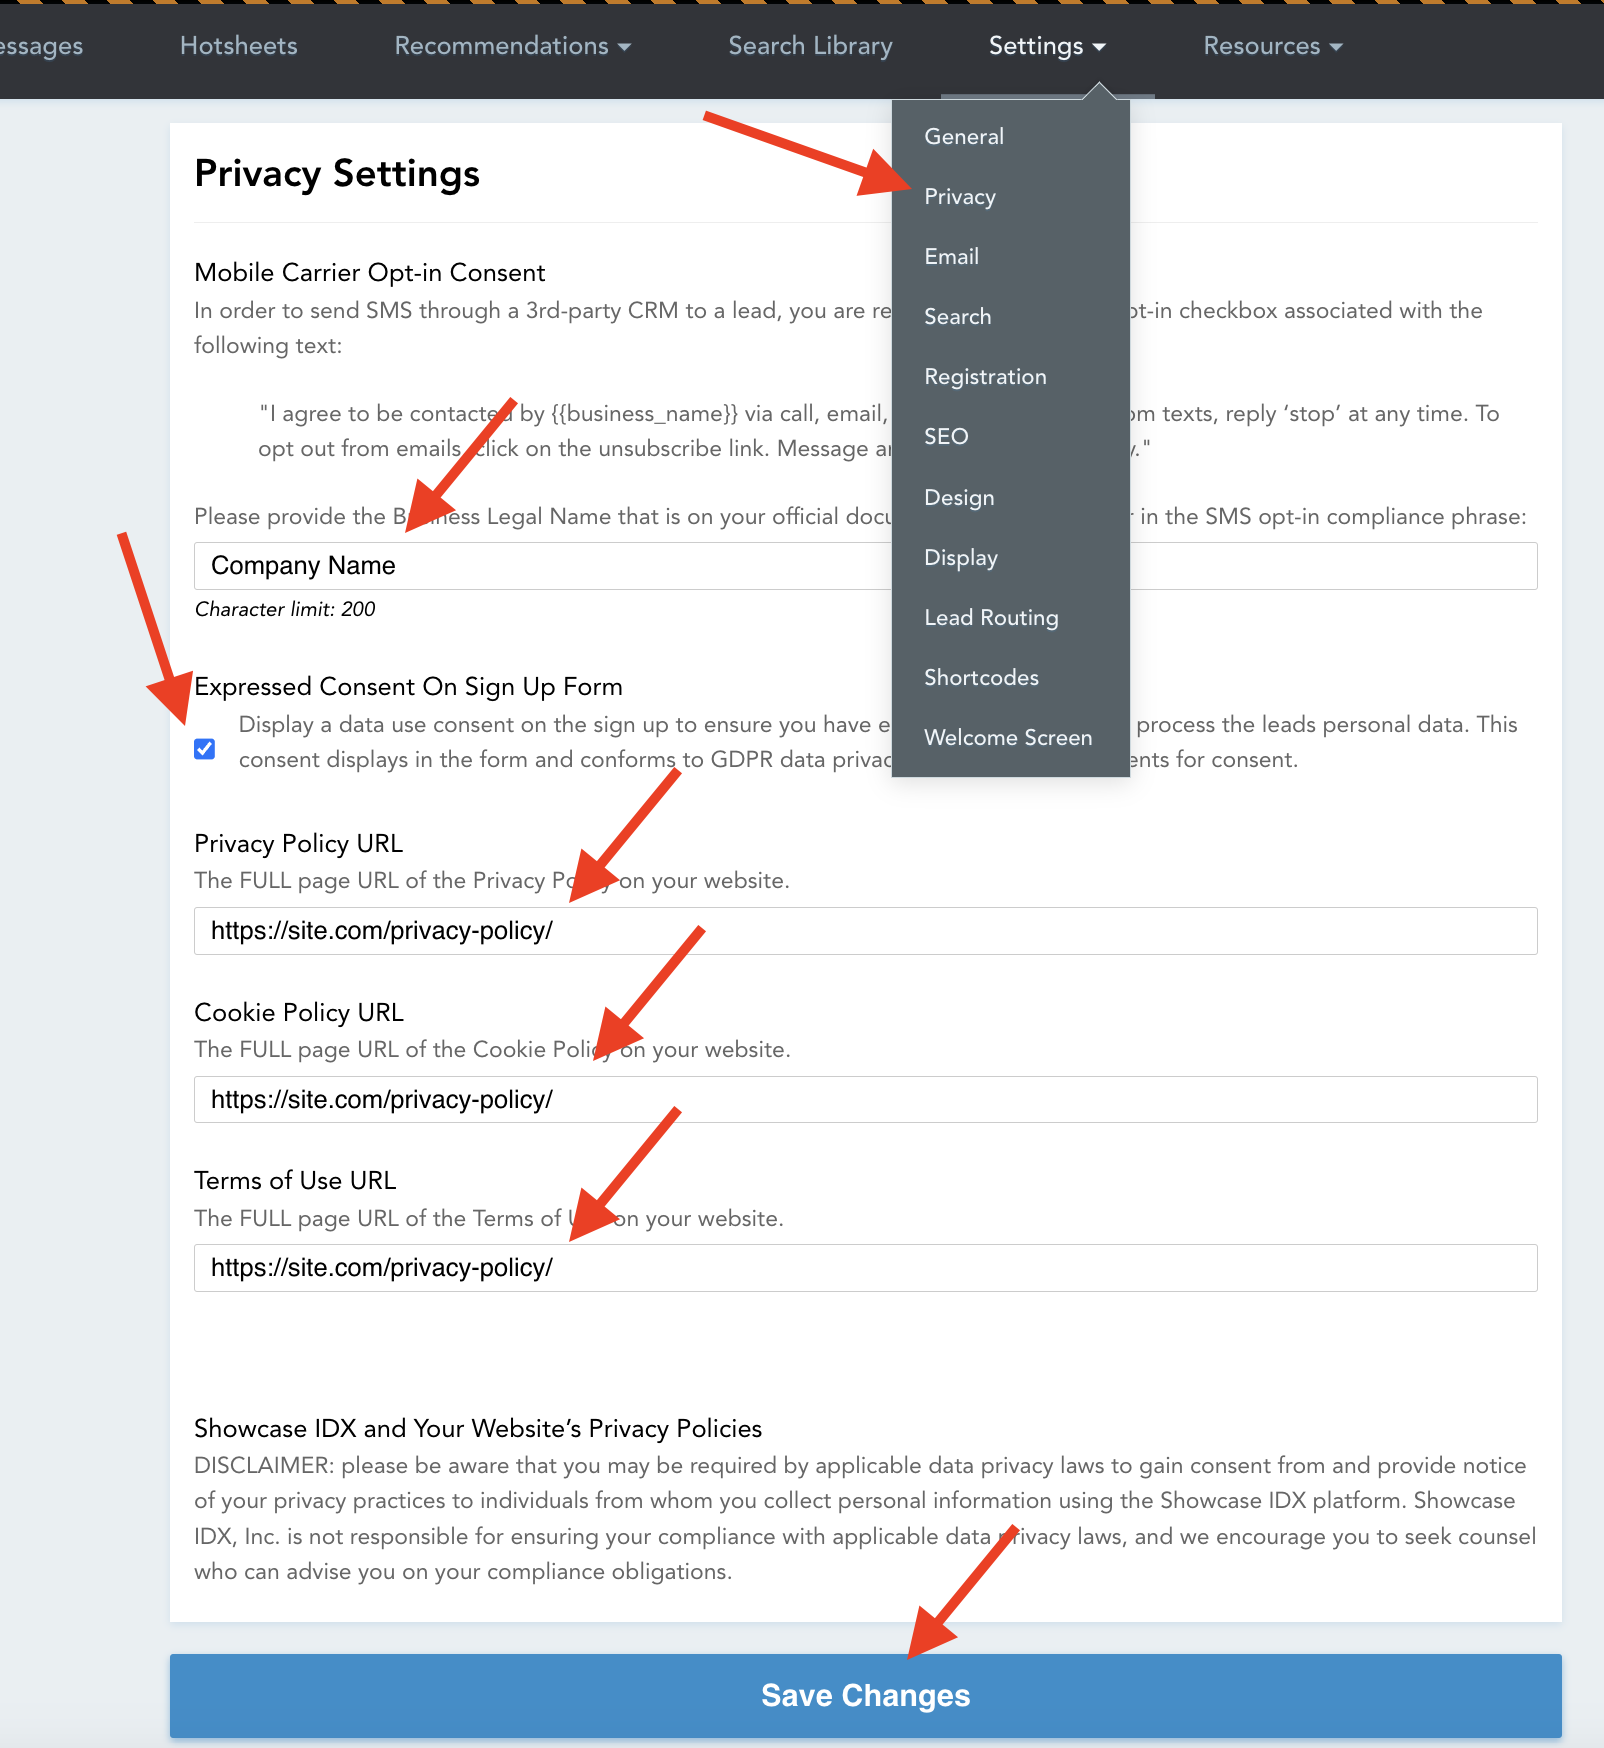
For Diverse Solutions IDX, the process is the same as with AgentFireIDX: after enabling the global disclaimer in Theme Settings, the opt-in language will automatically update. For other IDX providers, such as RealScout or Ruuster, you’ll need to contact their support teams for assistance with updating the forms language.
