Menu: How to Add a Page to Your Dropdown Menu
You've made a new page, now let's make is visible on your site. Add a page to the header navigation bar for easy access. First, log into your site by appending /wp-admin to your url.
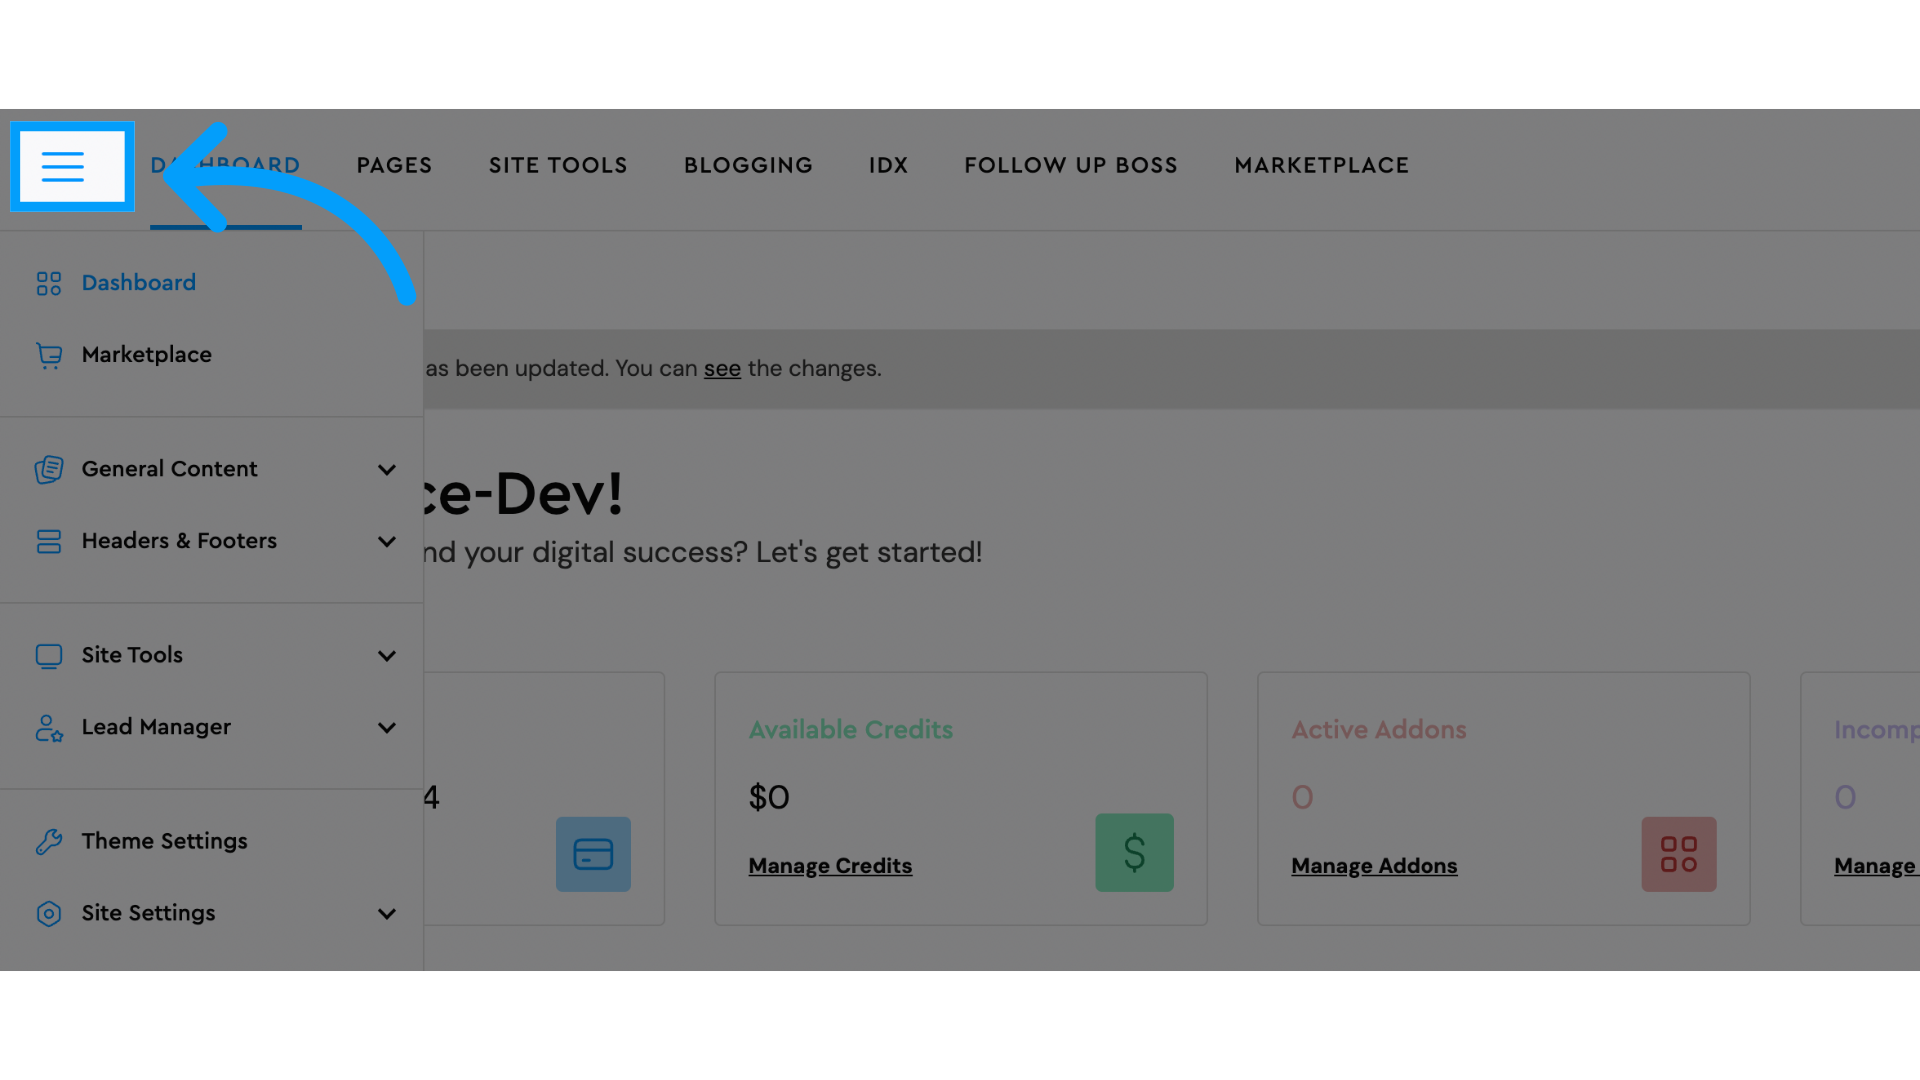
1. Click on the sandwhich menu in the top left corner
Click on the sandwhich menu in the top left corner
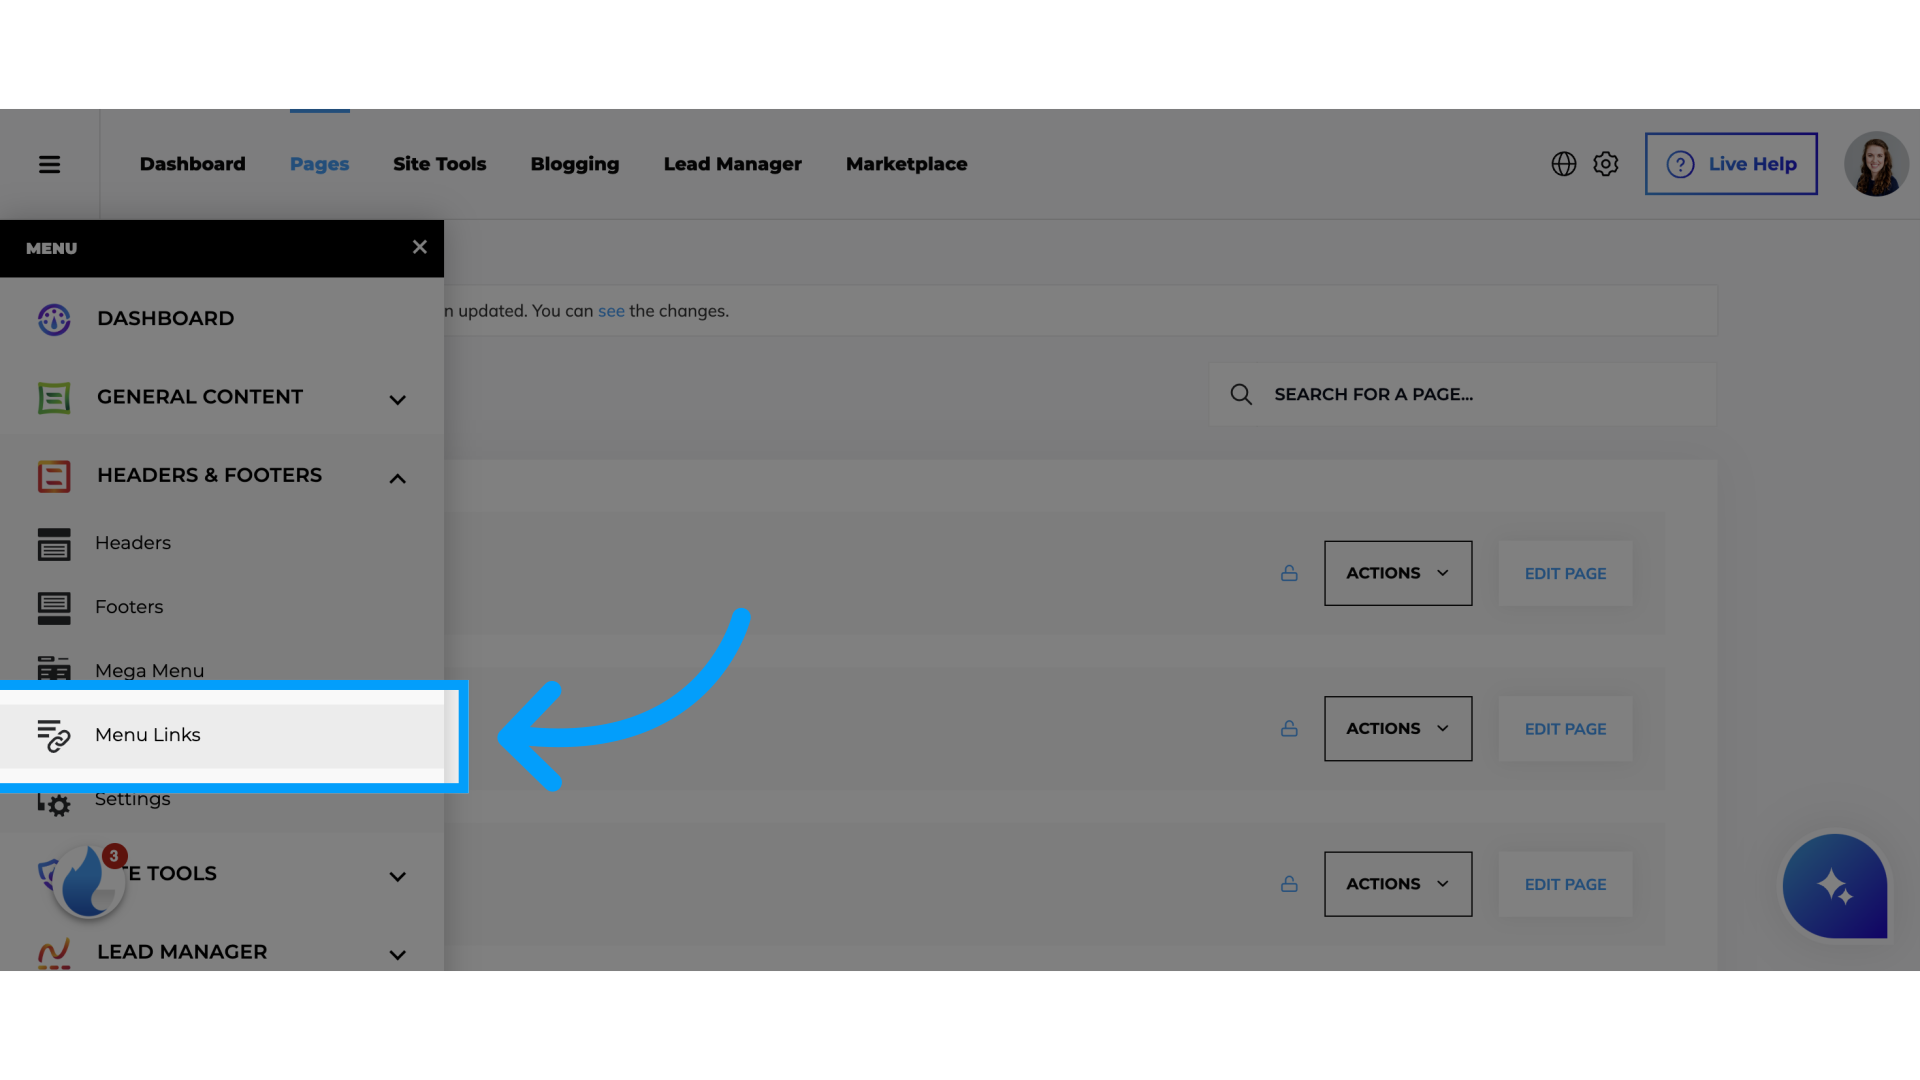
2. Click "Menu Links" from the Headers & Footers drop down
Select the "Menu Links" option by clicking on it from the Headers & Footers drop down menu
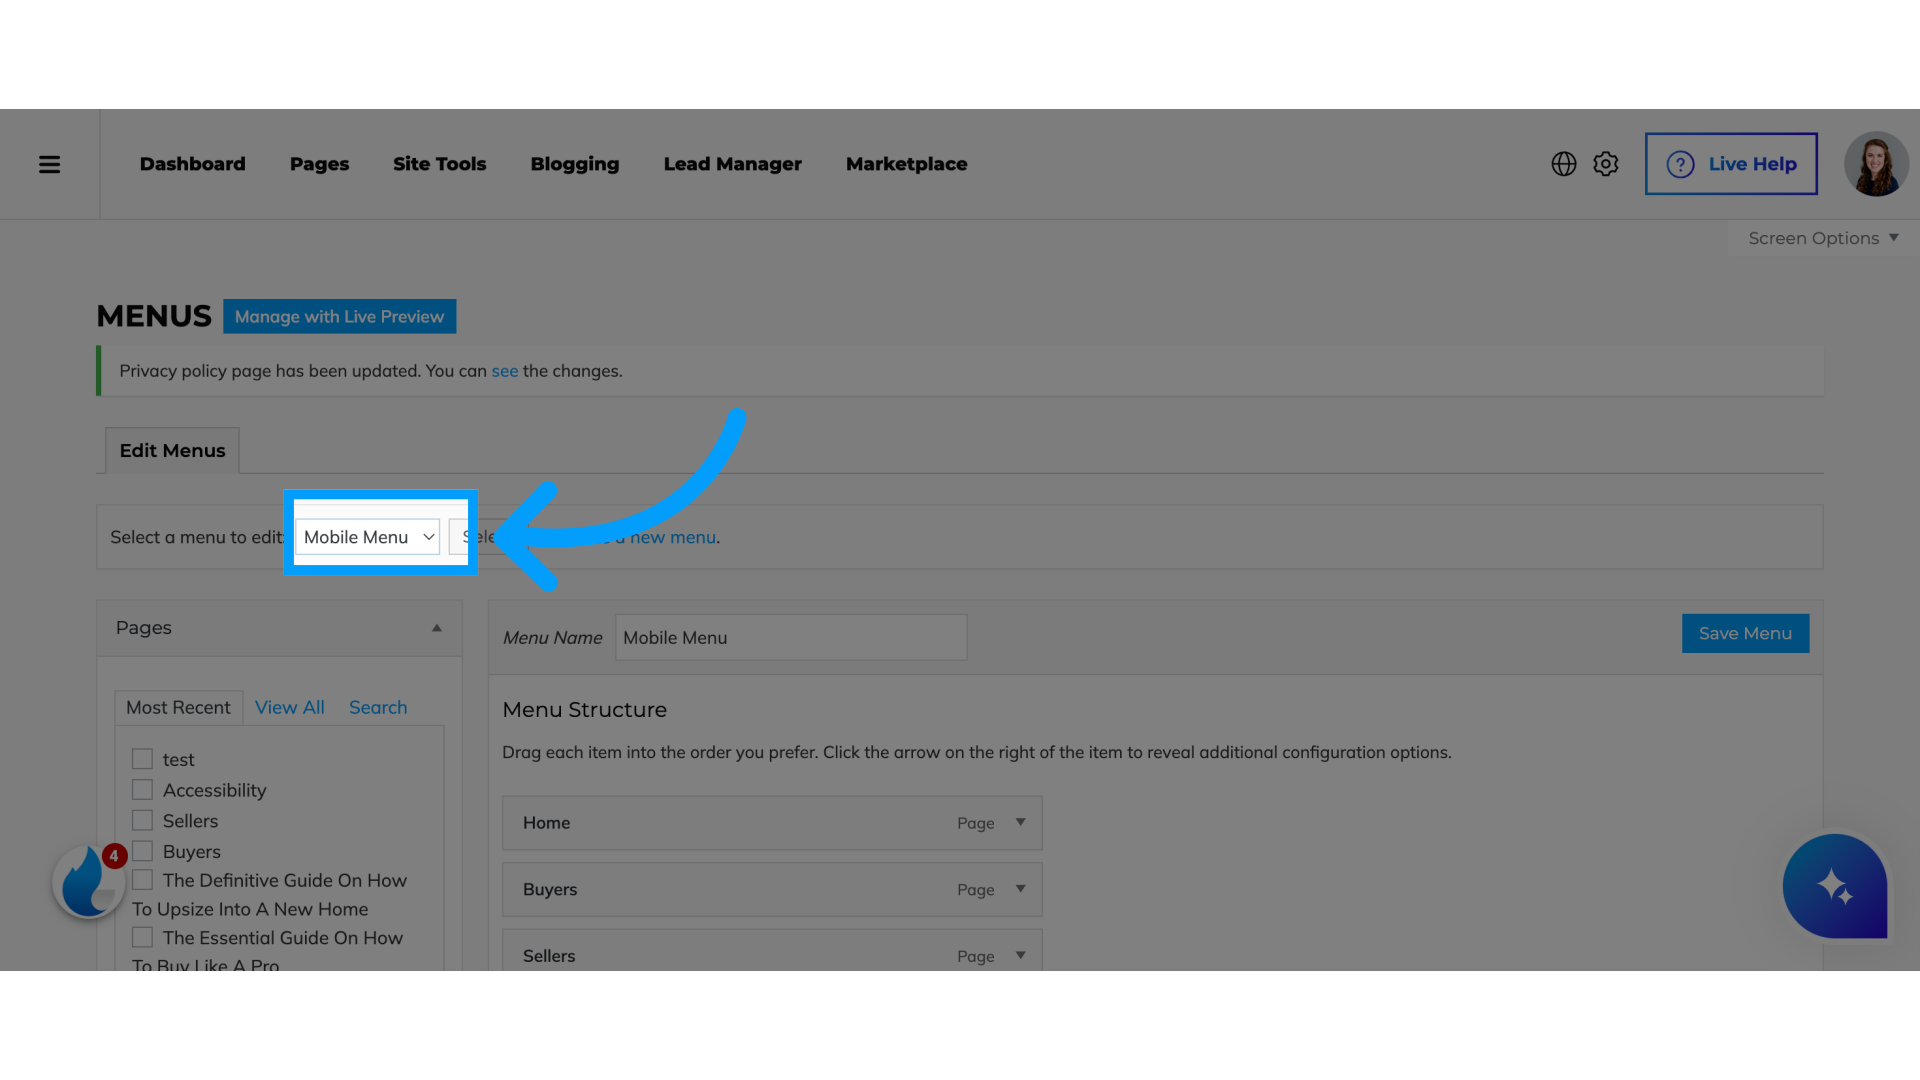
3. Click "Menu"
Select which menu you'd like to edit. In this example, we are editing the "header" menu.
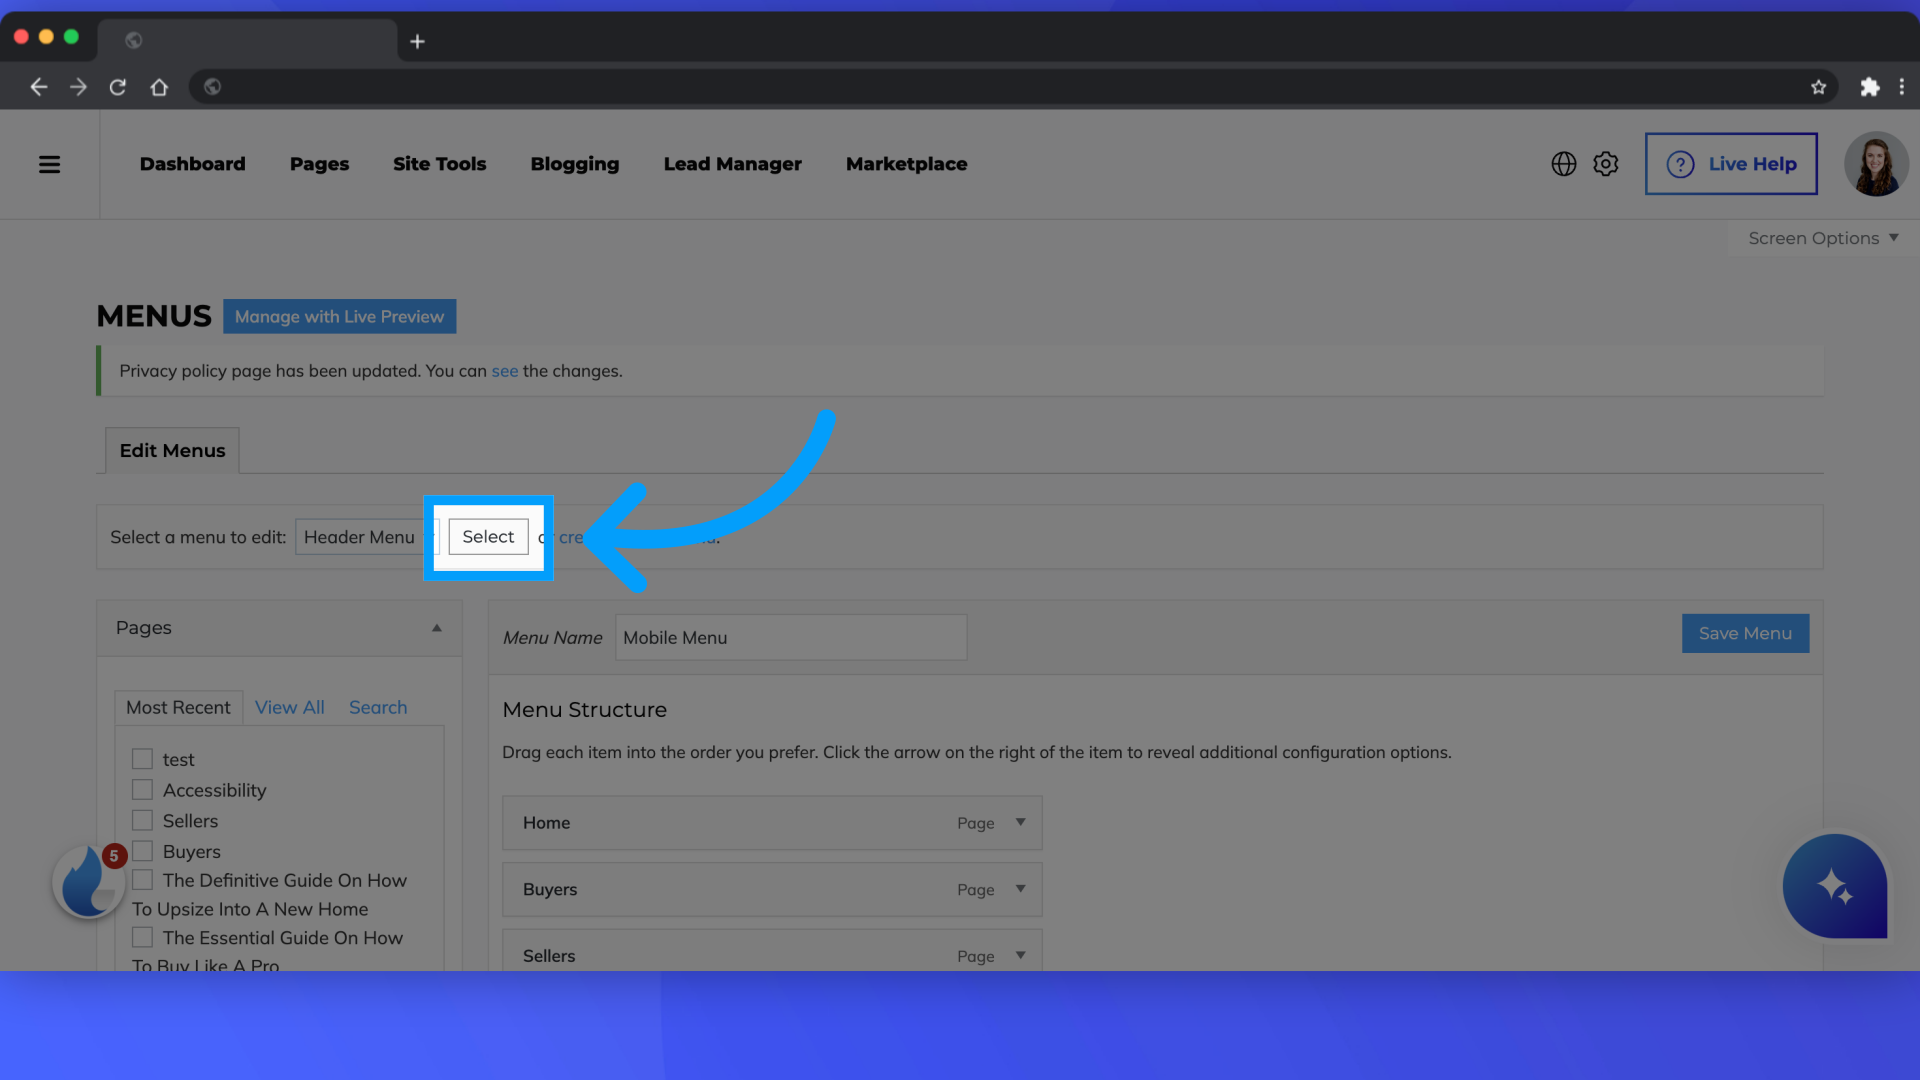
4. Click "Select"
Click on "Select" to choose the option.
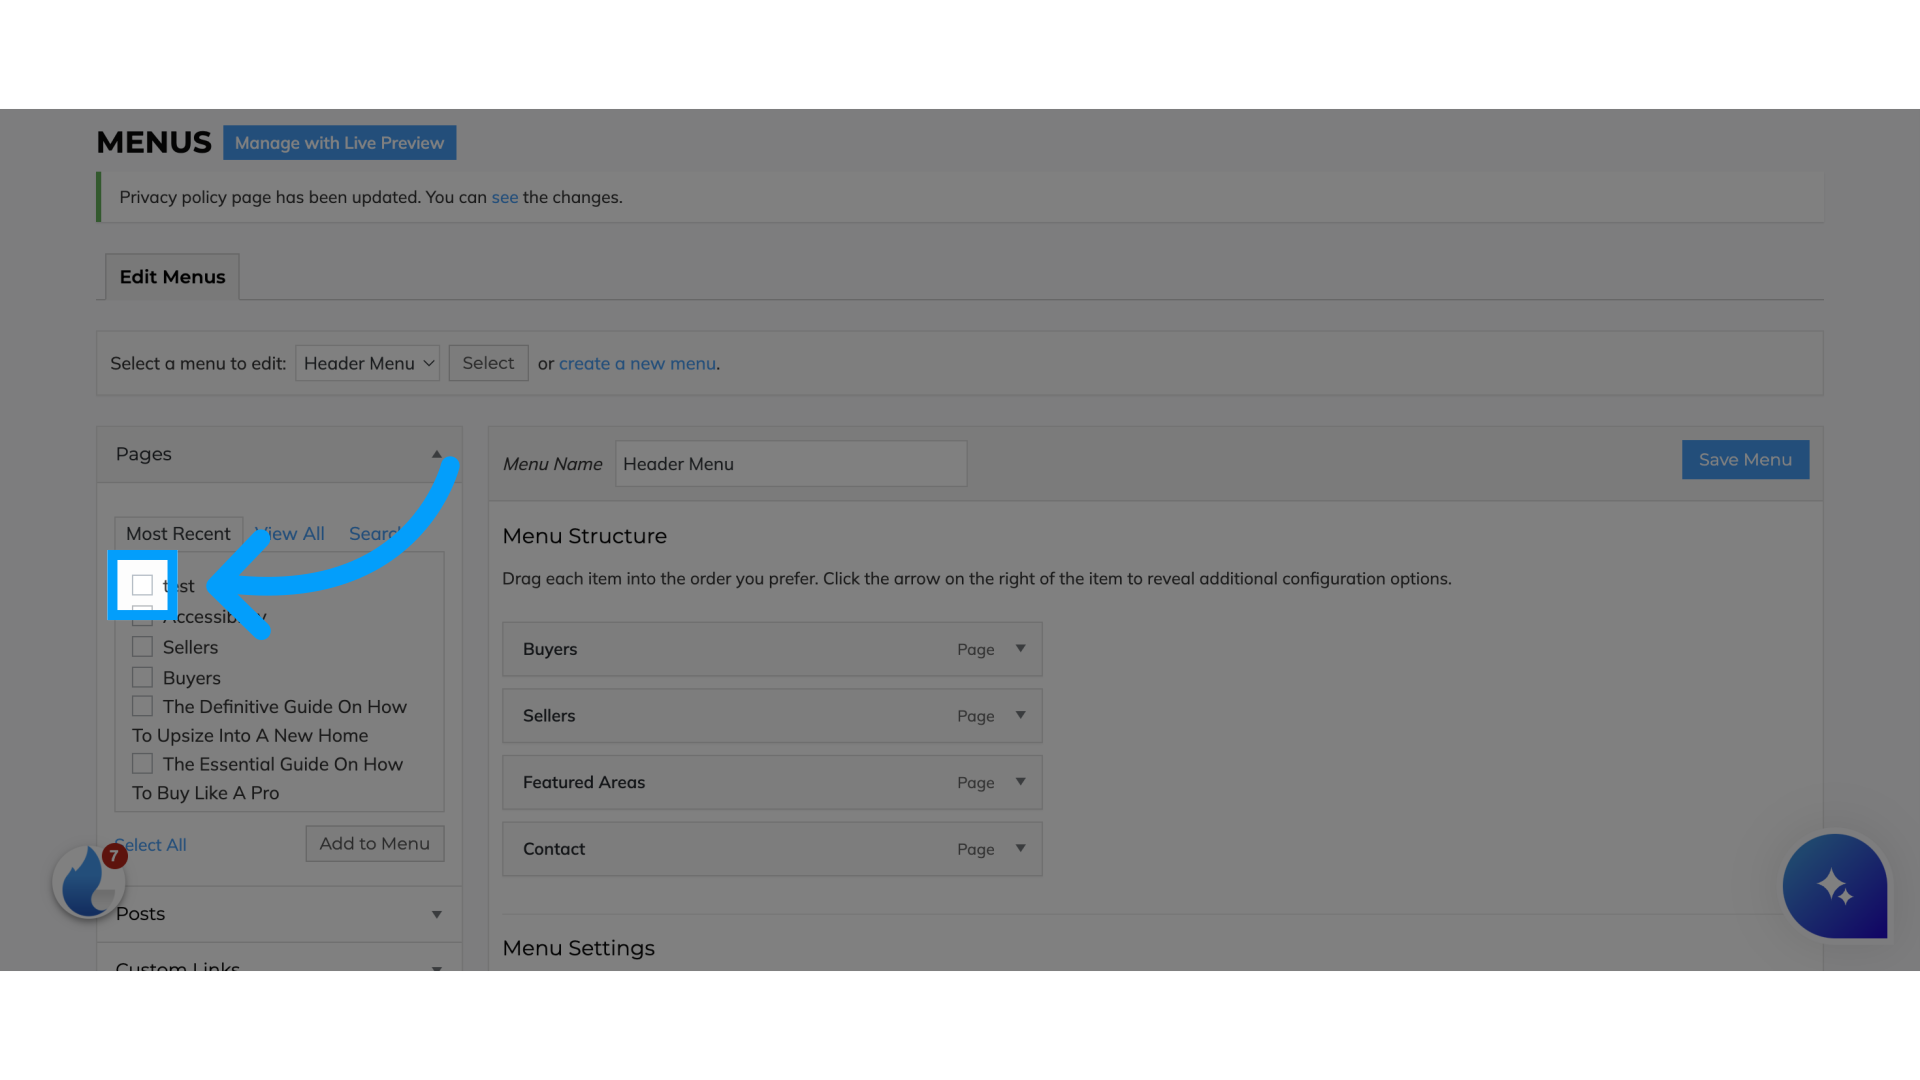
5. Click the checkbox for the page you want
Select the page you would like to add to the menu.
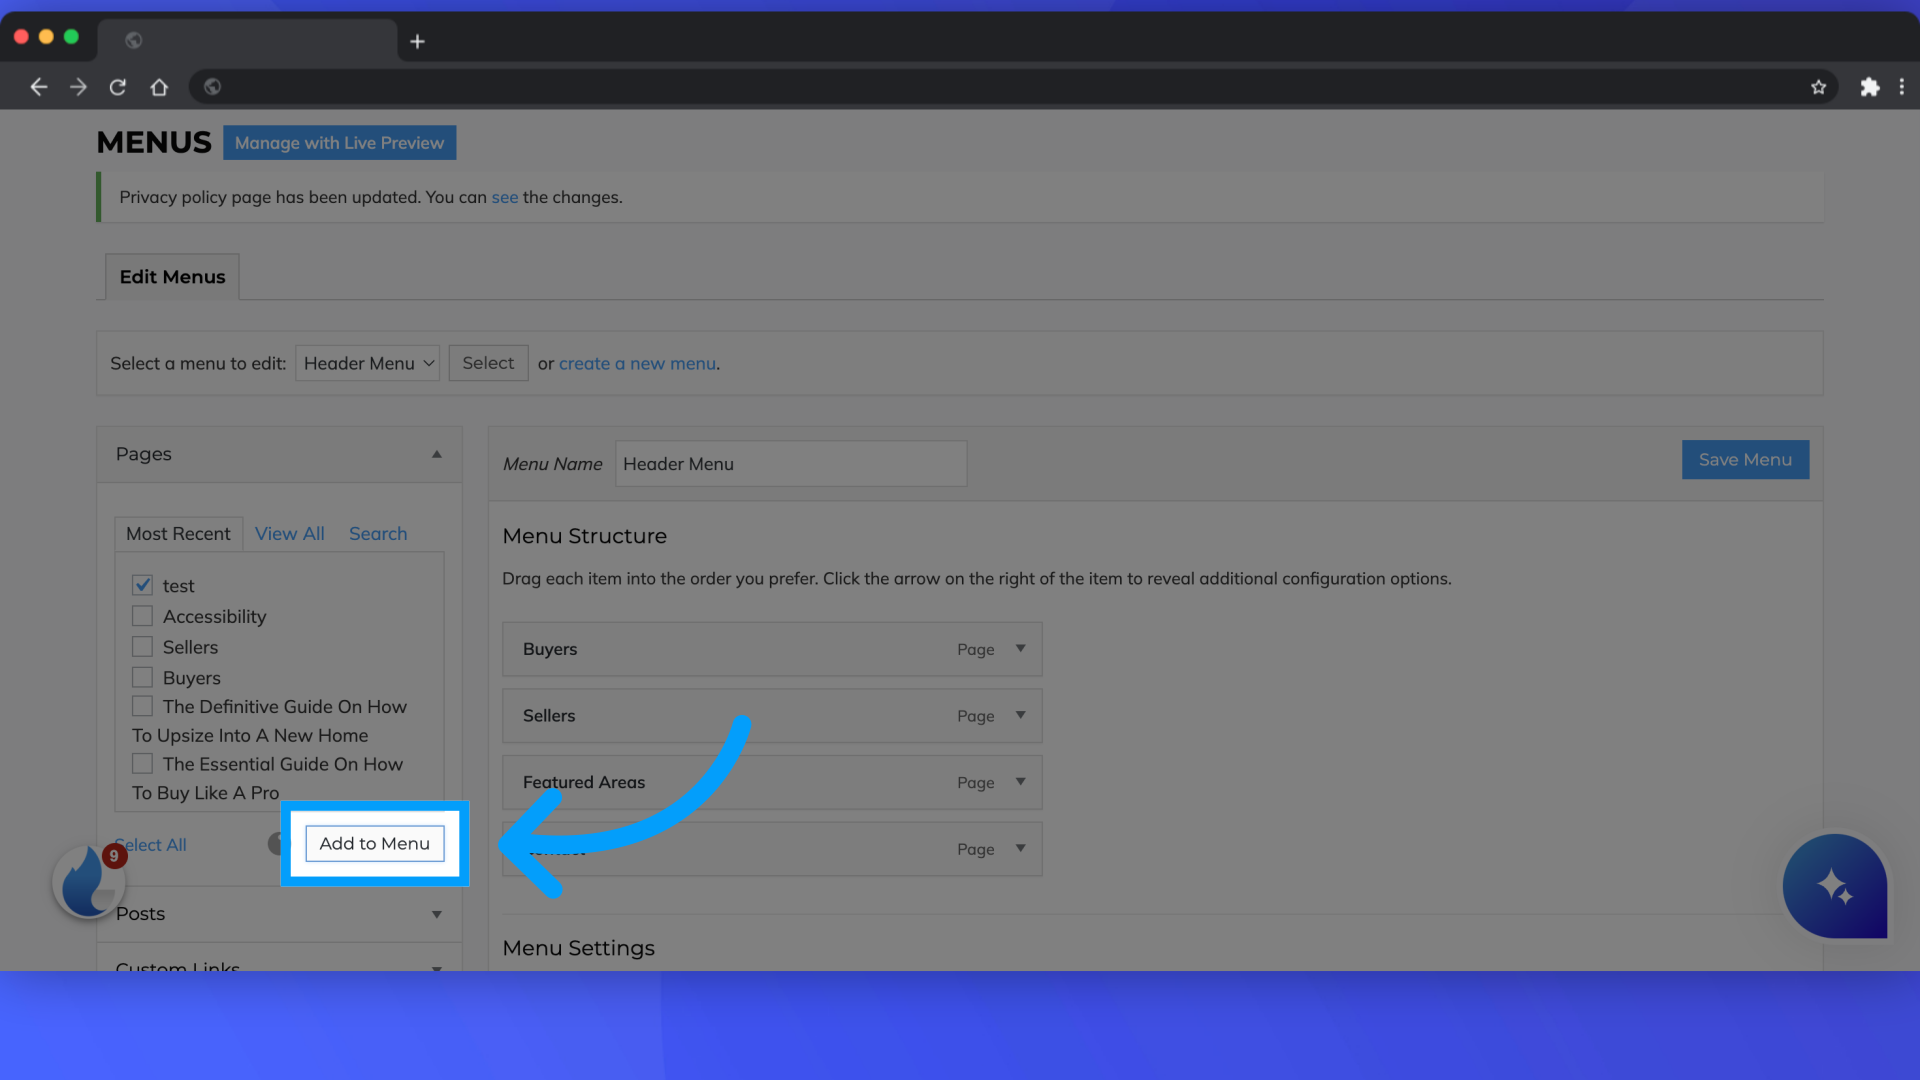
6. Click "Add to Menu"
Add the selected item to the menu by clicking on "Add to Menu."
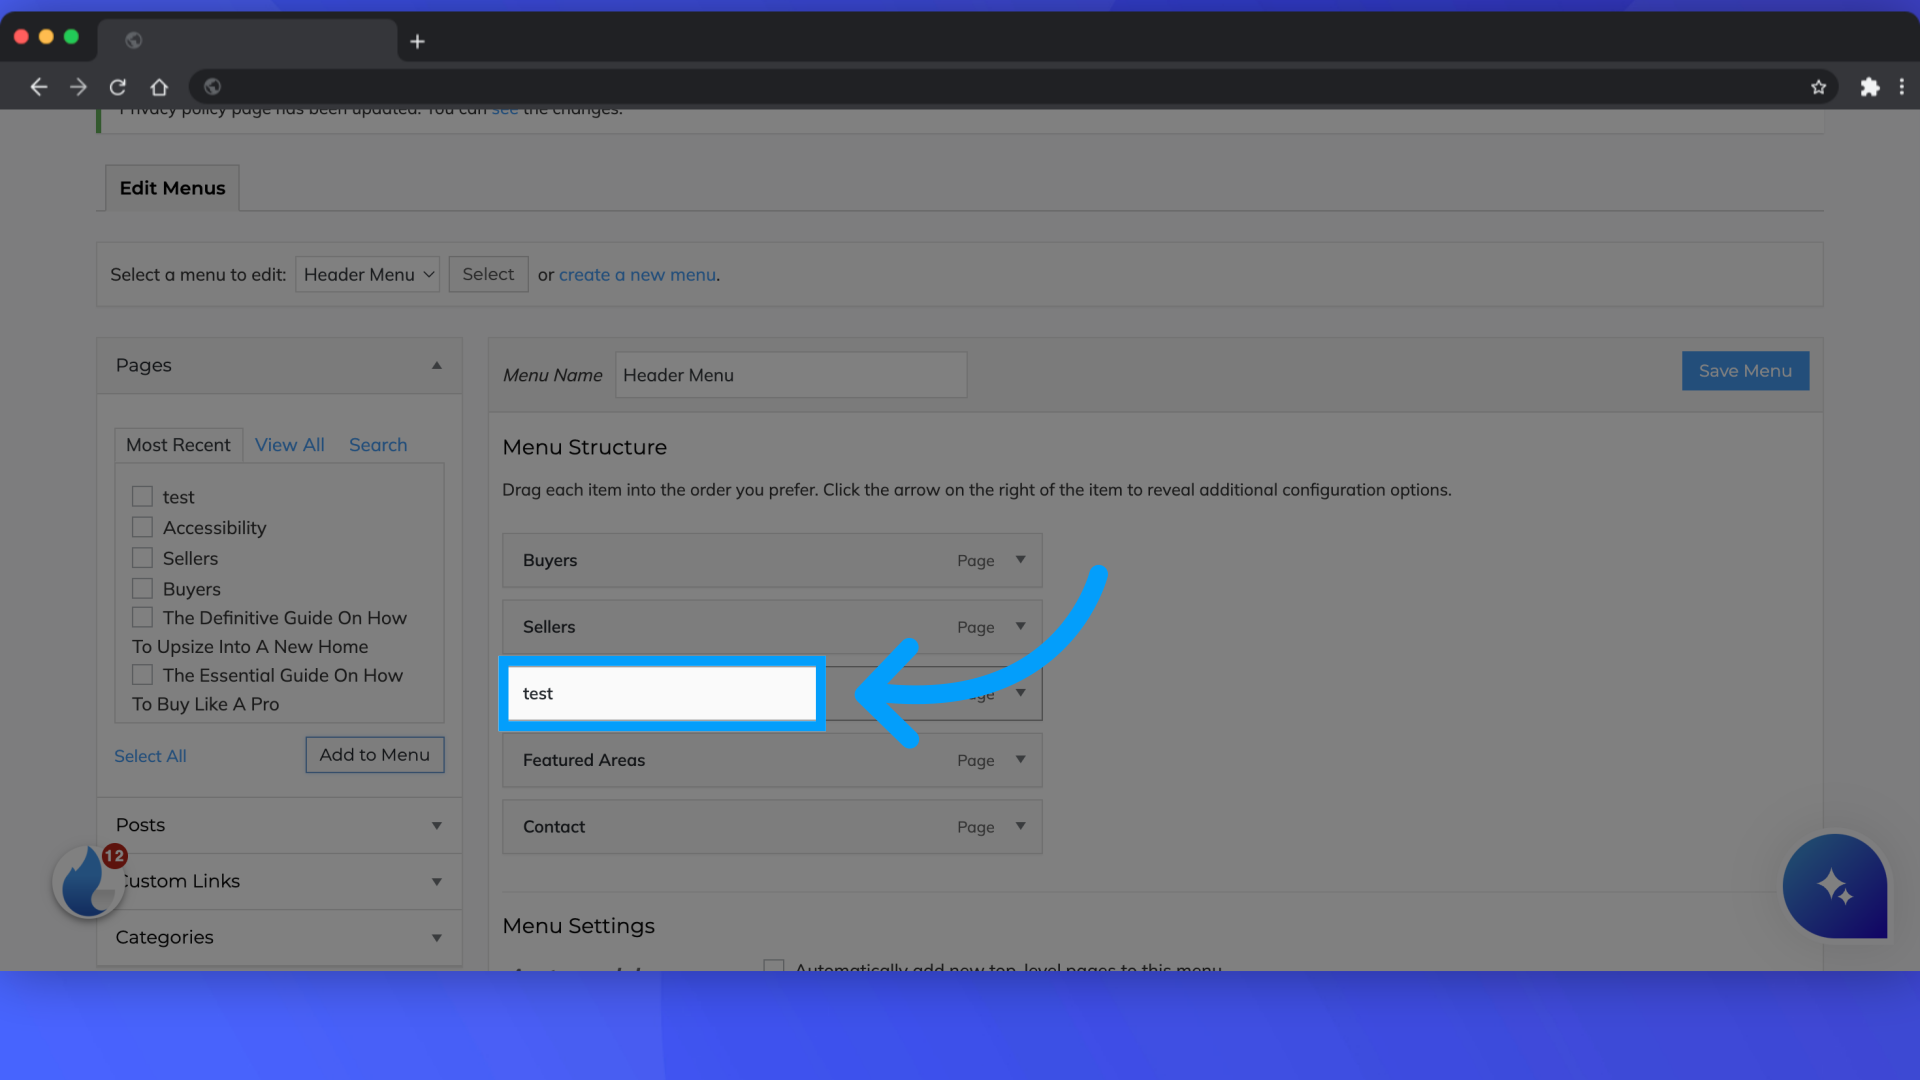
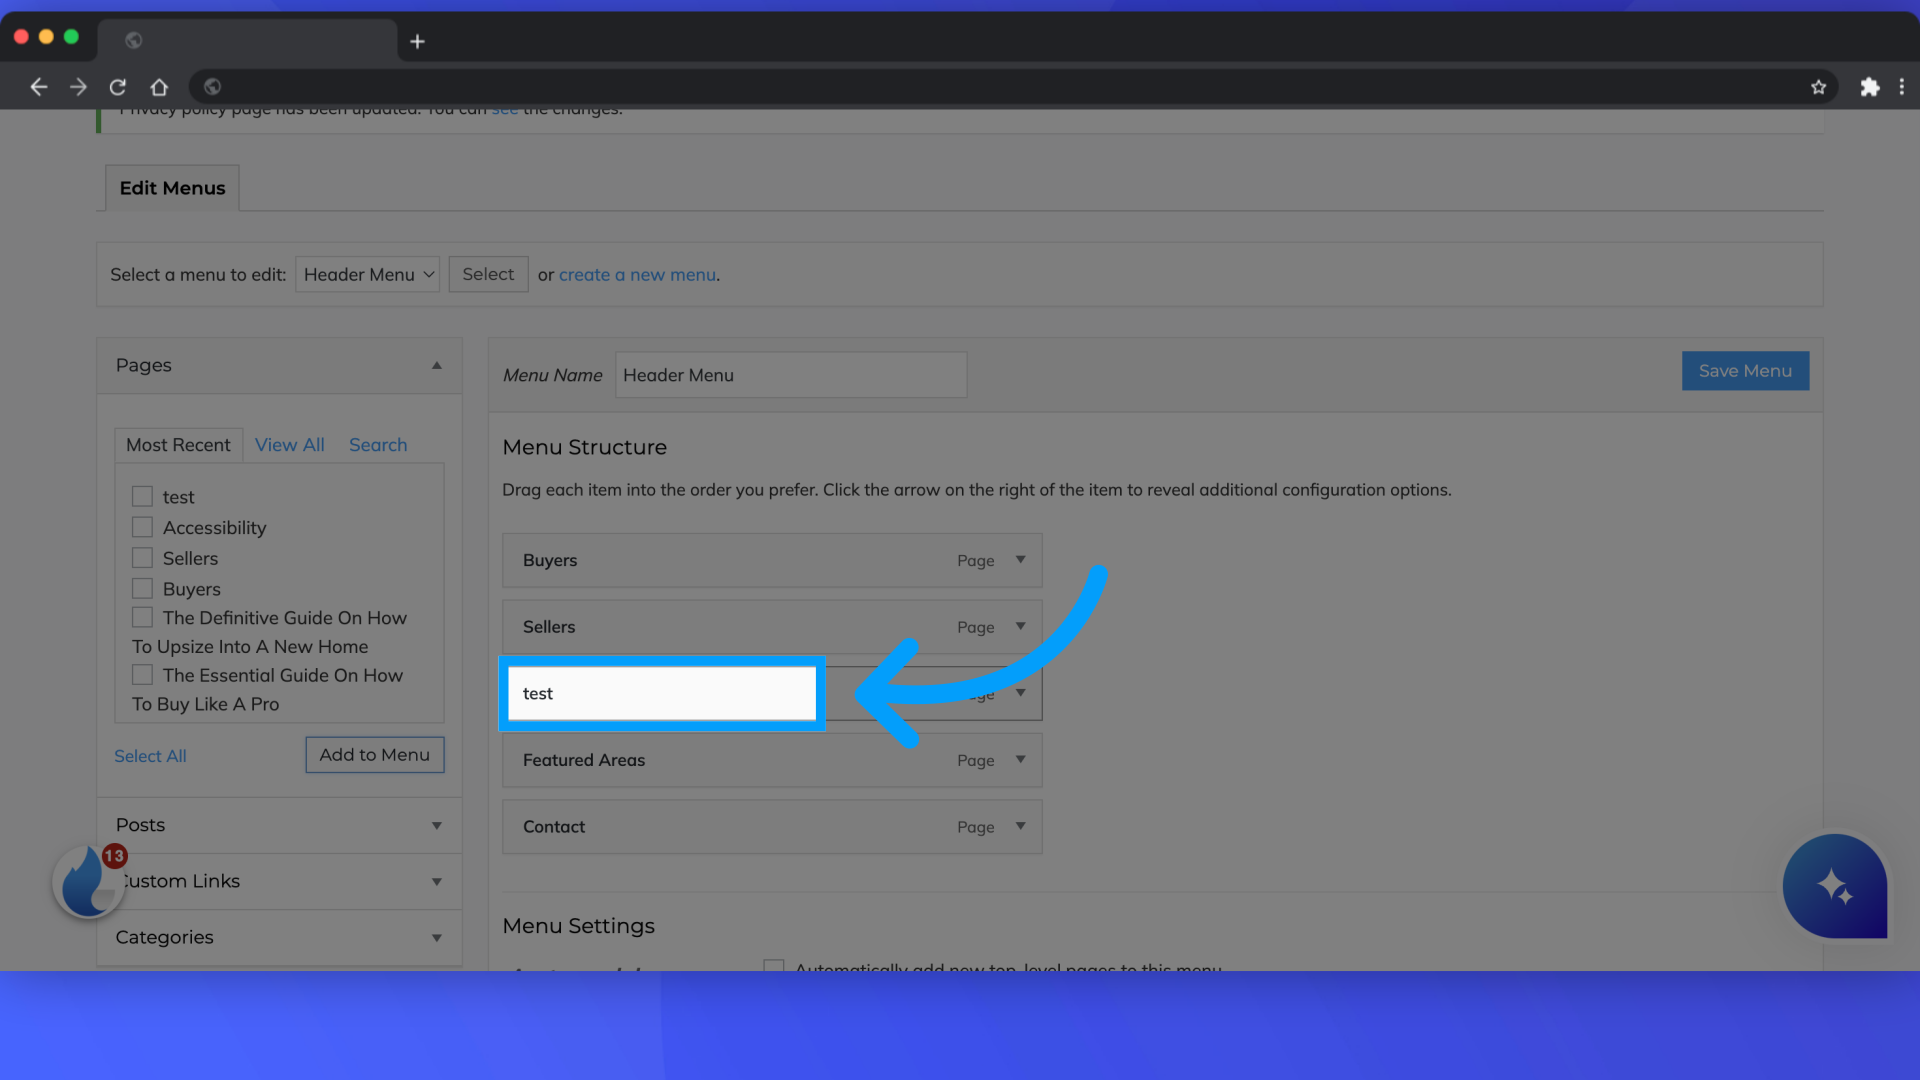
7. Drag the page to where you would like it to be.
Drag the page to where you would like it to be. It can be it's own menu item, or you can drag it to the right to make it a "sub item" of a tab already on the header.
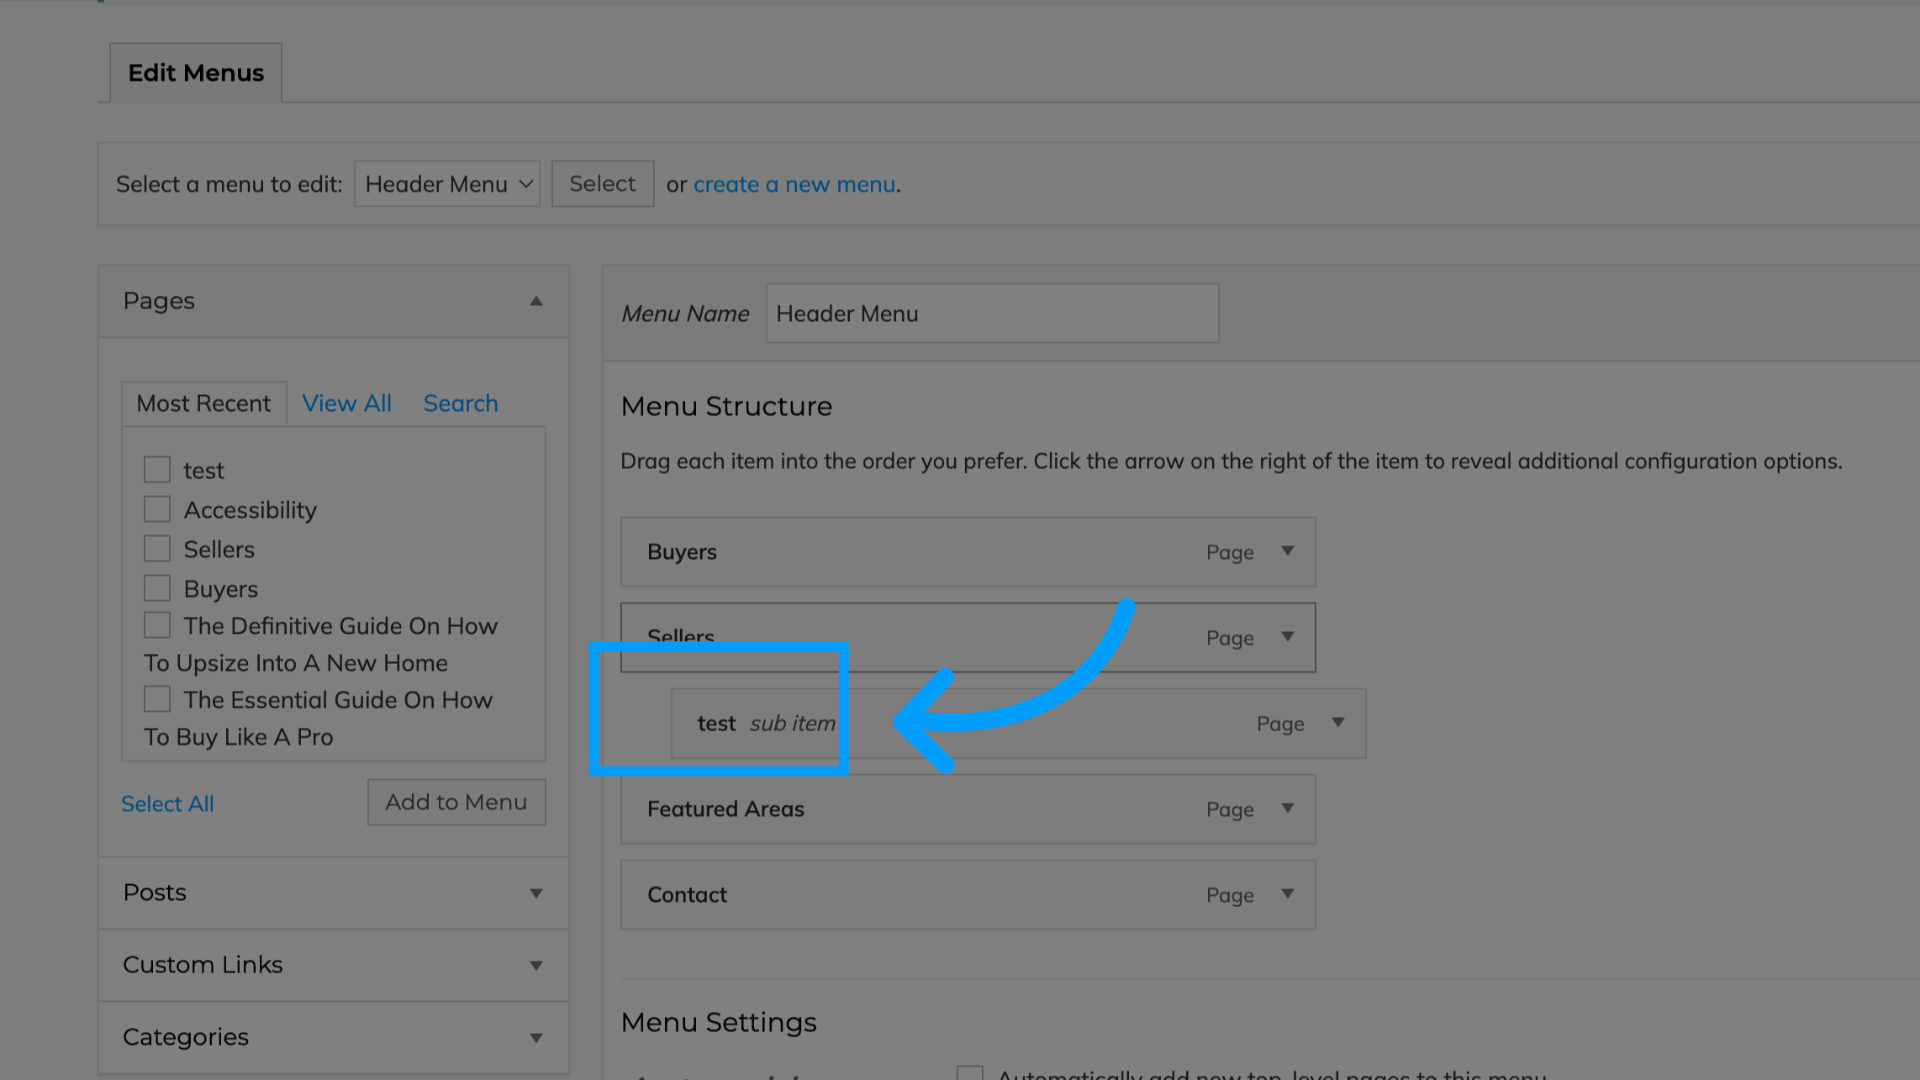
8. Drag it over to the right to make it a "sub-item" of sellers.
Drag it over to the right to make it a "sub-item" of sellers. This will make the "test" page part of the drop down menu of "sellers"
9. Keep it in line to the left if you'd like your new page to be it's own tab
Keep it in line to the left if you'd like your new page to be it's own tab
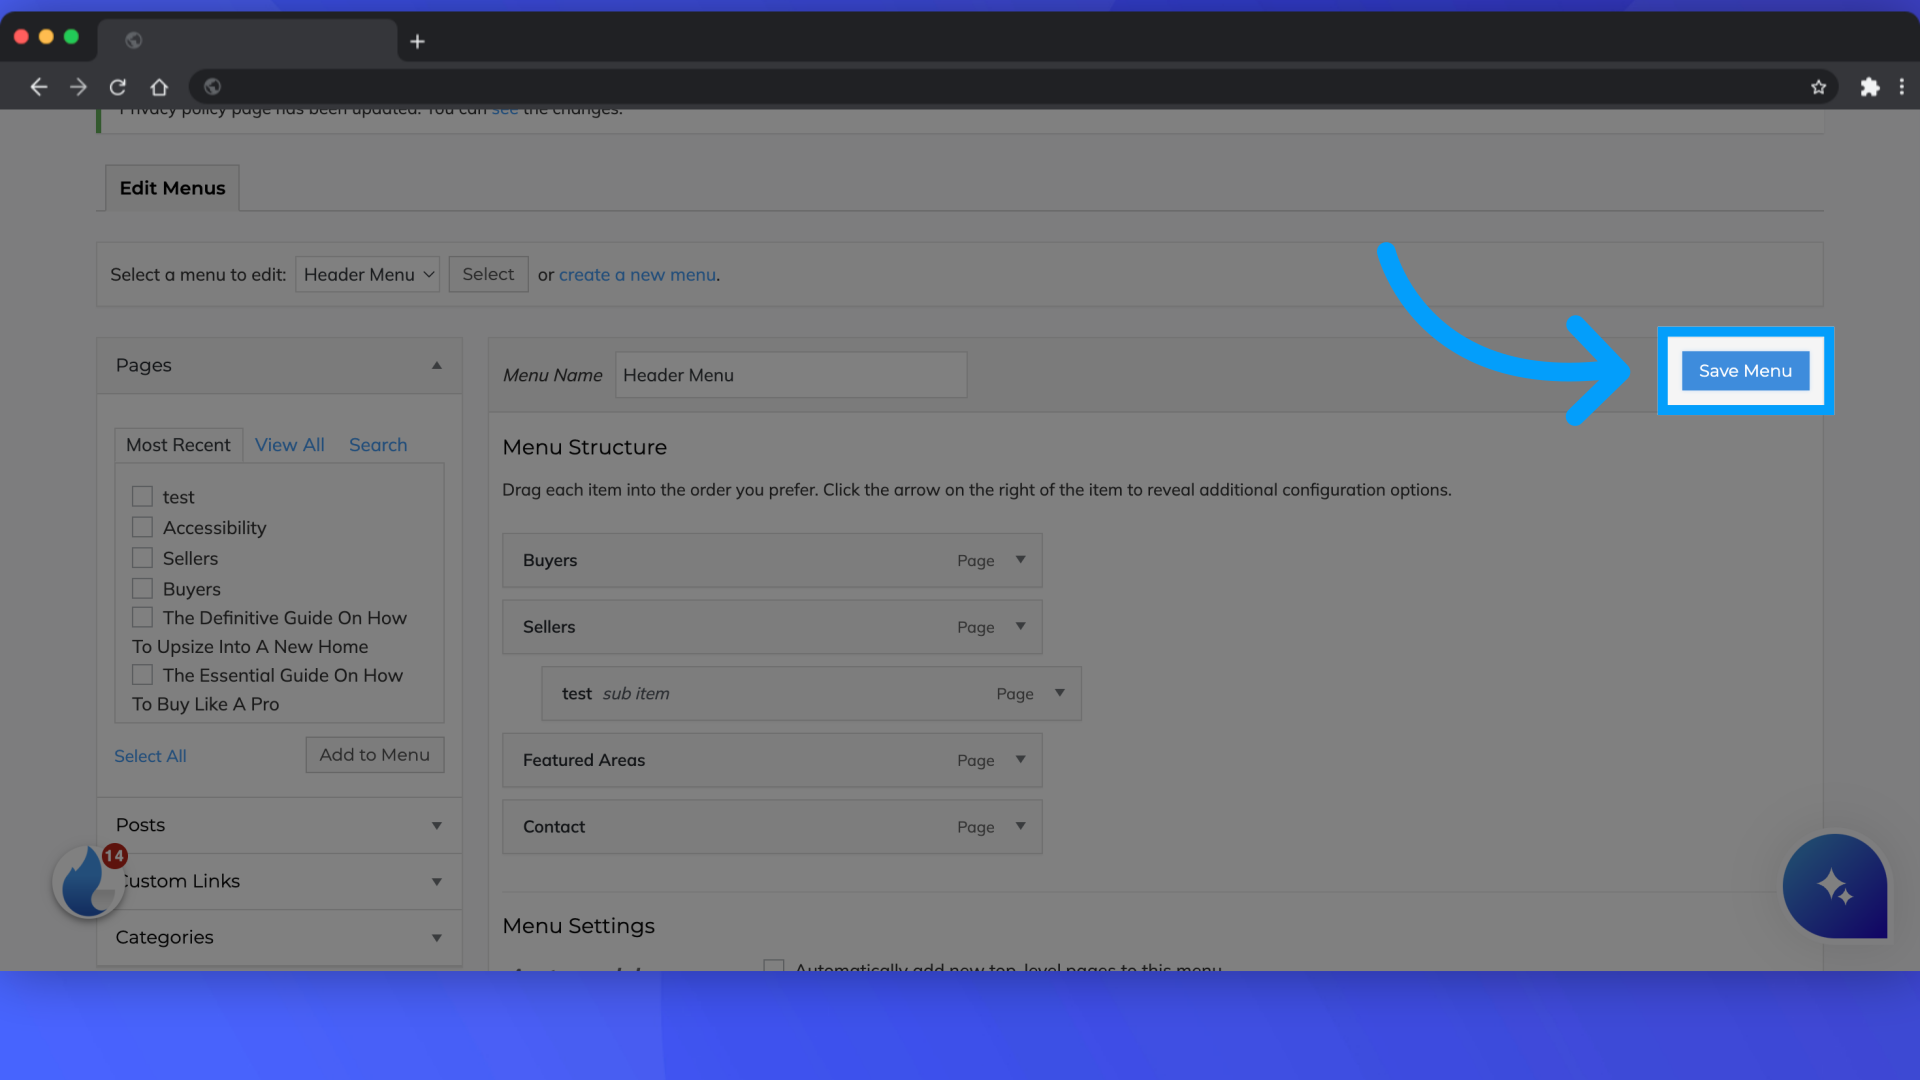
10. Click "Save Menu"
Save the menu by clicking on "Save Menu."
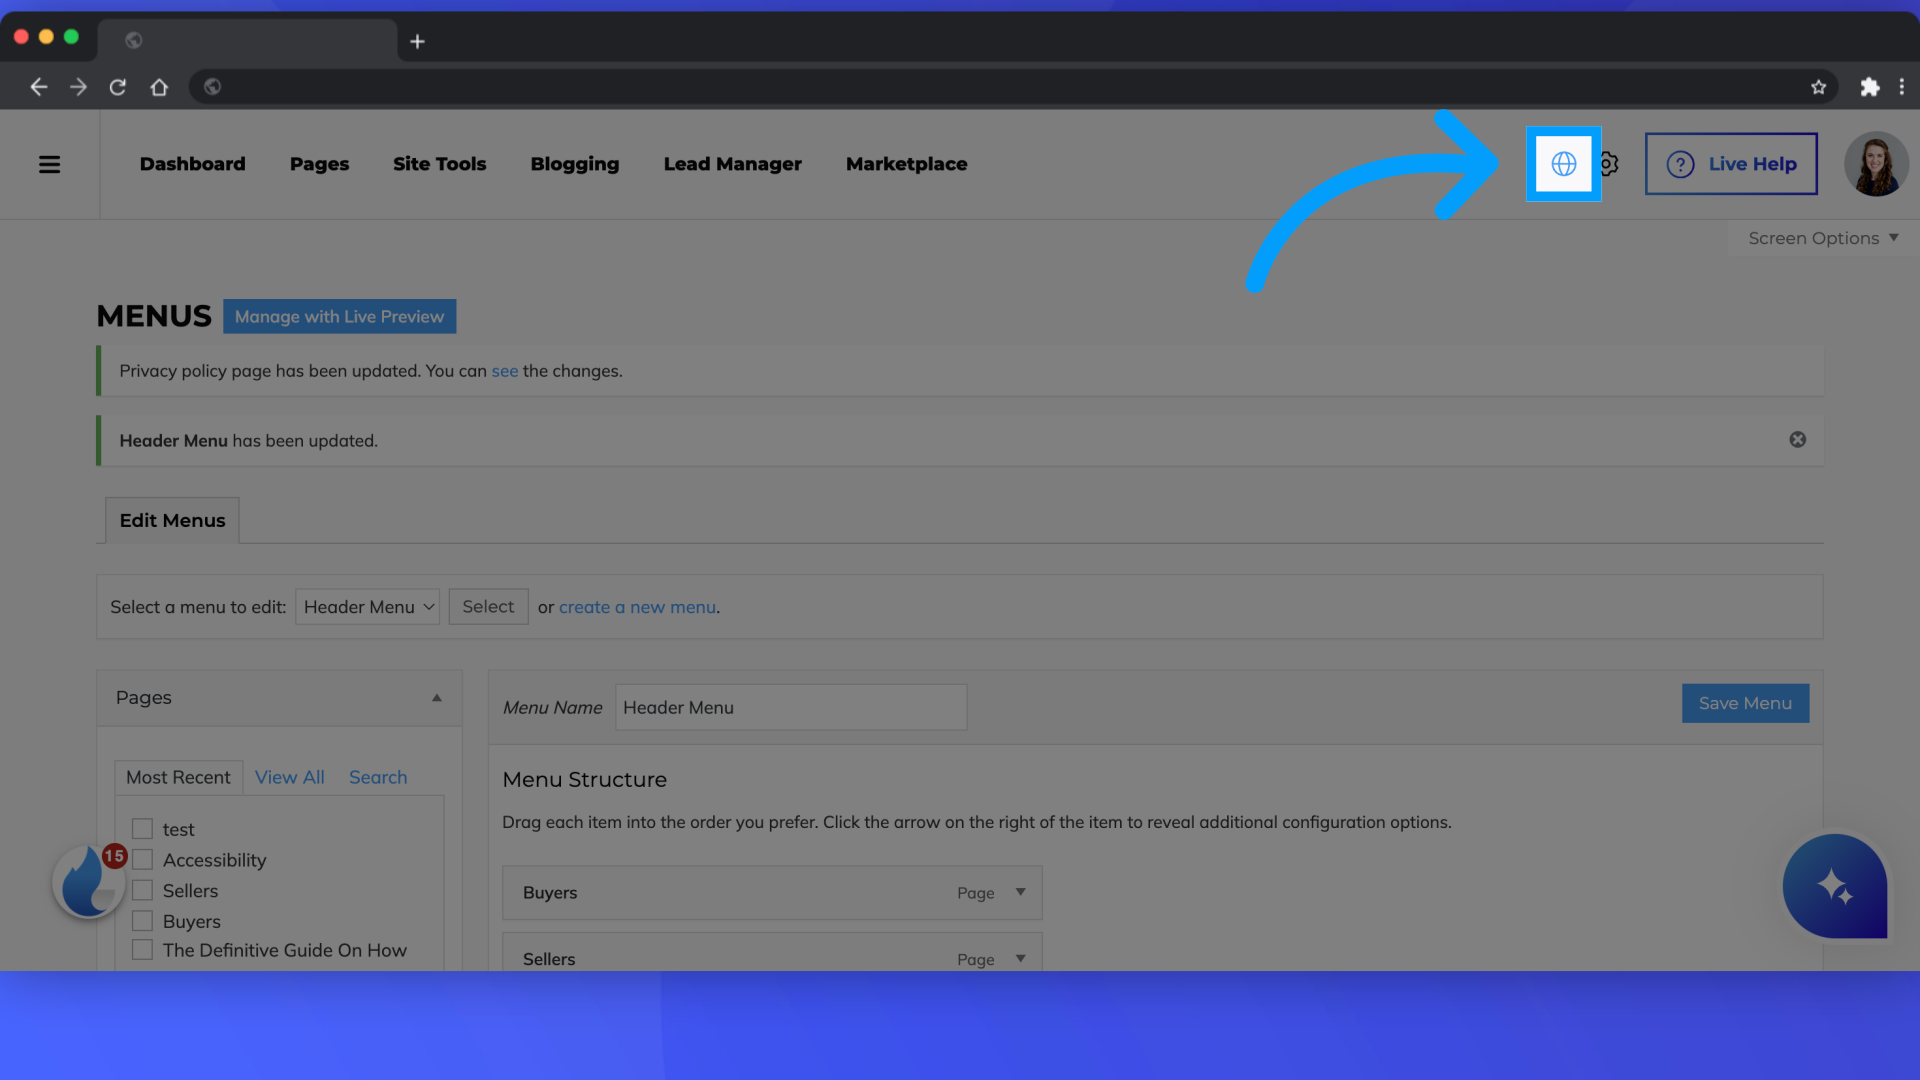
11. Click the earth button to see what this looks like on your site
Click the earth button to see what this looks like on your site
12. Click the arrow beside sellers
Click the arrow beside sellers to see our "test" page visible in this drop down
