Showcase IDX: How to Create a Featured Listings Slider and Add a Showcase User
This guide will show you how to create a featured listings slider through Showcase IDX.
In this guide, you will be taken through the process of creating a slider that pulls listings using Showcase IDX. First, you will log into your backend by appending /wp-admin to your url
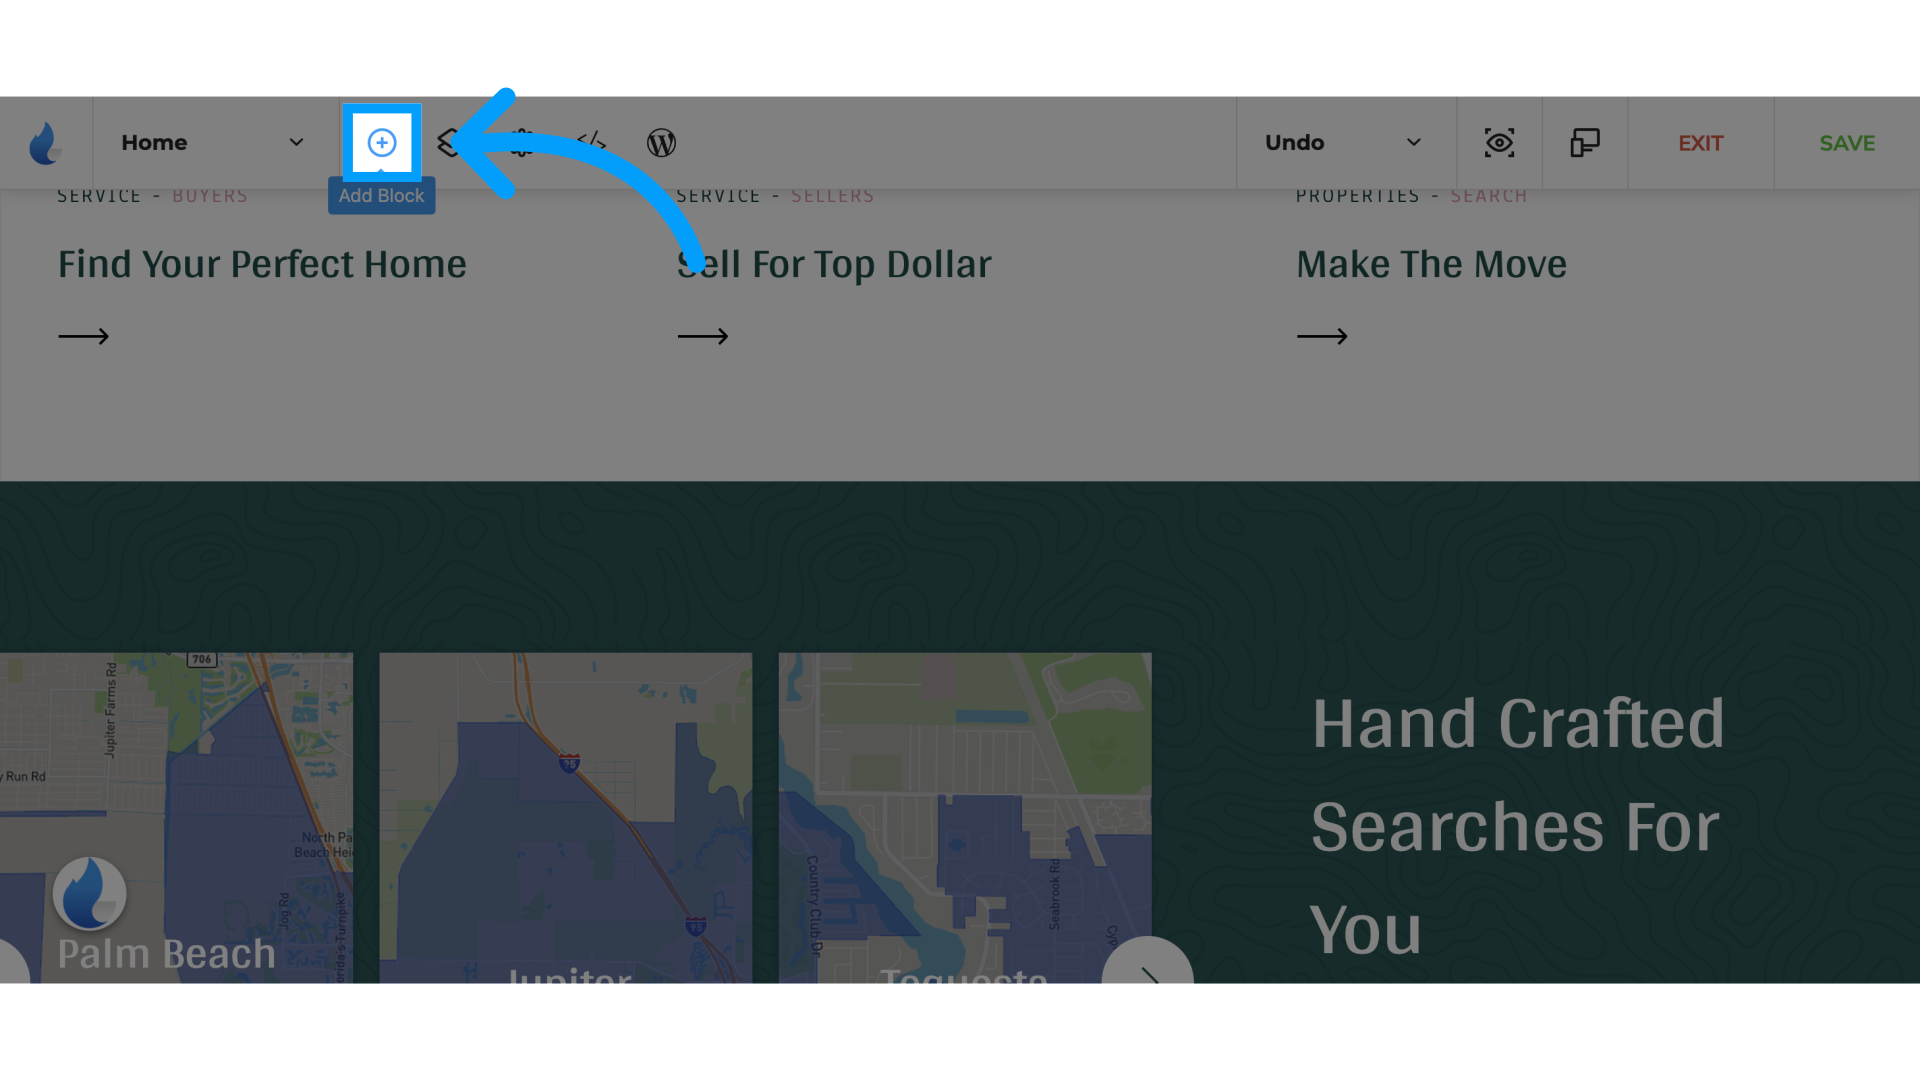
1. Click the + button
Click the + button in the tool bar to add a new block
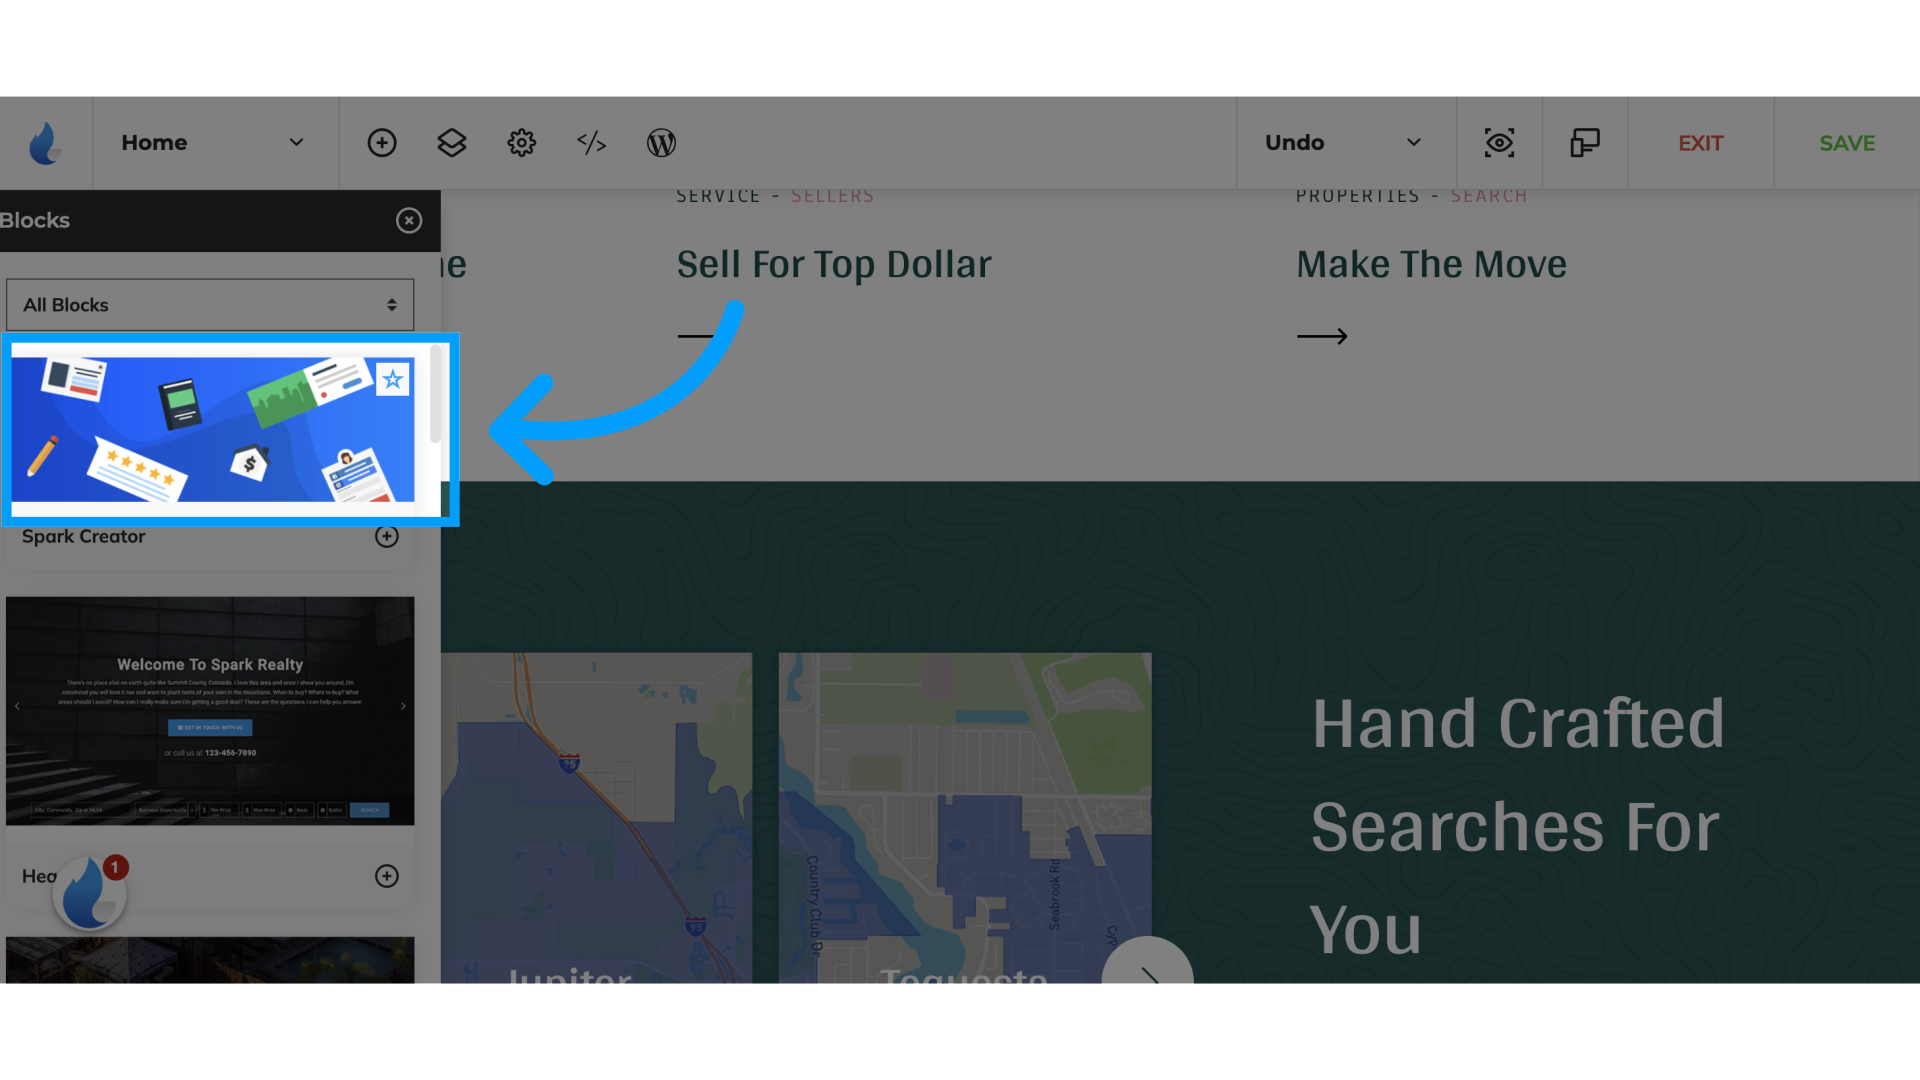
2. Next, Click 'Spark Creator'
Click Spark Creator or select a Listings template
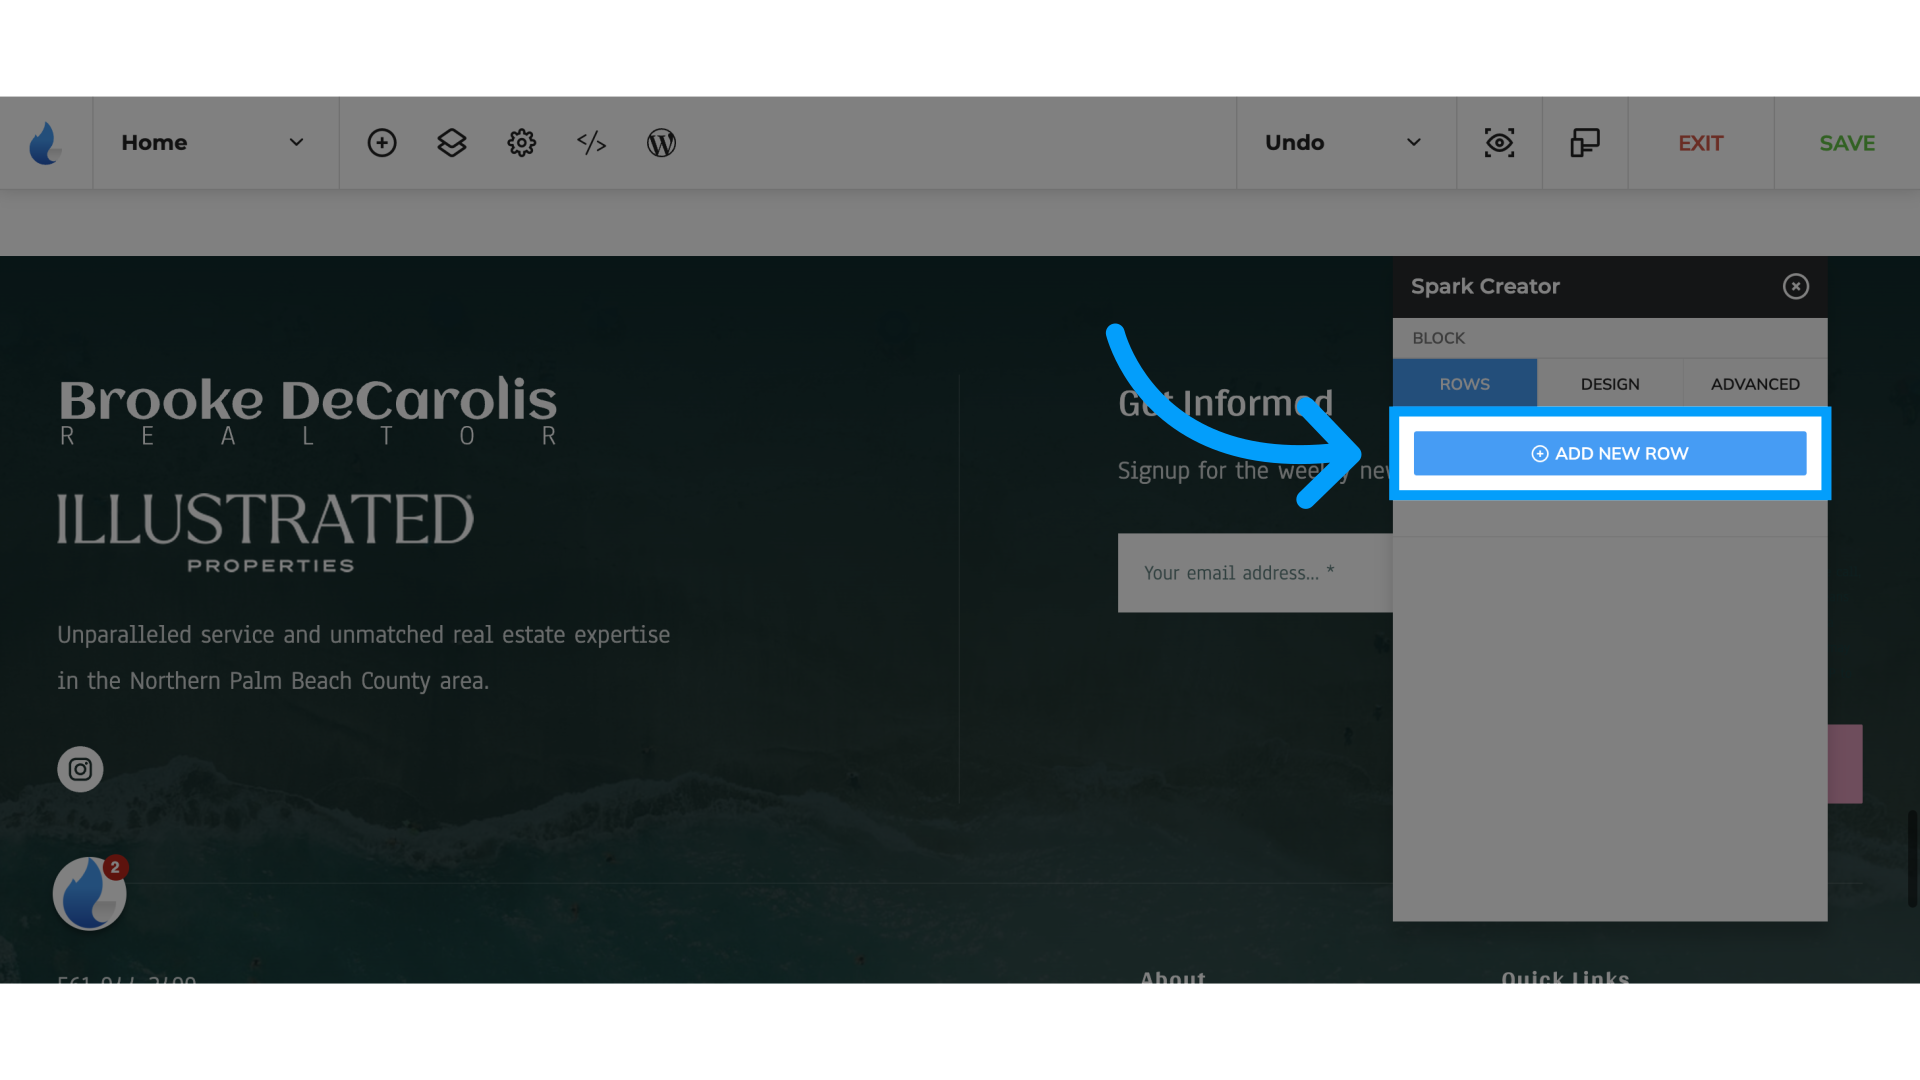
3. Click "Add New Row"
Add a new row to the layout.
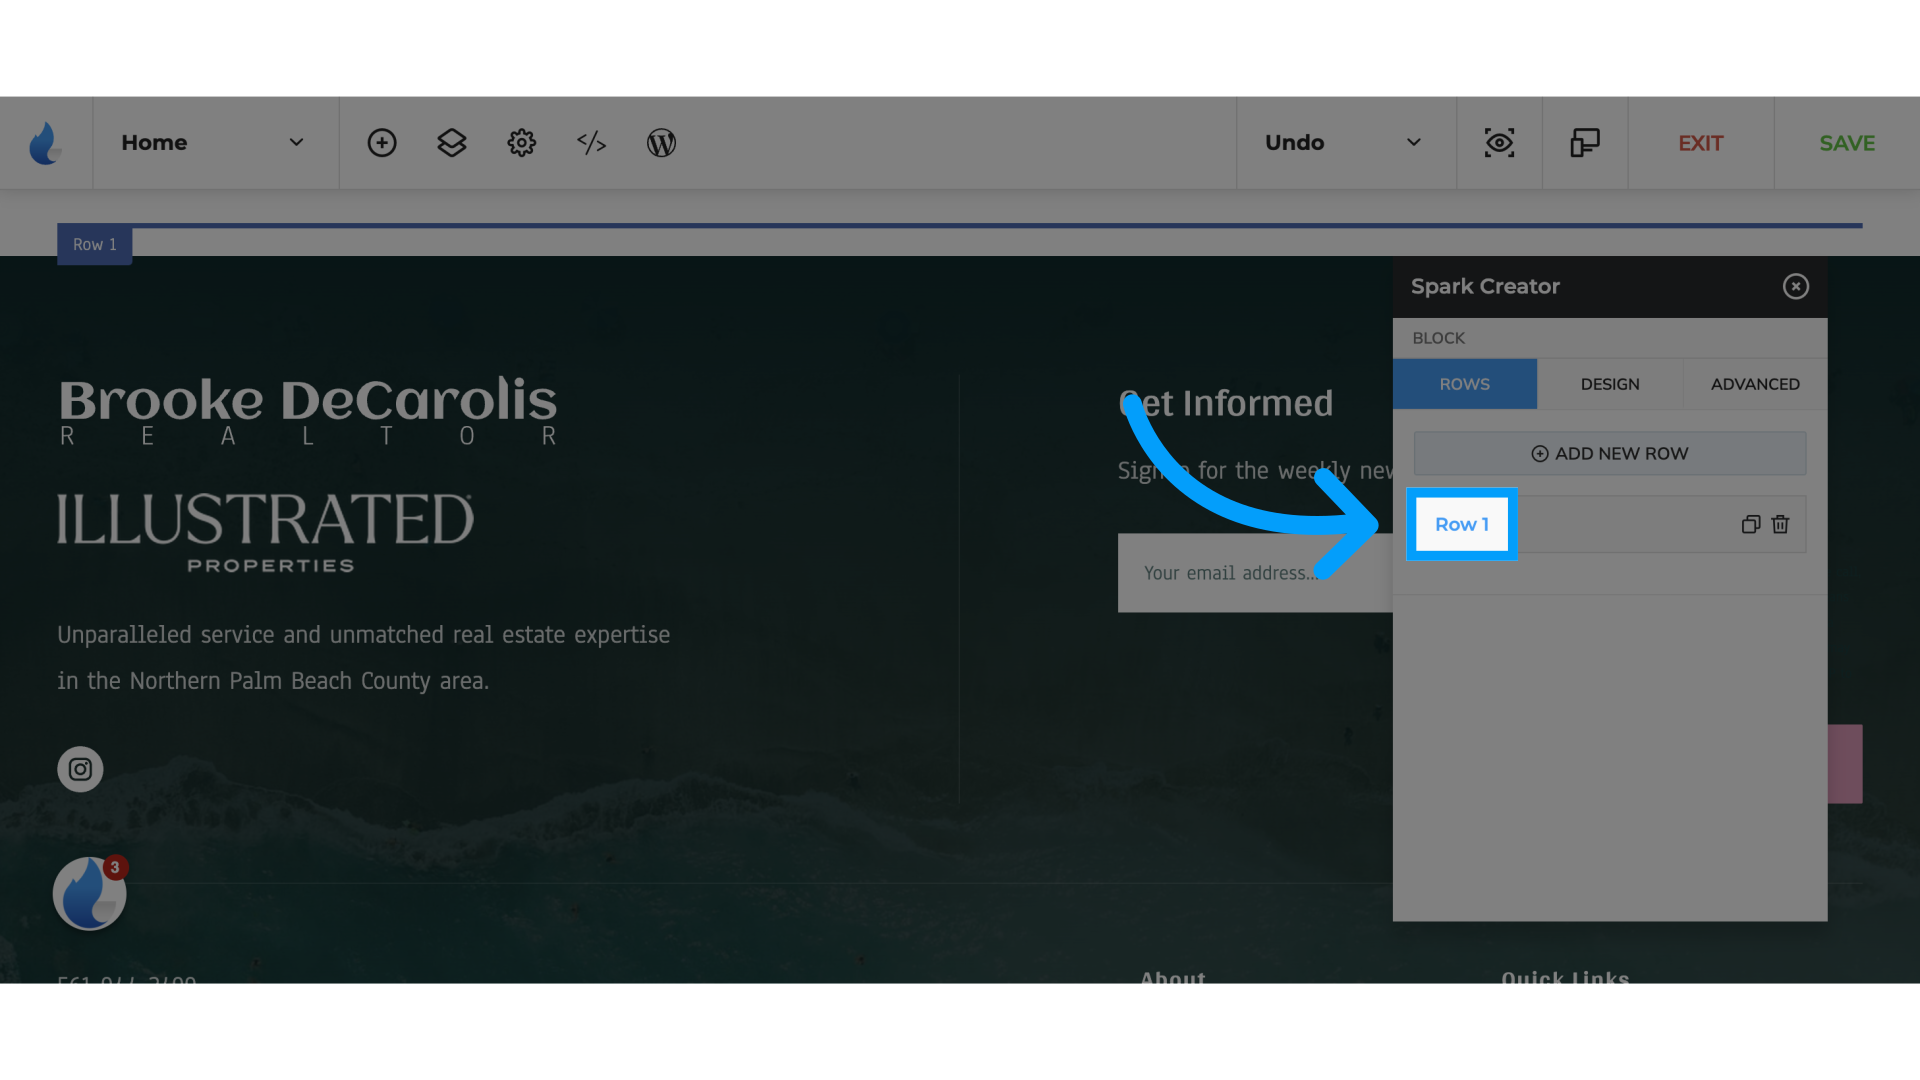
4. Click "Row 1"
Select the first row.
5. Click "Add Columns"
Insert additional columns.
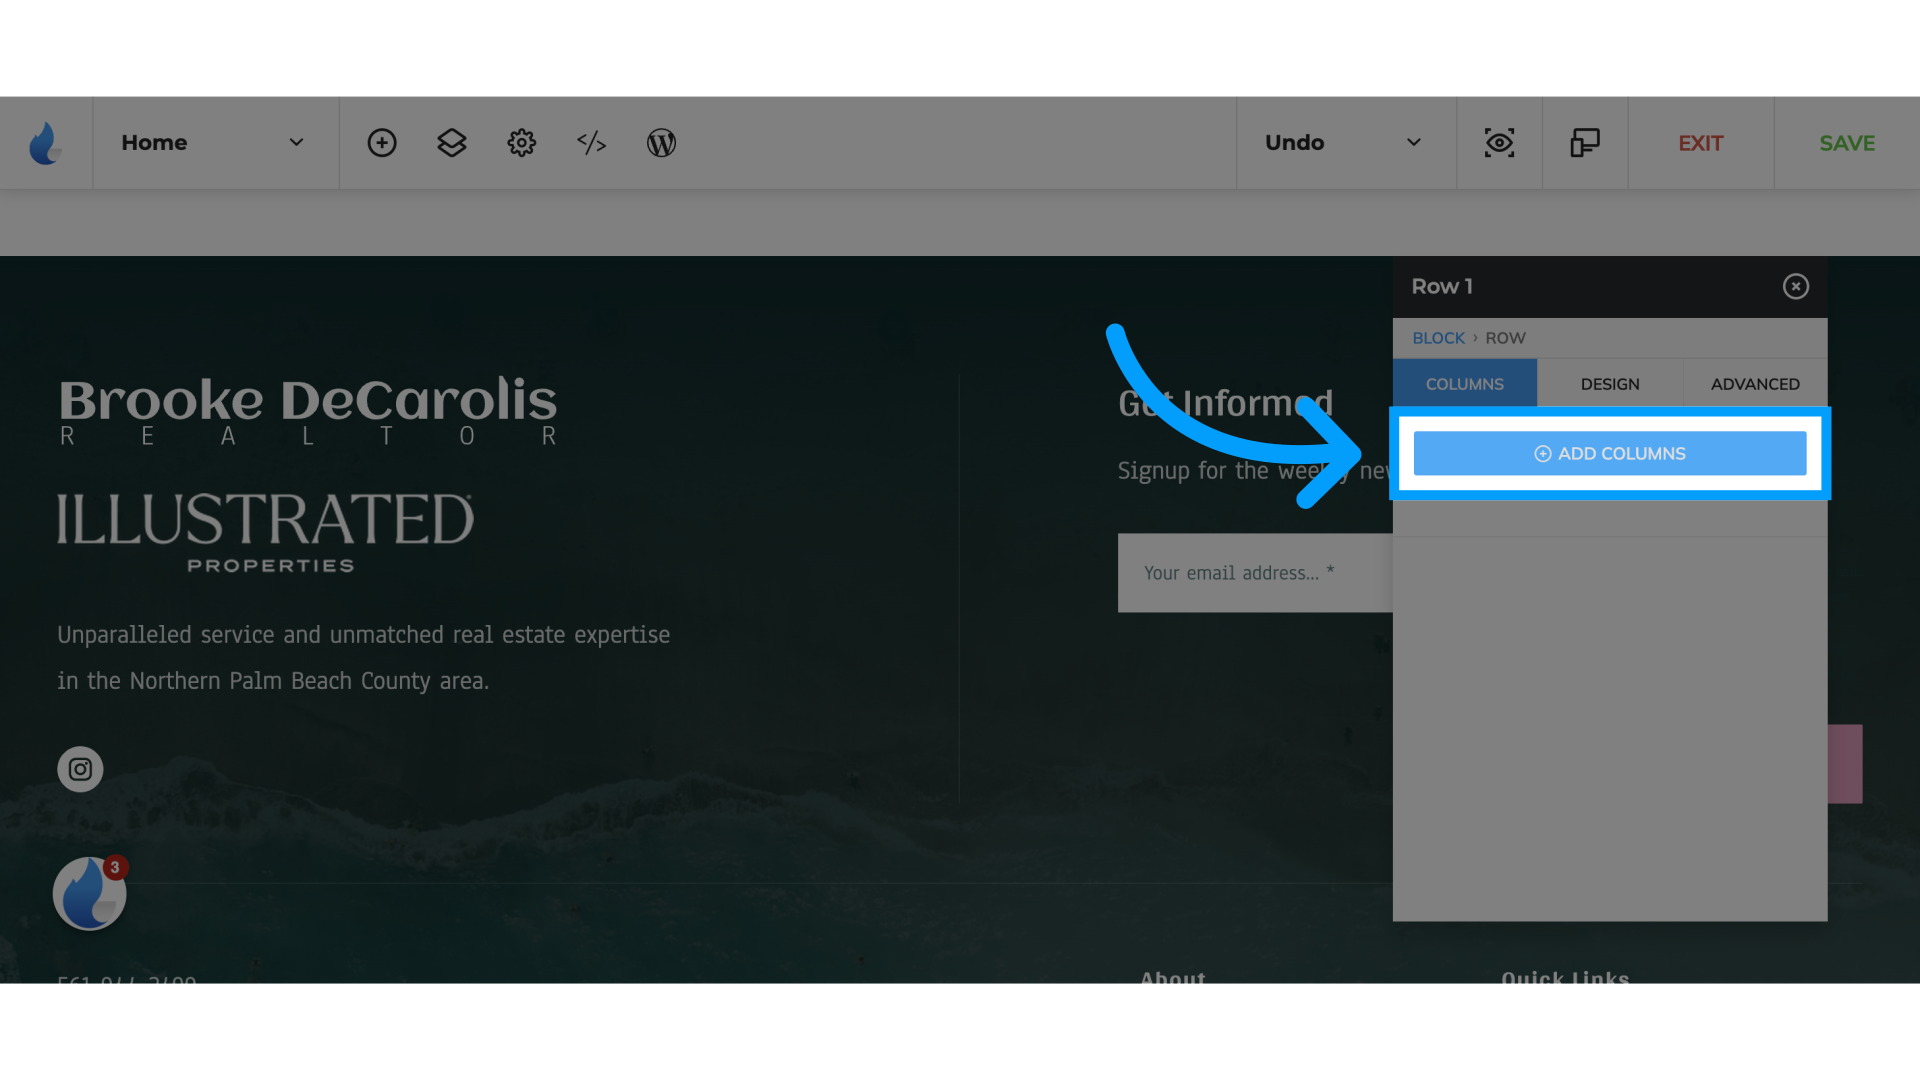
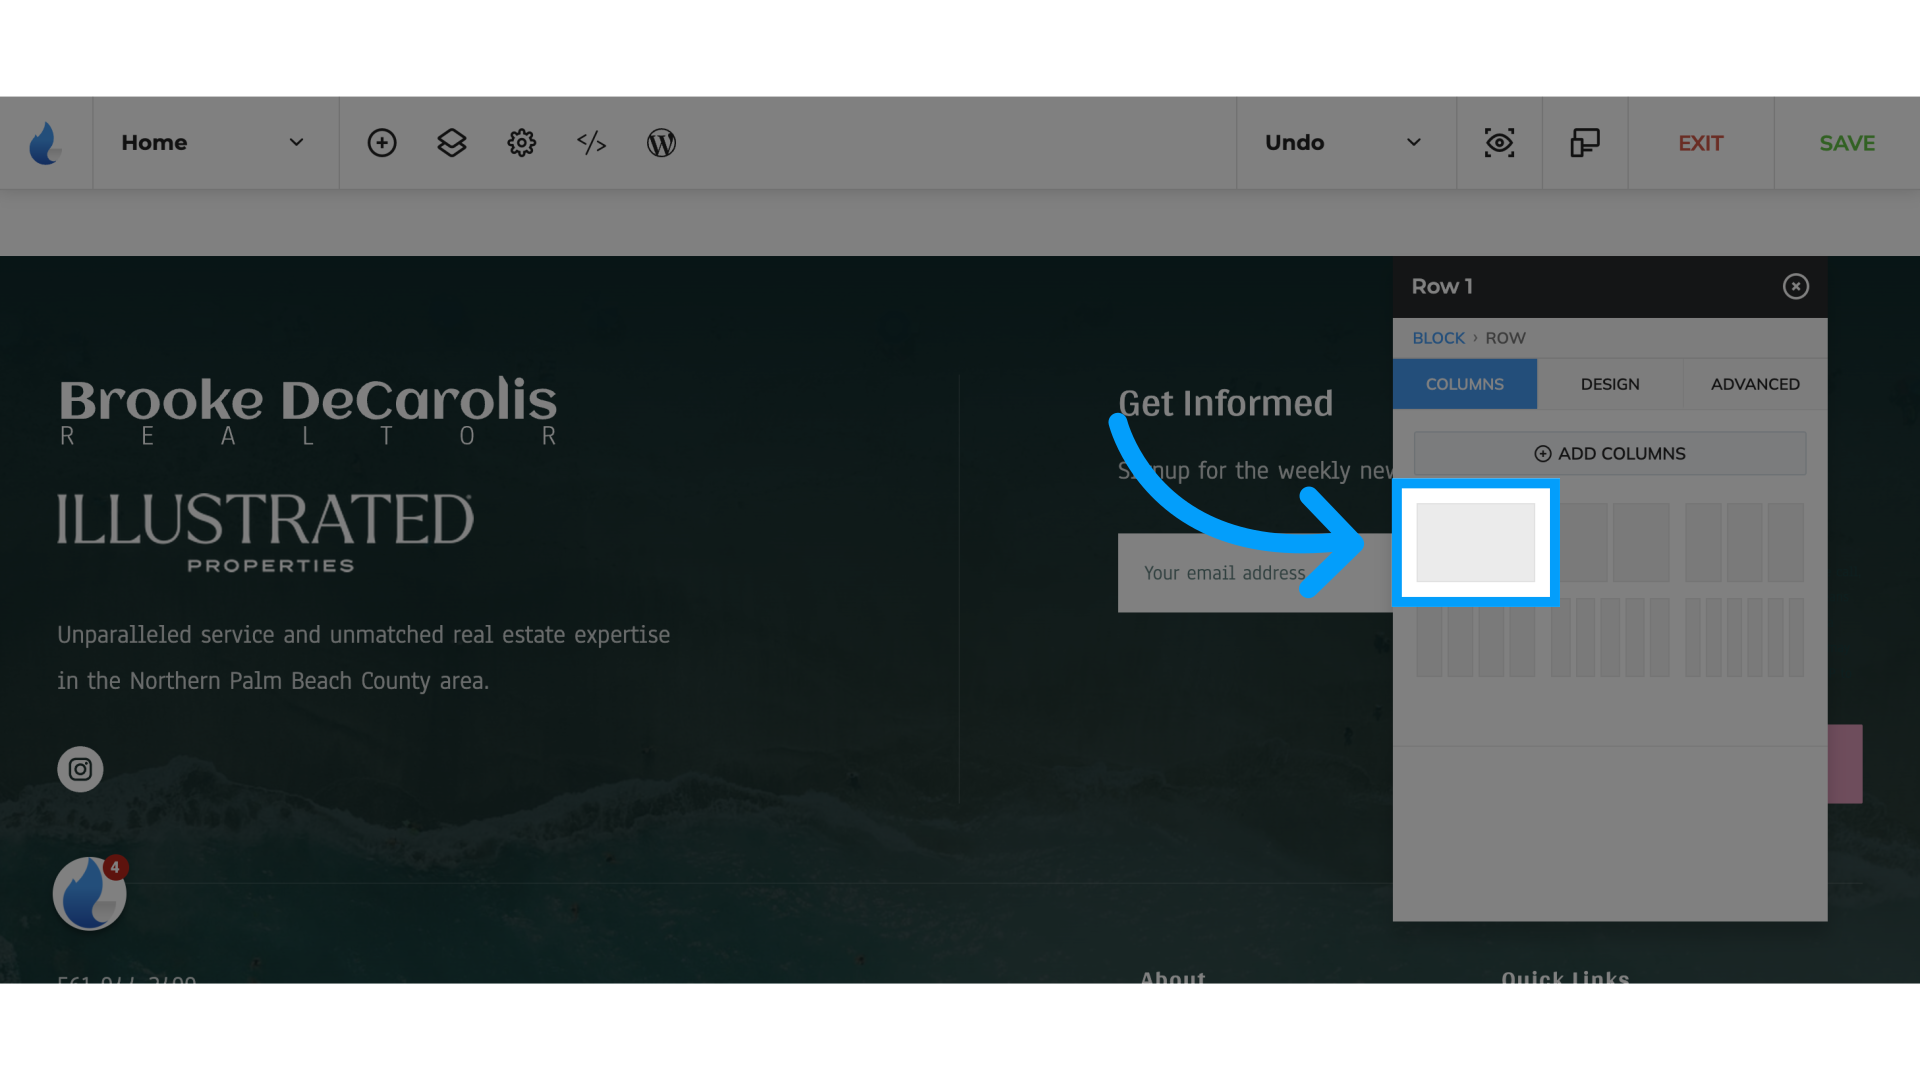
6. Click here
Click the selected option
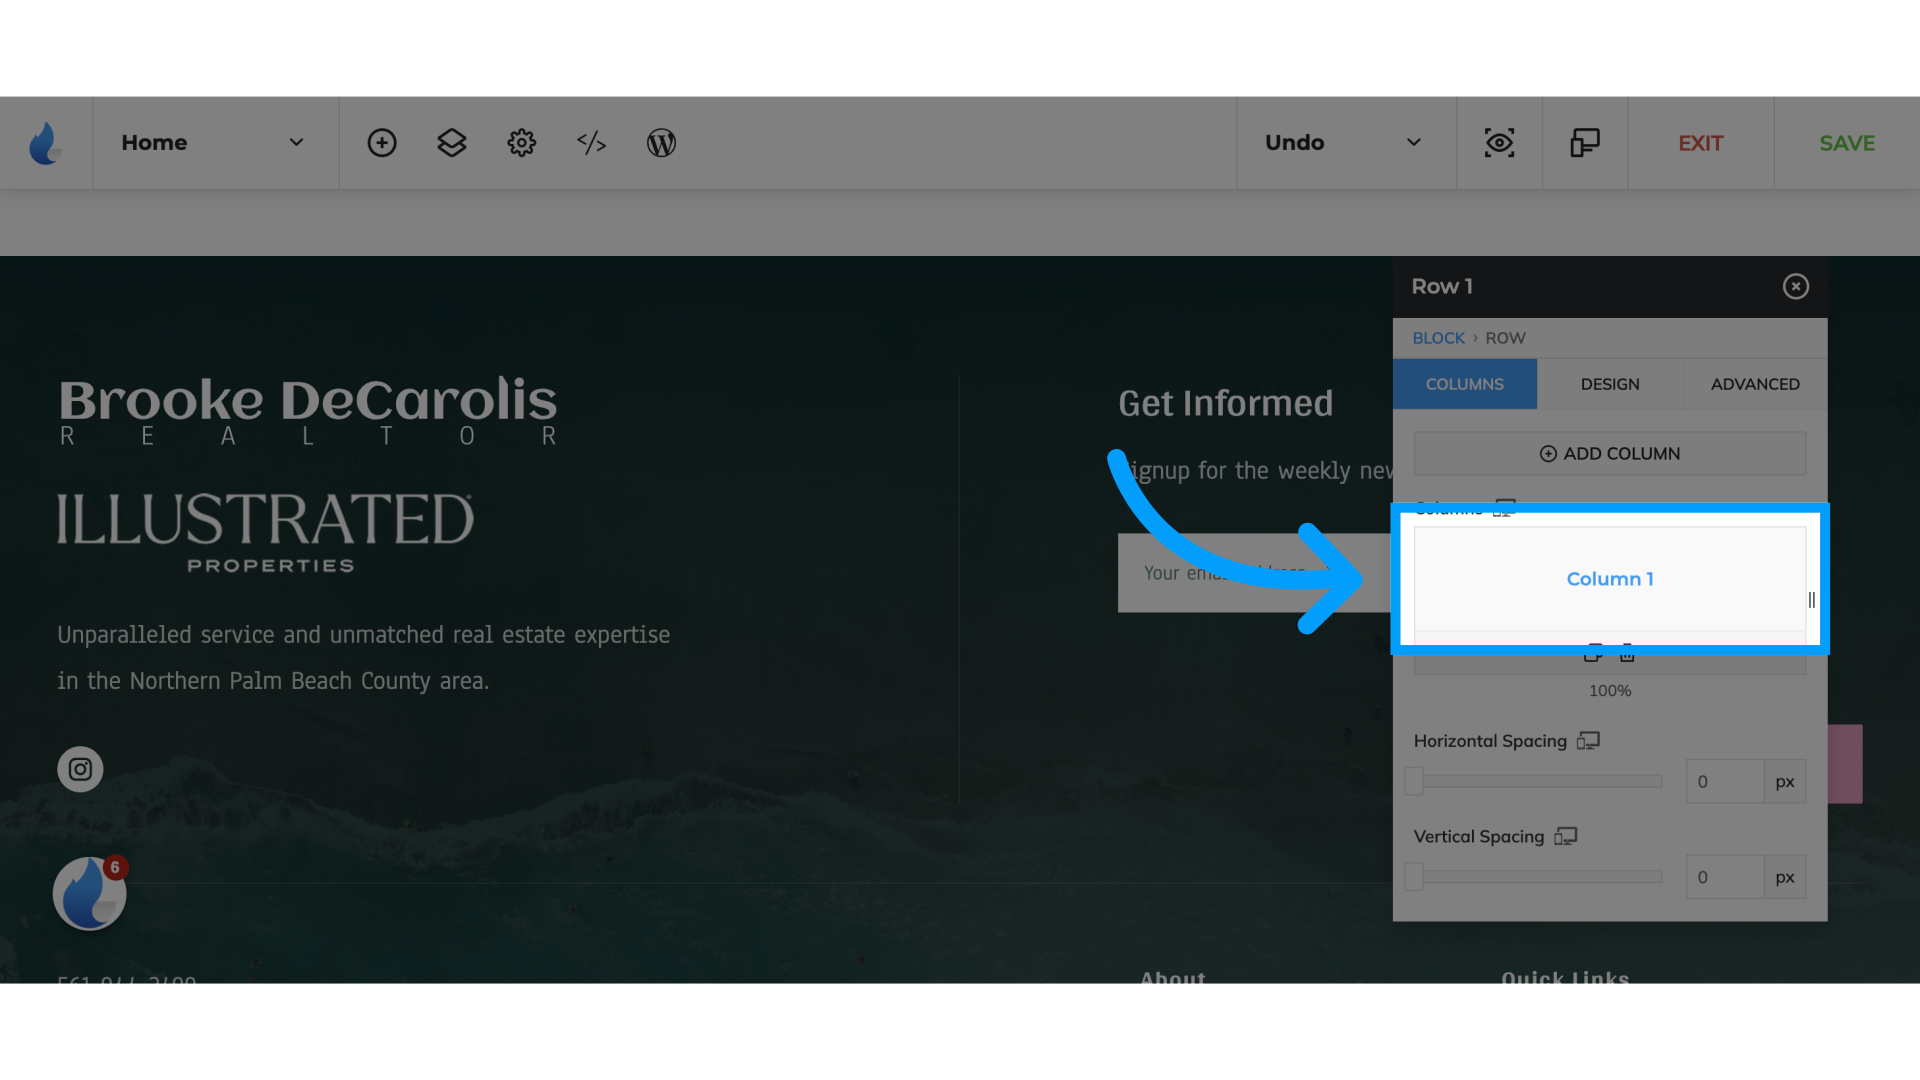
7. Click "Column 1"
Choose the first column.
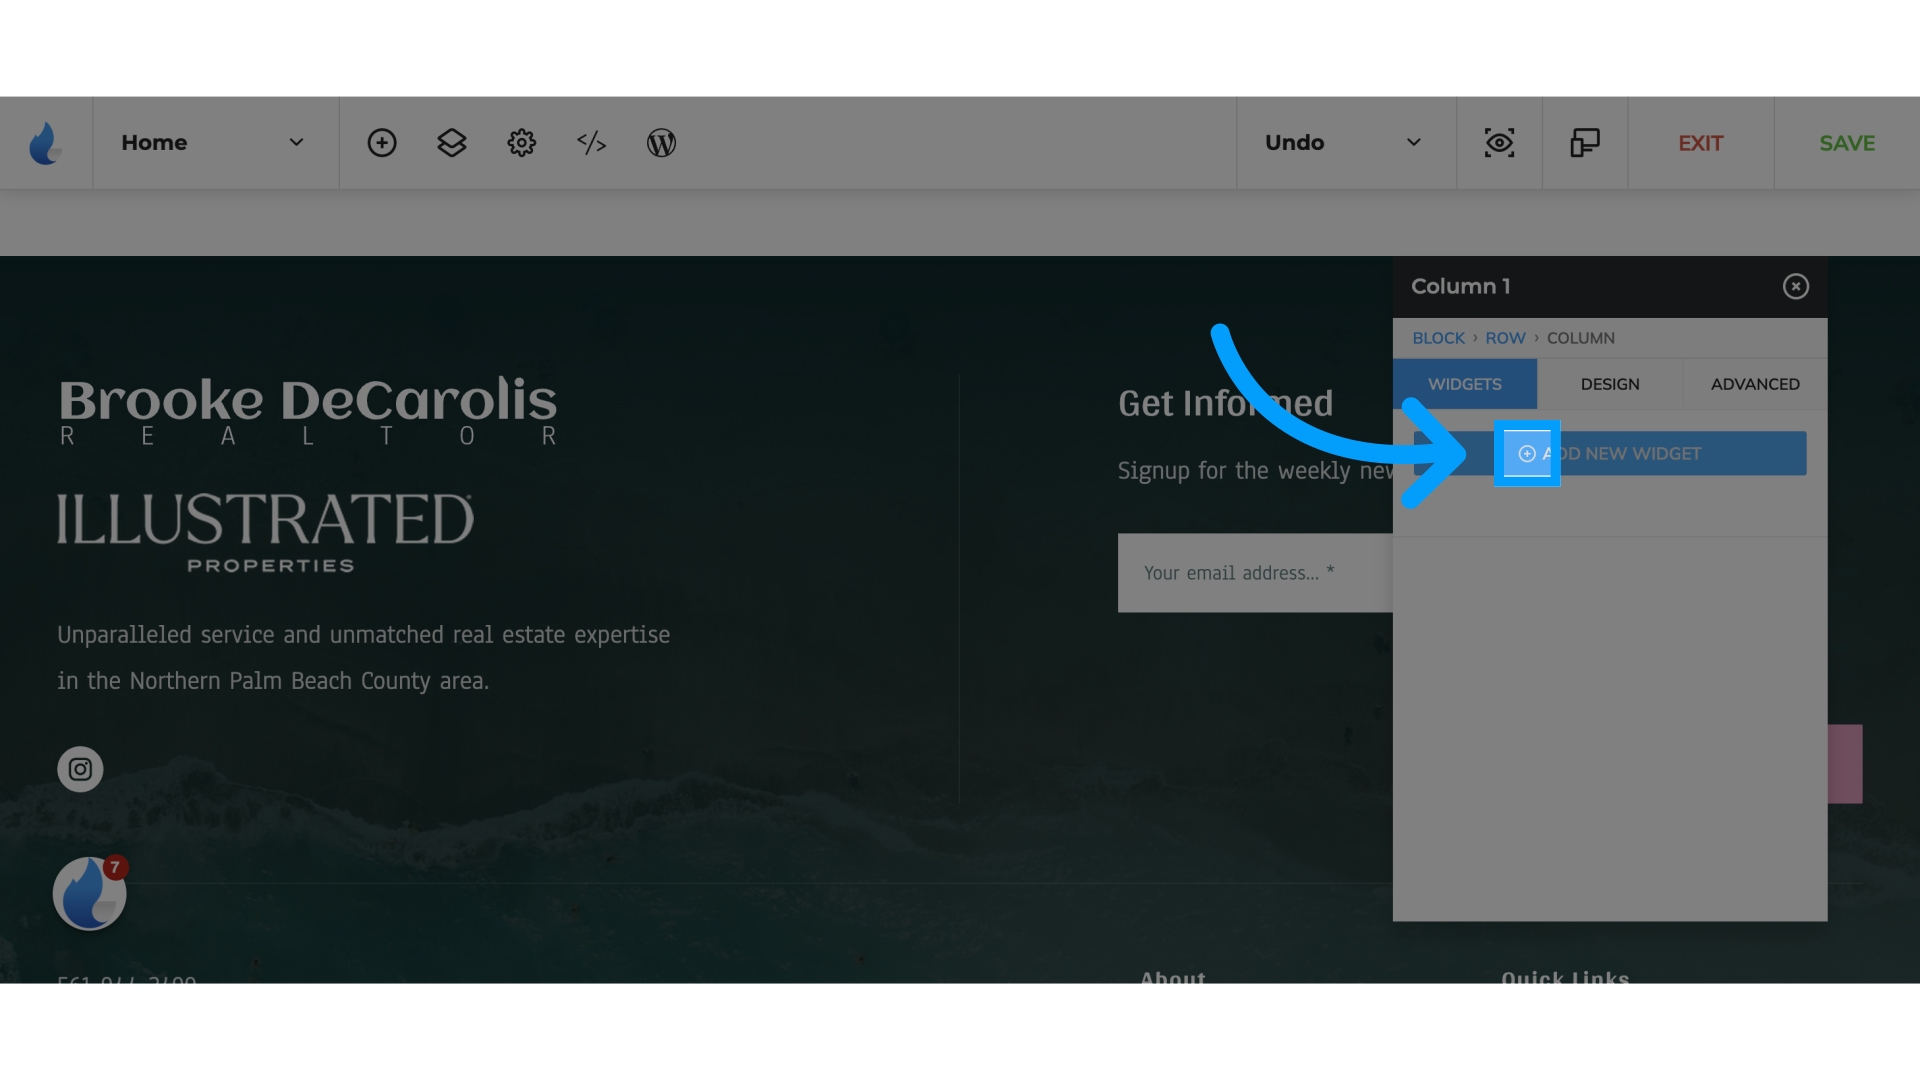
8. Click here
Add a Widget
9. Click "Slider"
Select the slider option.
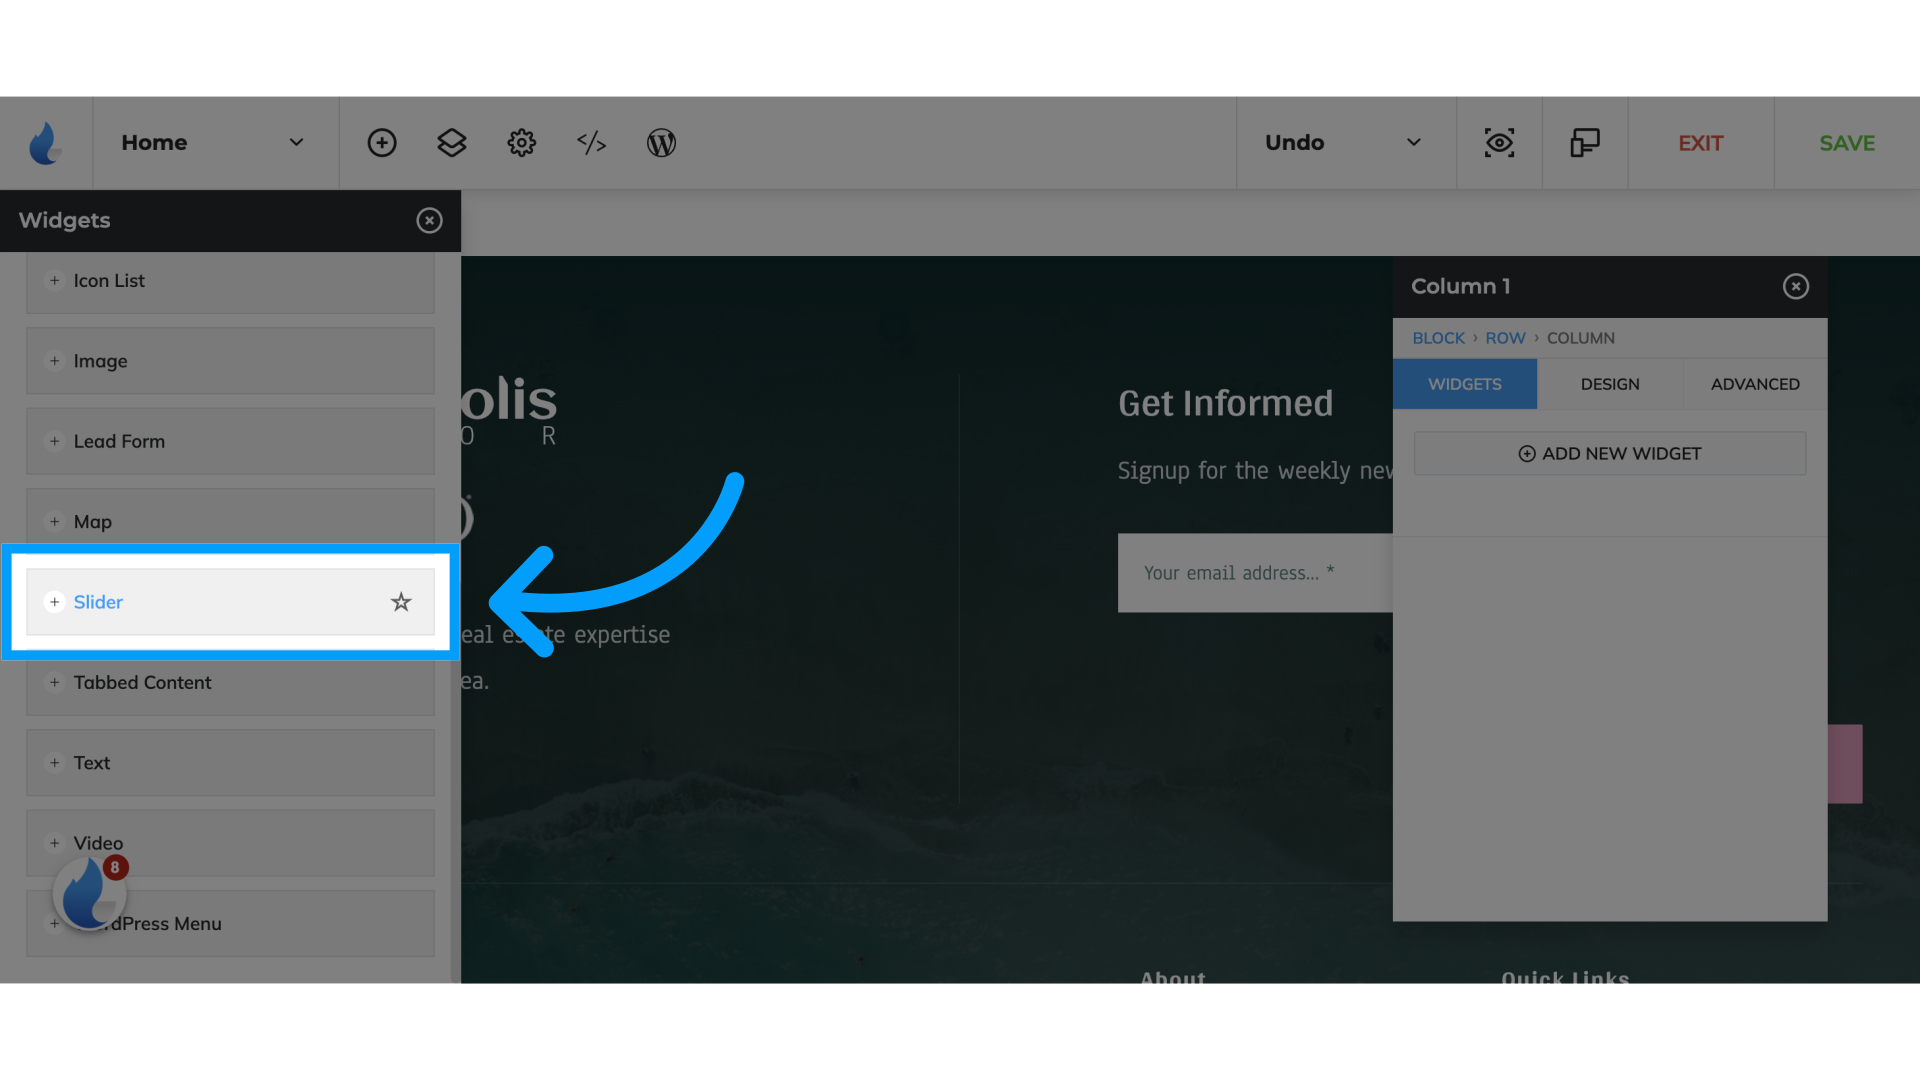
10. Click "Slider"
Choose the slider feature again.
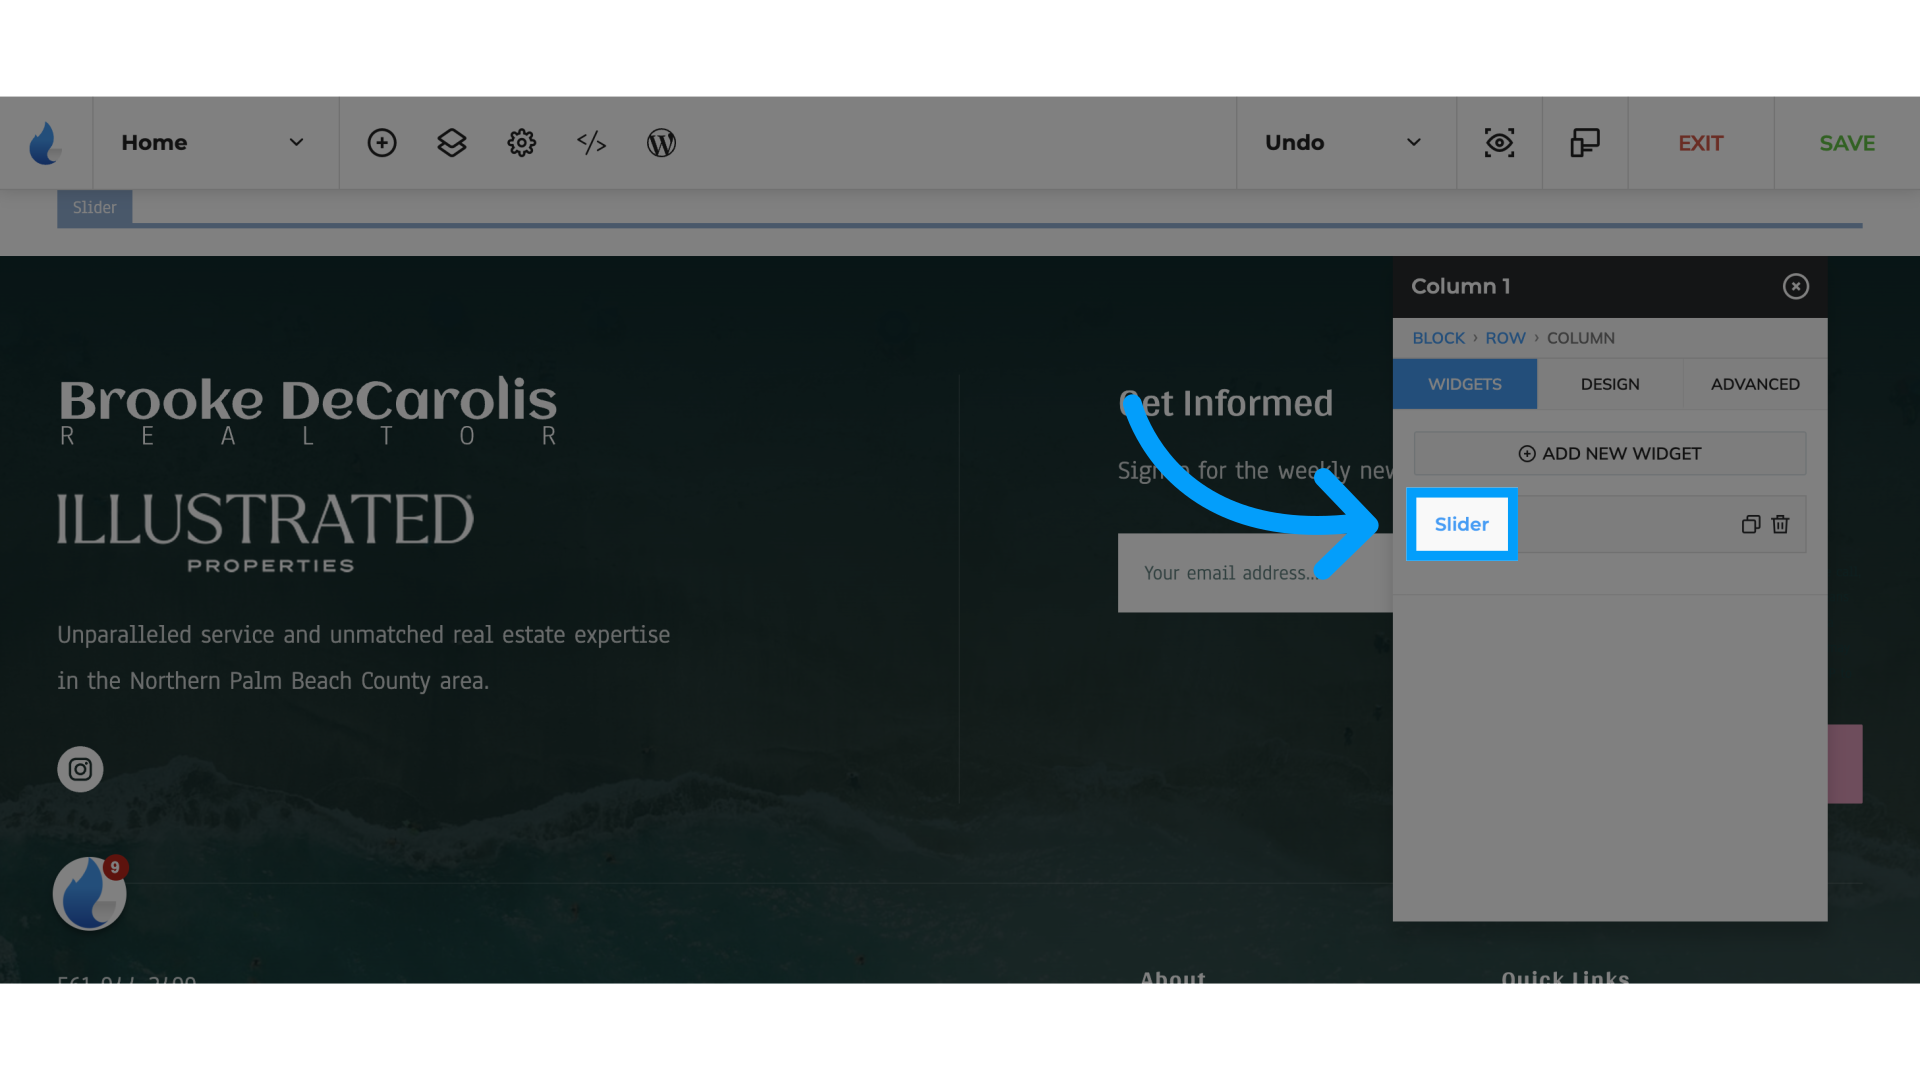
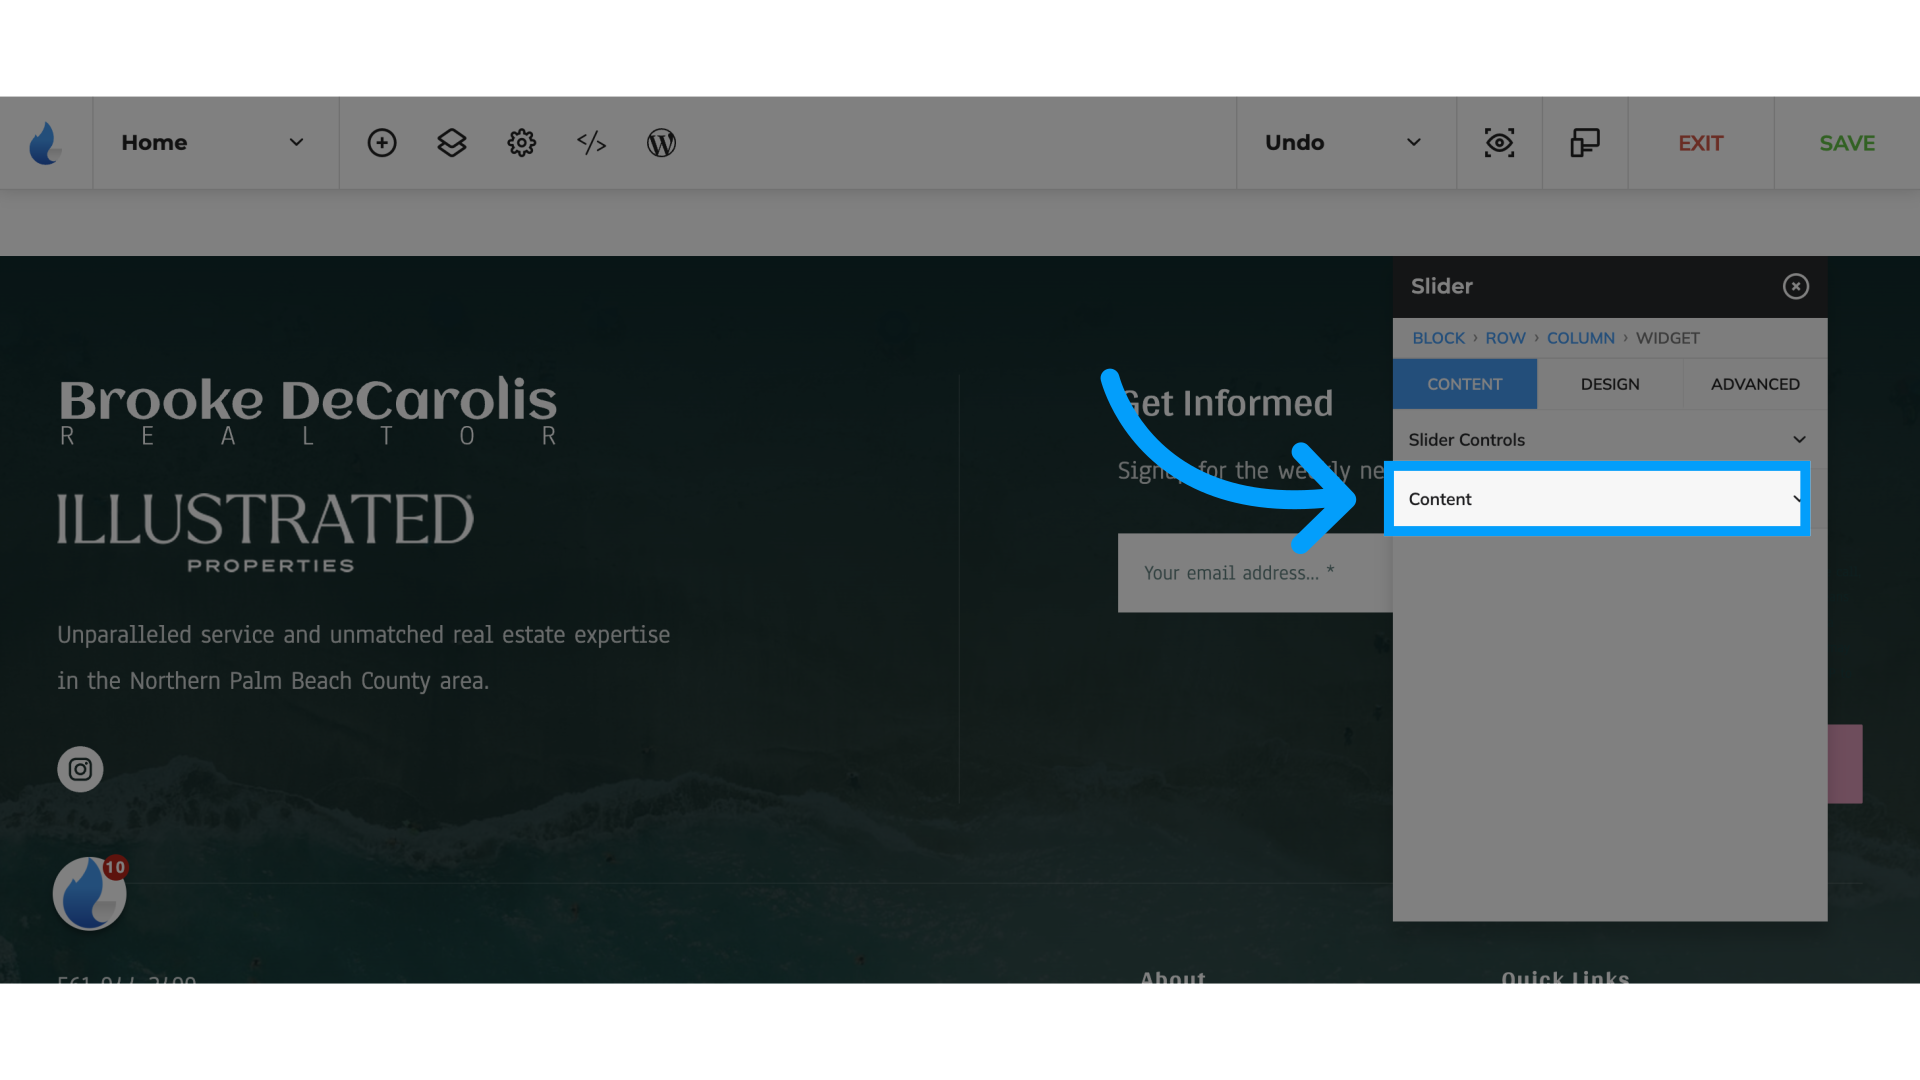
11. Click "Content"
Access the content settings.
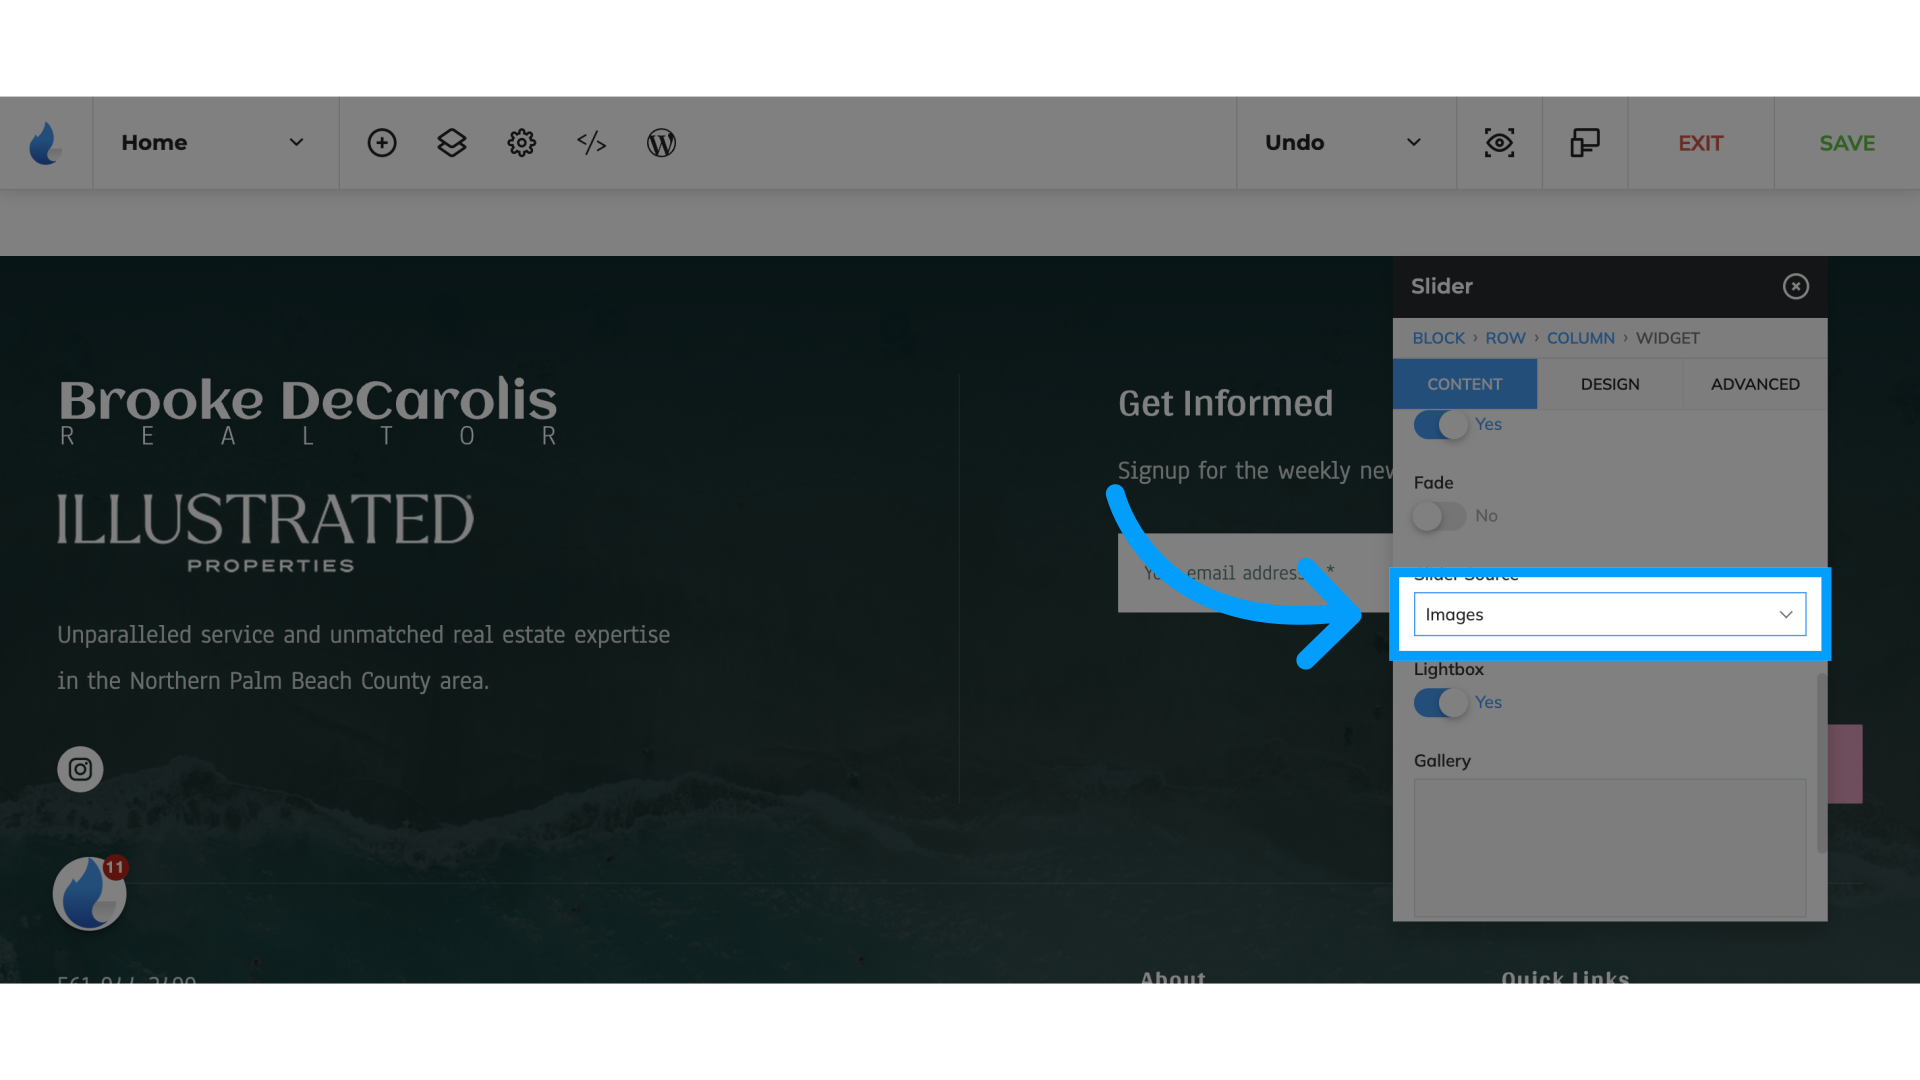
12. Click "Slider Source"
Select "Listings"
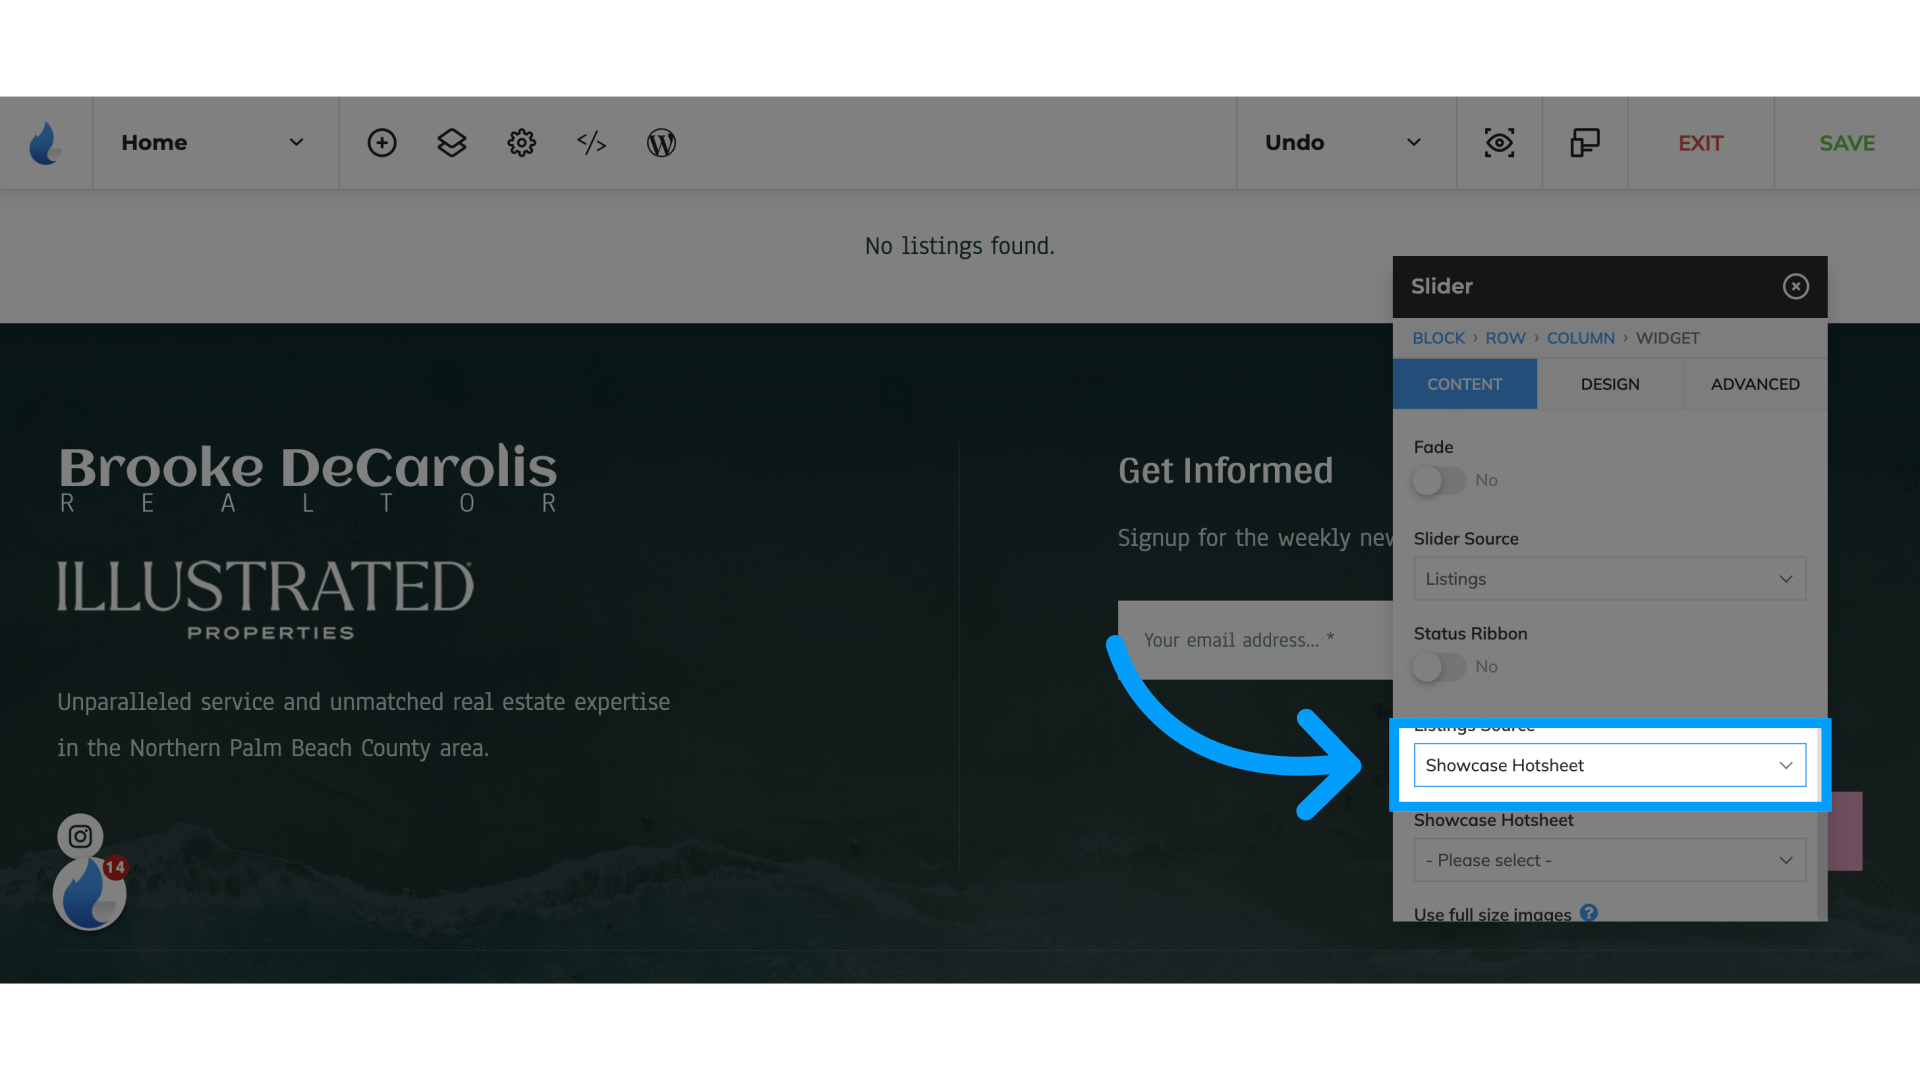
13. Click here
Change Listings Source to "Showcase Hotsheet"
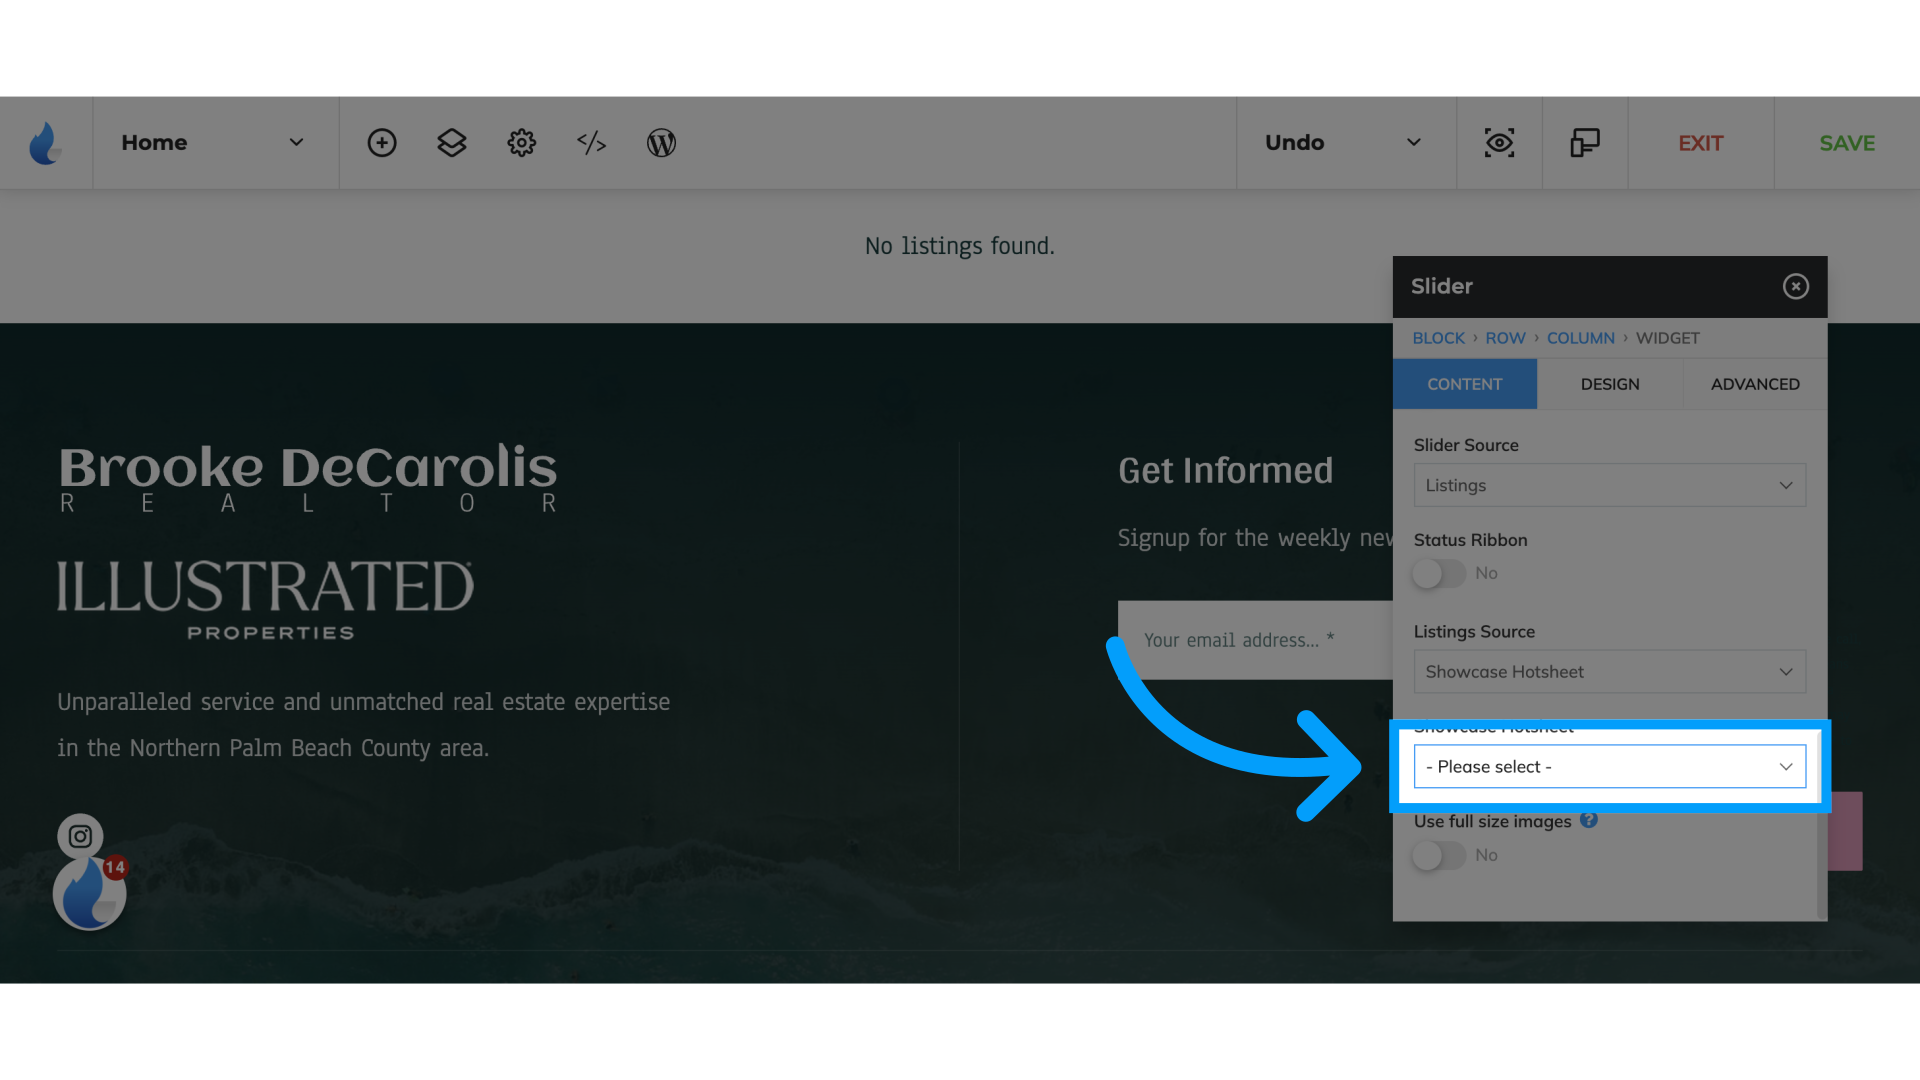
14. Click here
Select the hotsheet you have previously created in Showcase to pull listings into this slider with the desired filters and location
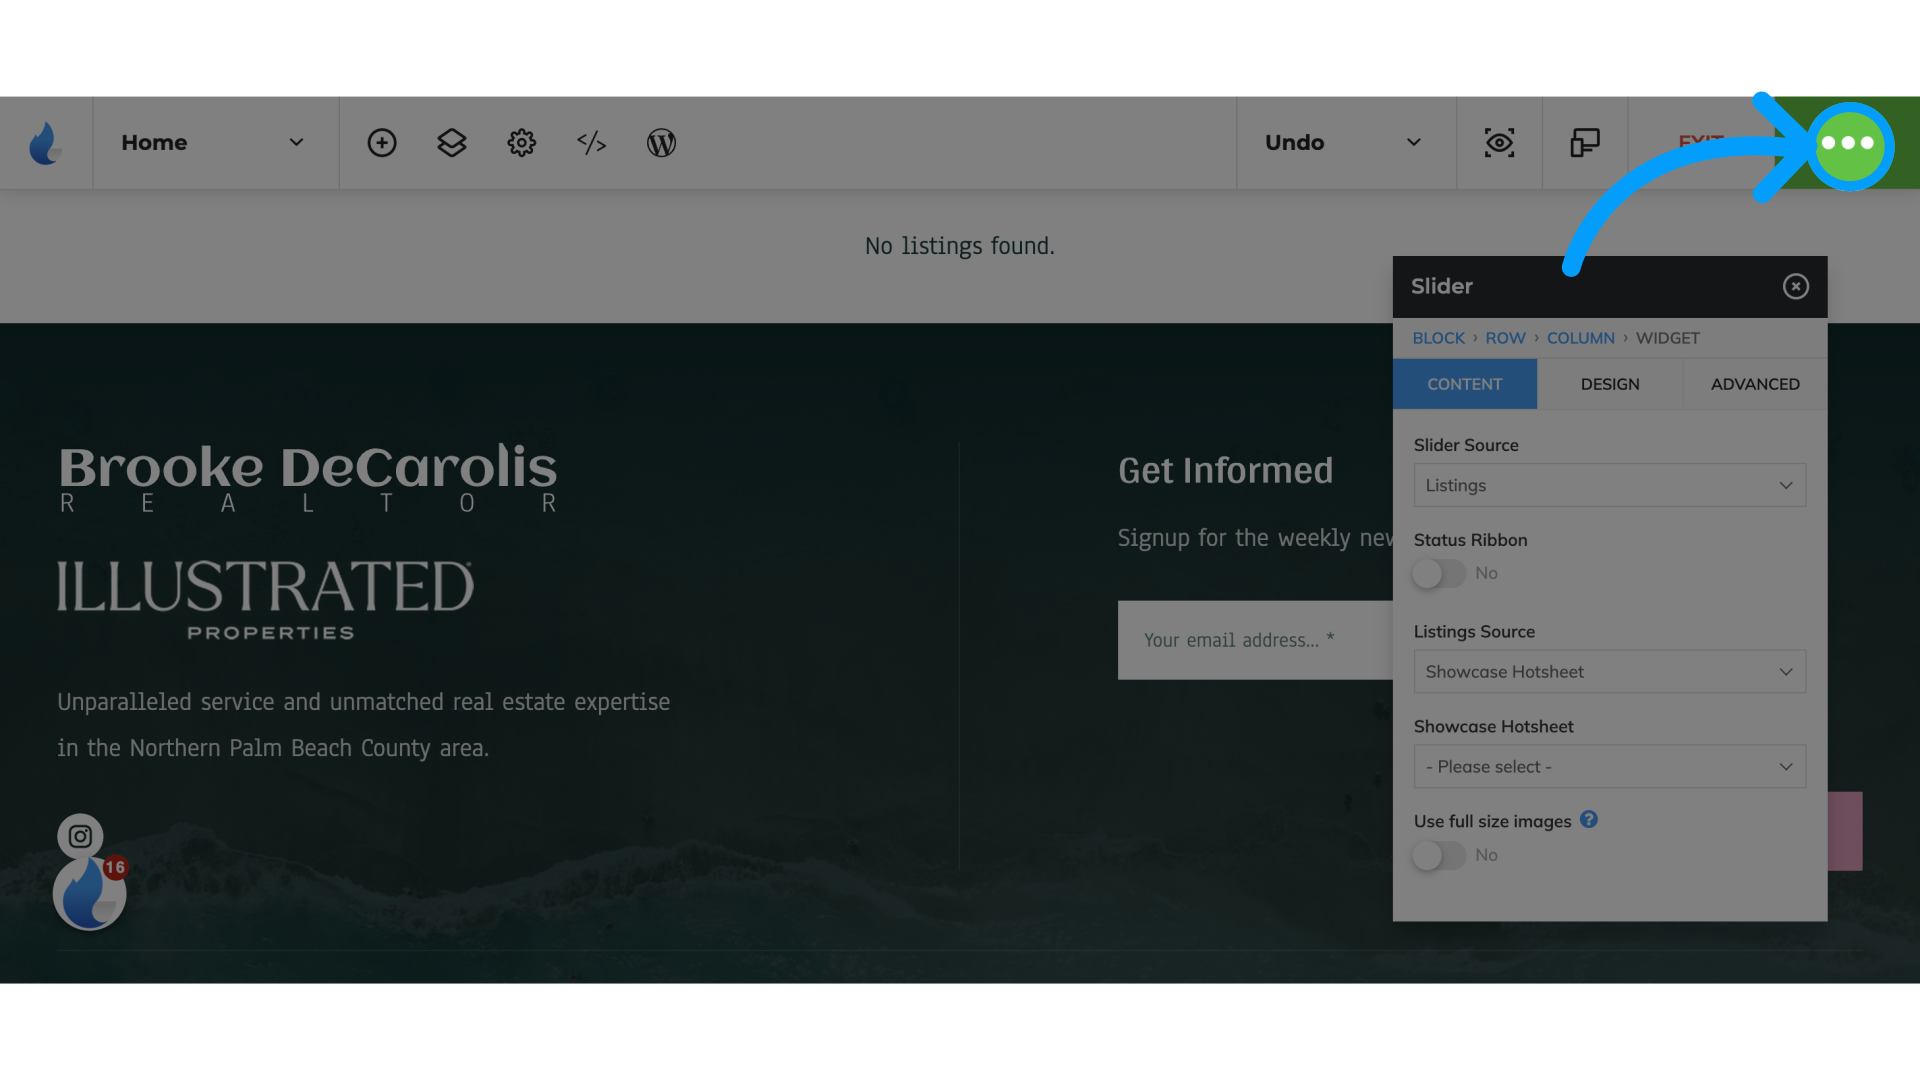
15. Click "SAVE"
Save the changes.
Add a new User in Showcase:
