Spark Footer: The Basics
Learn the basics of the Spark Footer.
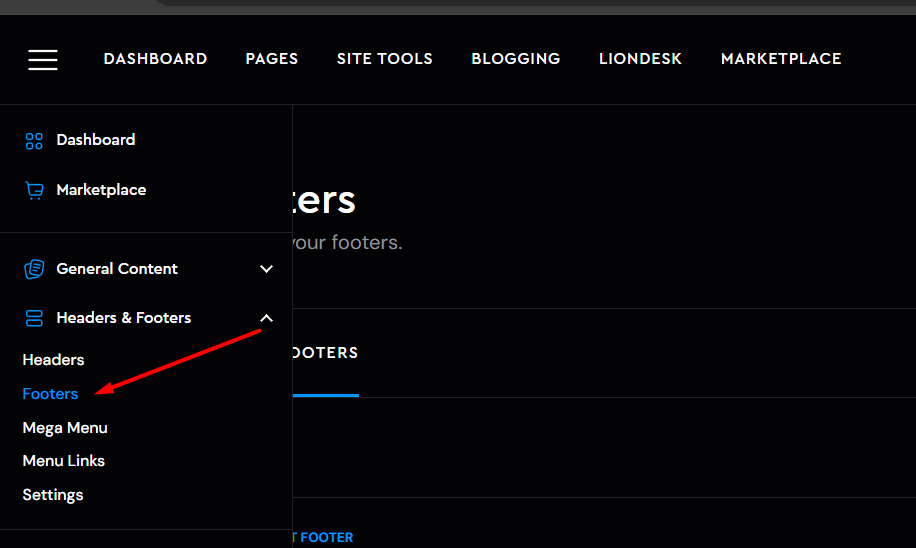
To get started, go into your admin dashboard, and navigate to Headers & Footers > Footers.
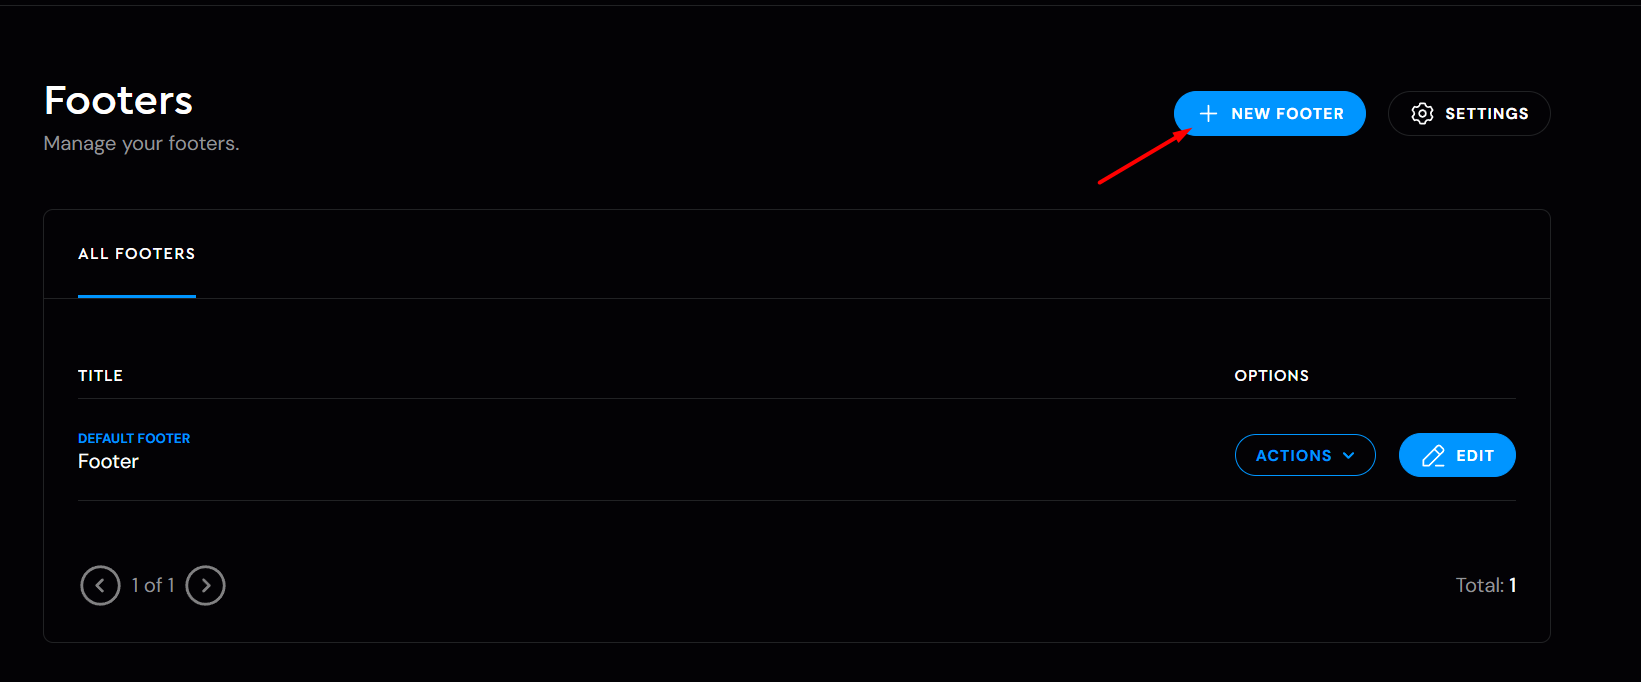
Once you are inside the Footers, you can add a new one by clicking on the +New Footer sign
You have the option to build Custom Footers from scratch if you are confident enough, but there is always an alternative to build one out of the templates we have.
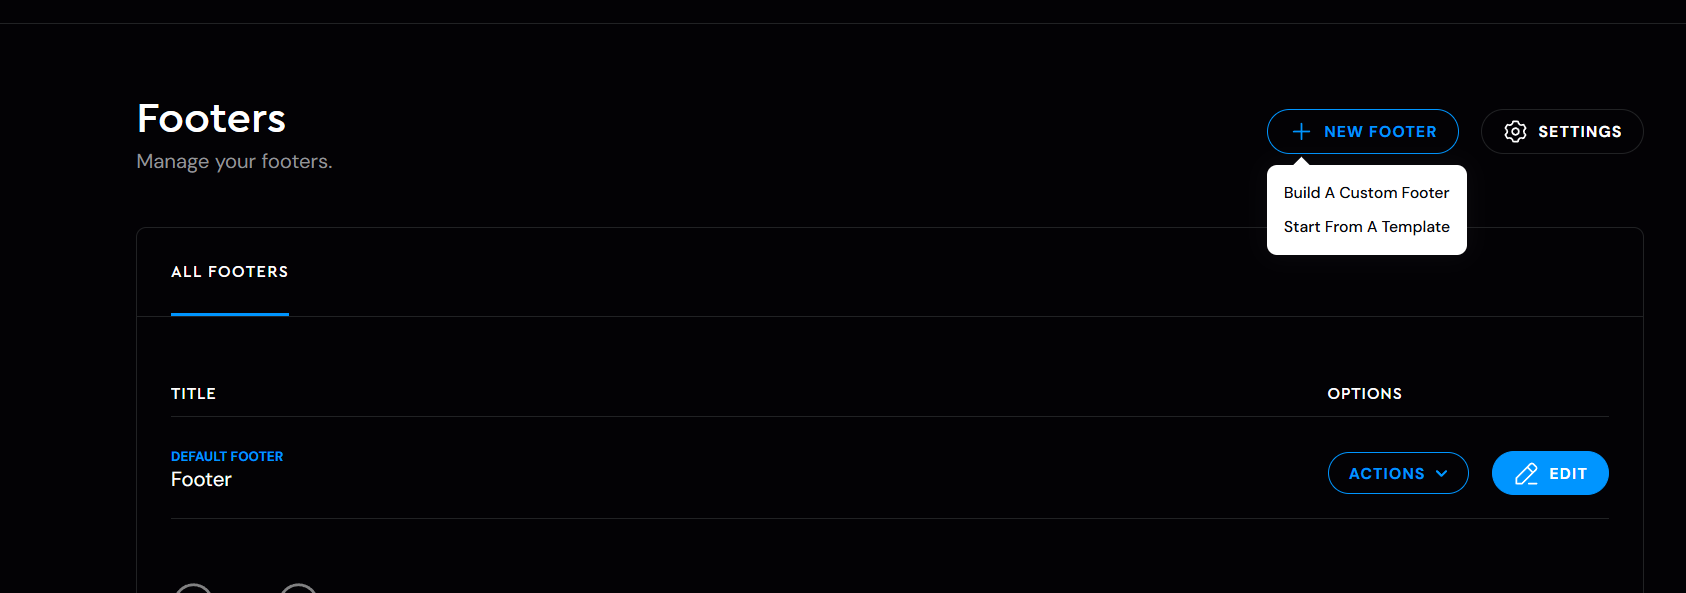
In case you go for the template option (which is recommended), a new window will come up where you can choose the footer style, then you will need to name your Footer, and lastly Add the Footer on the bottom of your screen.
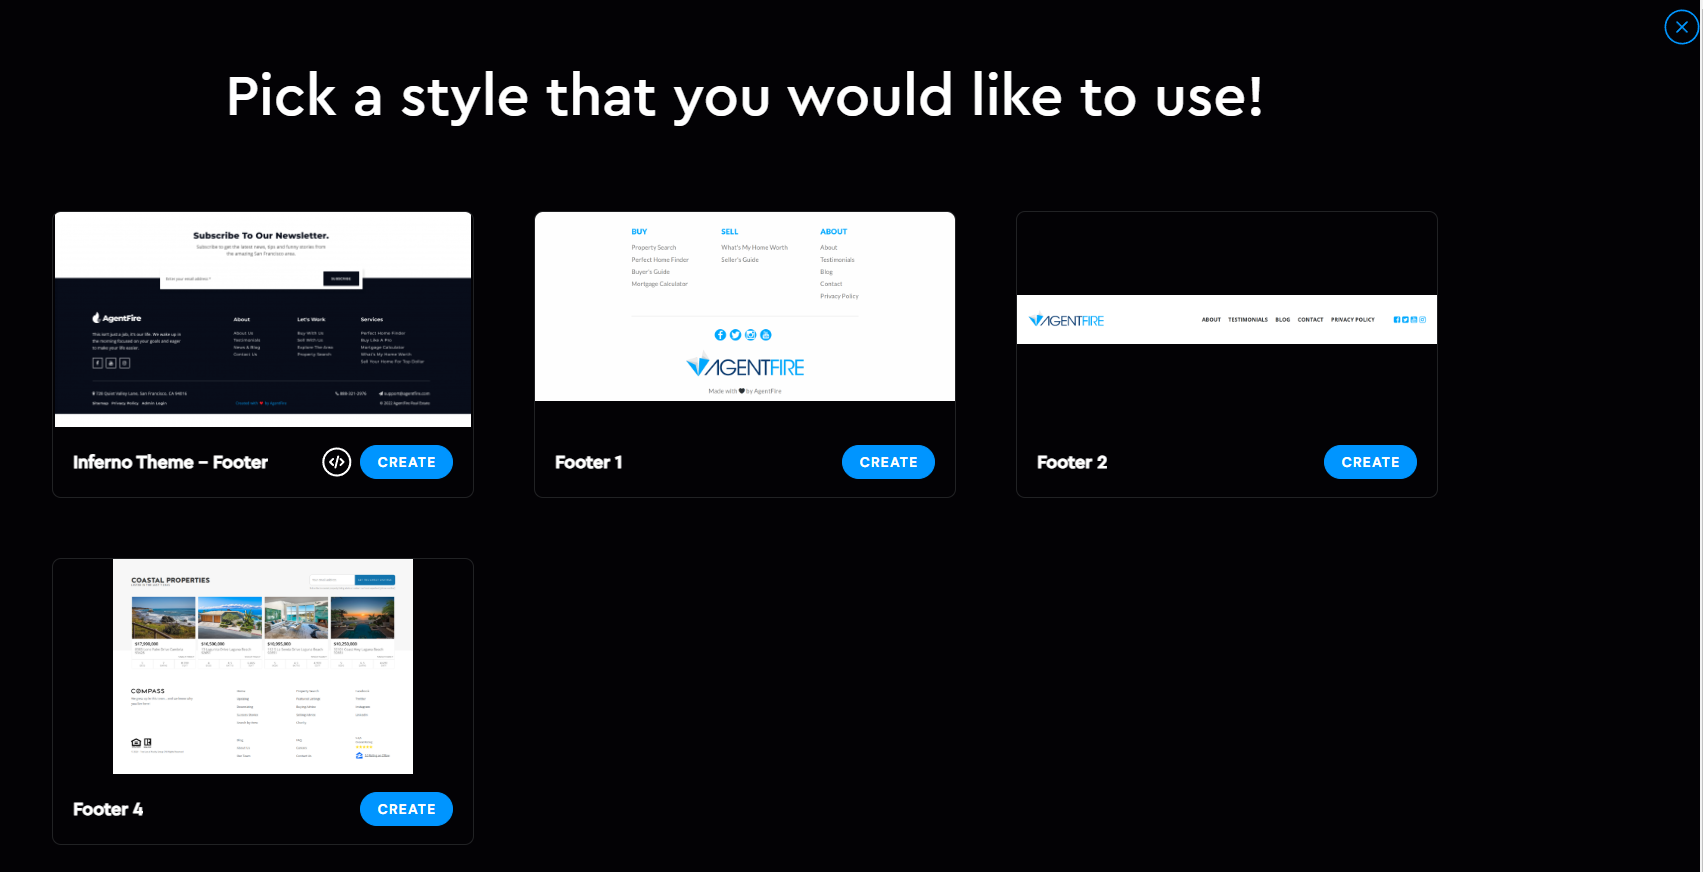
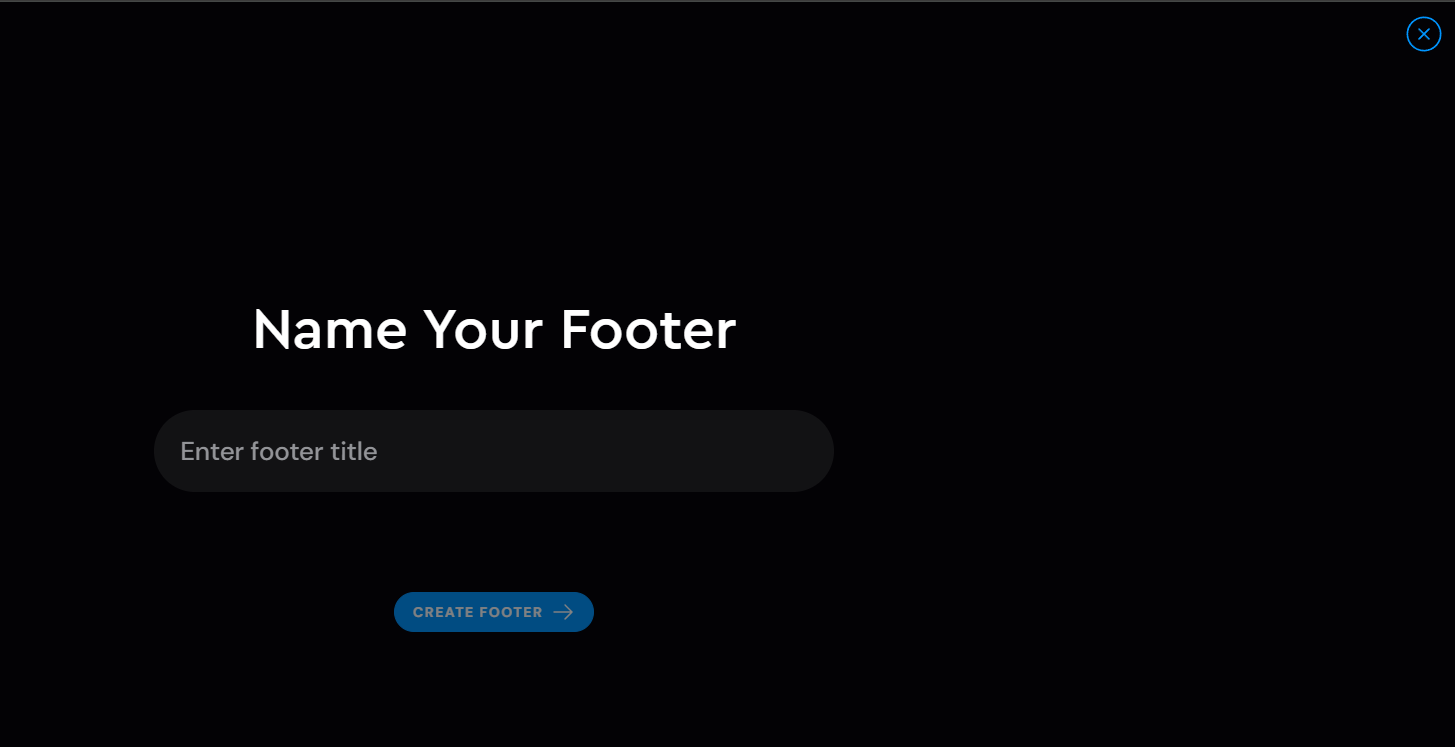
or you can edit the existing footers which can be done by clicking on the Edit button. (By default your site will have a Footer)
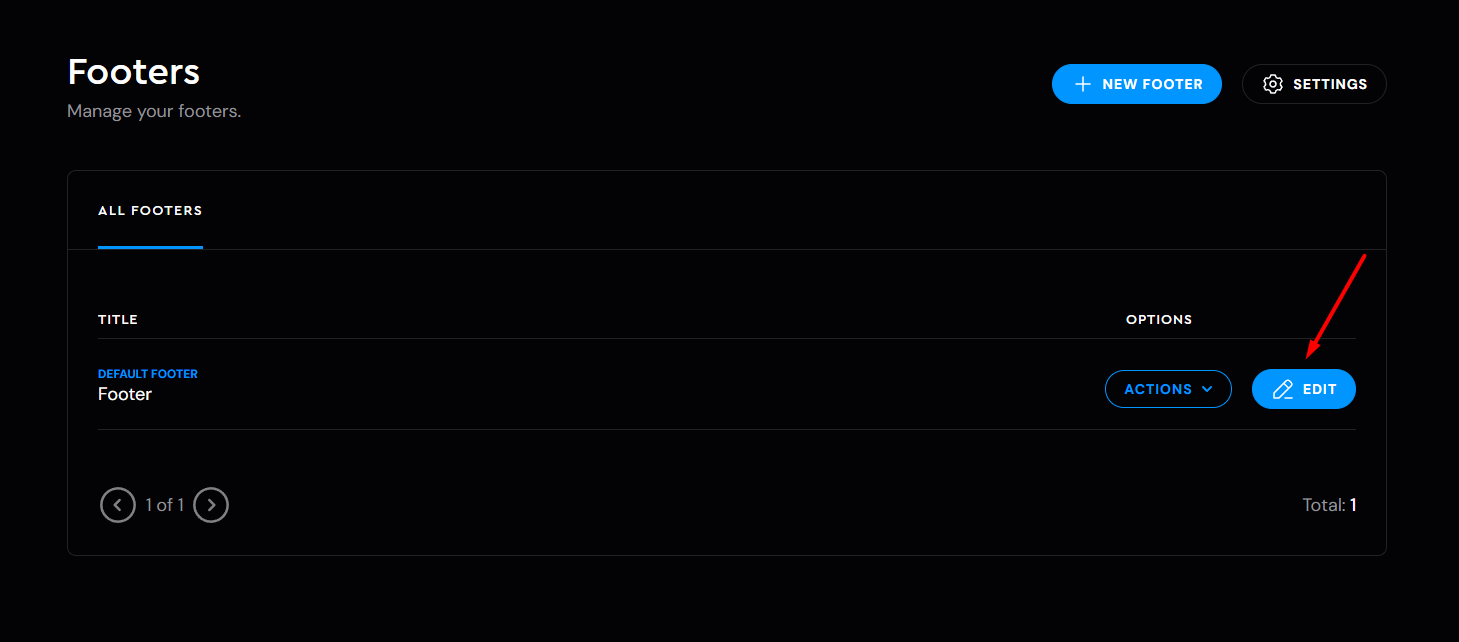
Once you are in the (Footer) Menu Editor, you will notice 4 tabs on the top side which are:
- Add block
- Layers View
- Settings
- Target
- SCSS Editor (if you're granted access to edit CSS)


The content is usually split into 3 rows, where you can adjust:
-
Logo
-
Footer Content & Social Media URLs
-
Disclaimer
Within each row, you'll find the corresponding columns and their widgets, which can be edited just like in our Spark Creator tool. For more details about this tool, check out this article.
Target Tab

Page Level Targeting works the same as for Spark Header, so in case you missed that article, you can read it here.

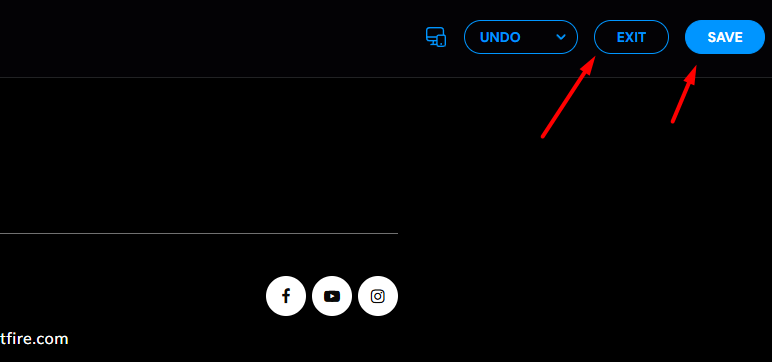
Once you are happy with the changes you made to your header, click on the Save button to save all your changes, and lastly the Exit button to exit the Footer Editor.
