Lead Forms are directly available for use within your Engage and Lead Pages plugins.
Conversion points for your site are an important part of how you'll generate leads. Both Engage CTA and Lead Pages are built to capture leads within their layouts.
Prior to getting started with Lead Forms, we recommend beginning with a quick overview of the Spark Editor, so you are familiar with the interface.
To Use Lead Pages Lead Form:
Head over to your Dashboard, select Site Tools and then select 'Lead Pages'
.webp?width=688&height=350&name=downloads%20(11).webp)
Create a new Lead Page by selecting the 'Add New Lead Page' button and then selecting from Build a Custom Page or Start From A Template
-1.webp?width=688&height=364&name=downloads%20(12)-1.webp)
.webp?width=688&height=364&name=downloads%20(13).webp)
If you decide to start from Build A Custom Page, follow these steps, if not continue down to Start From A Template
Let's give your new Lead Page a new name! Name your ConvertPage anything you'd like.
.webp?width=688&height=364&name=downloads%20(14).webp)
After naming your page, select 'Create Lead Page'
.webp?width=688&height=364&name=downloads%20(15).webp)
After your page has been created, select 'Edit' on the page you'd like to create
.webp?width=688&height=364&name=downloads%20(16).webp)
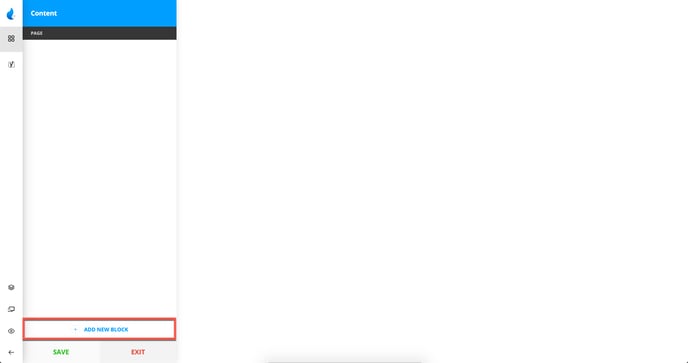
You will see you have a blank slate! Select 'Add New Block'
Once opened you can expand categories to view all by selecting the '+4'. Here you can select any style.
.webp?width=688&height=364&name=downloads%20(17).webp)
All the Lead Pages have the same structure, except for Style 4:
-
Block Styling
-
Main Content
-
Lead Forms
-
Form Settings
-
Form Appearance
-
Form Notifications
Here we will go through each of these blocks and their customizable attributes.
.webp?width=688&height=364&name=downloads%20(18).webp)
Block Styling
Here you can set the Background Color, Background Image, Title Color and Subtitle Color.
.webp?width=688&height=364&name=downloads%20(19).webp)
Main Content
The Main Content consists of the Logo, Logo Height, Title, Title Size and Subtitle.
In nearly all cases, a Standard Form is the best choice for your Lead Page offering.
If you select a standard form, you will then need to select a display style, and customize it to form your own version.
.webp?width=688&height=364&name=downloads%20(20).webp)
Select a display style for your standard form.

Note: Most Lead Pages and Engage templates support social buttons, with the exception of the Schedule a Call CTA, which must use a Gravity Form for the calendar selection tool.
Decide on what happens when the form is submitted:
In most cases, lead pages are typically used together with content that is of value to the end user. if the result of this is a listings spreadsheet, or specific content from a page, redirecting the form to a URL when the button is submitted is highly advised.
Place your redirect URL as needed.
.webp?width=688&height=364&name=downloads%20(23).webp)
The Form Submit options allow for Redirect to URL or confirmation message settings.
Should you only require submission of the lead information, and plan to offer the end user the notification through an email, you may use the confirmation message option.
You could also use a confirmation message.
.webp?width=688&height=364&name=downloads%20(24).webp)
Connecting A Notification to your form:
If you are already routing leads from Lead Forms using one of our available CRM Integrations, we recommend you leave the notifications off and use workflows in your CRM for response templates, follow up and lead curation.
If you are not using a CRM integration, you will want to select from the available notifications or edit/create new notifications for use with your selected form.
Select the notification (if needed) to use with this form.
.webp?width=688&height=364&name=downloads%20(25).webp)
If you do not see the notification you want to use, you may create a custom user notification in the Lead Manager area.
.webp?width=688&height=364&name=downloads%20(26).webp)
Add any optional admin CC's who should receive a copy of this lead when the form is filled out by an end user.
.webp?width=688&height=364&name=downloads%20(27).webp)
Integrations
Integrate your leads to your CRM with:
-
Lead Types (Buyer / Seller)
-
Lead Tags (Add your own tag or select from a list)
-
Assigned Type (Agent / Office)
-
Assigned Agent (Select a Team Member to assign lead to)