Spark Header: Custom Headers and Page Level Targeting
Add new headers and assign them to specific pages.
Adding a New Header
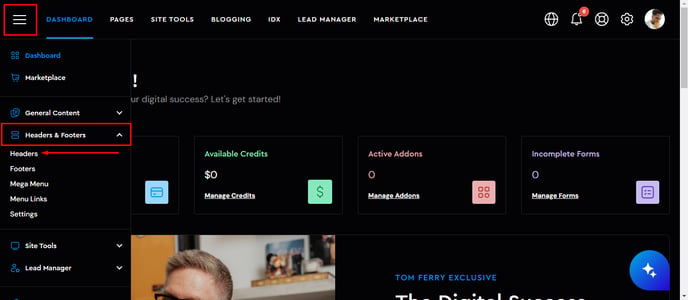
Select your hamburger menu on the top left of your dashboard, select Headers & Footers > Headers.
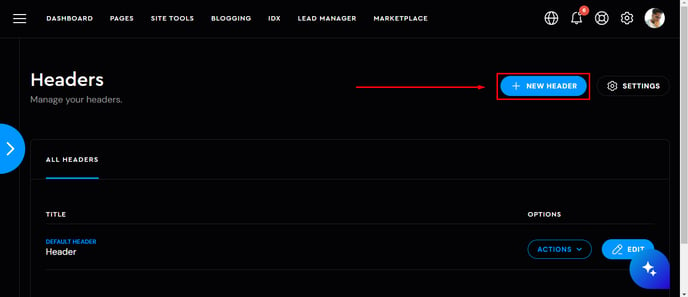
To add a new Header, select the 'New Header' button.
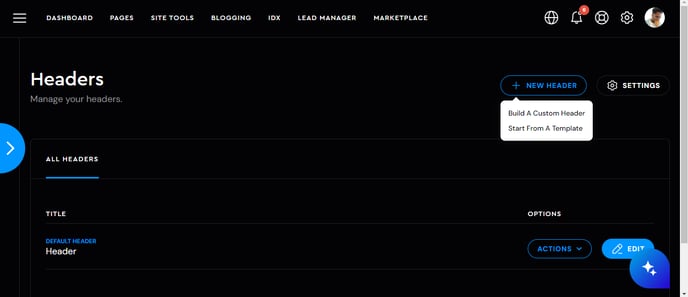
Select from 'Build a Custom Header' or 'Start From A Template'
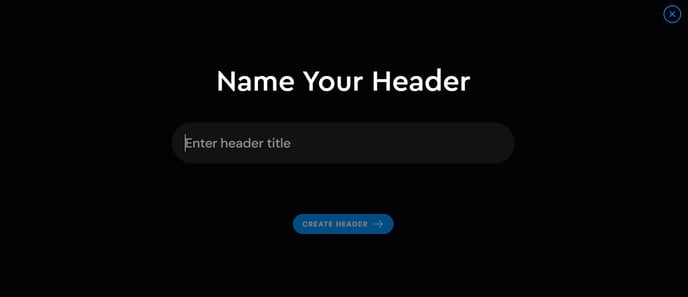
IF you selected 'Build A Custom Header', name your new header and select 'Add Header'.
IF you selected 'Start From A Template', select your header by clicking the 'Use This Layout' button.
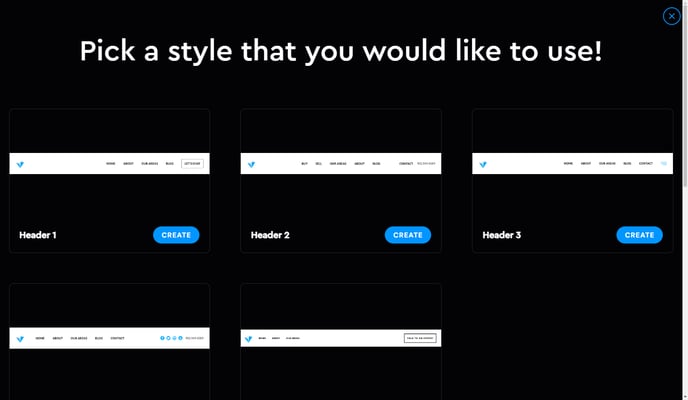
After selecting your template, name your header.

If you need a reminder on how to edit the header, head over to this article.
Target

You can isolate your Custom Headers to show only on specific pages here. Navigate to the target settings.
The very first thing you will notice that there are Page Types. Here you can select. where do you want to assign your header to display.
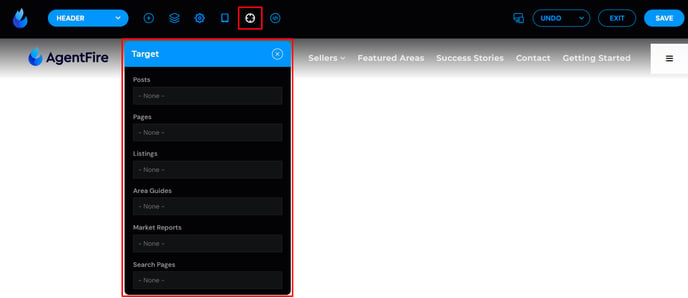
You can for example ALL POSTS or just specific posts to have this header.
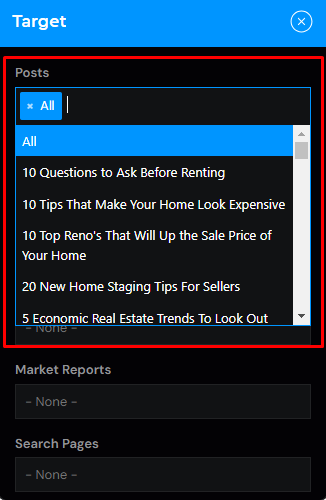
IMPORTANT NOTE: By not selecting anything from this tab, the header will automatically be in use on ALL pages on your site once you hit the save button.
Once you are done with the changes you made to your header, click on the save button to save all your changes, and lastly the exit button to close the Header Editor.
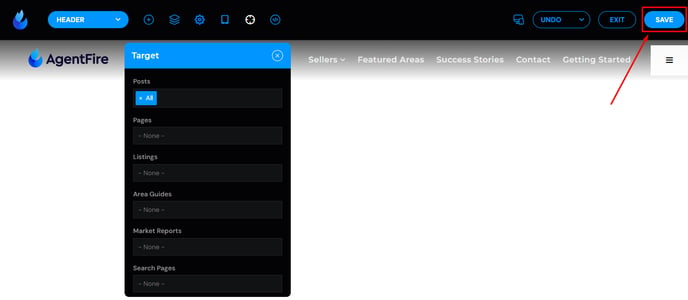
The new header will only show on post pages.


