Your Lead Forms can also use administrative and user notifications for the delivery of leads and email responses to users.
Understanding your Notification Settings Options:
Engage & ConvertPages products offer Lead Forms as direct integrations. All forms have editable sending options, user notifications, a global email template with an editable header and footer and blacklist options. We'll break down what each of these are, and how they operate below.
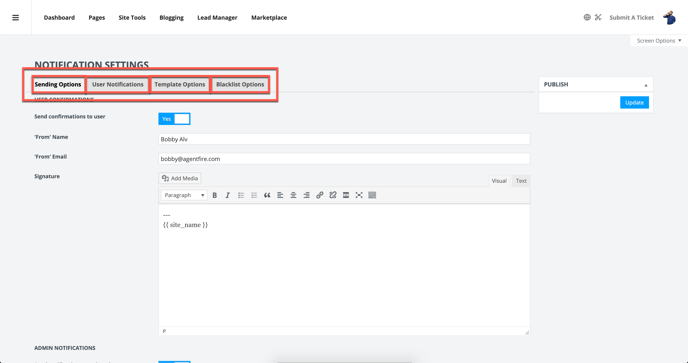
Sending Options:
These options allow you to send confirmations to users as well as receive notifications for any leads captured. Selecting 'Yes' to sending user confirmation allows you to customize the notification. Change the 'From' name, the 'From' email and then add your signature. With admin notifications you can send emails to the assigned agent as well as the ability to add CC's other than the agent and admin.

User Notifications:
This section allows you to customize the email templates. You change change your default templates:
-
Contact
-
Newsletter Subscribe
-
Schedule a Call
-
Request a Buyer Guide
-
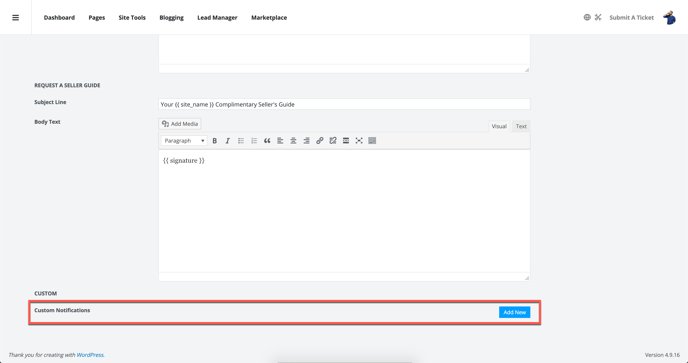
Request a Seller Guide
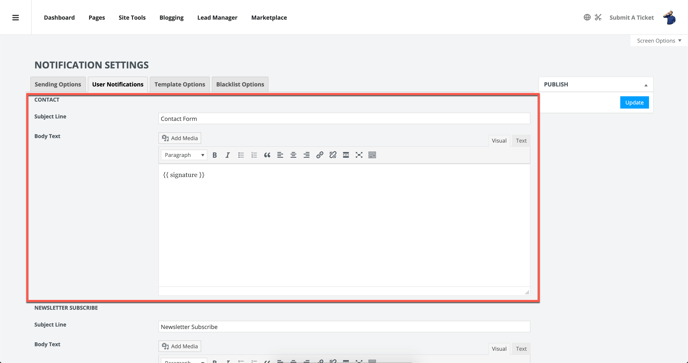
This section also allows you to add custom notifications.
Template Options:
This section allows you to customize the email templates header and footer.

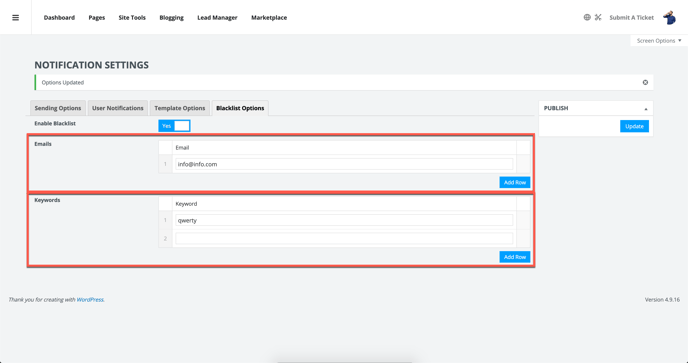
Blacklist Options:
Don't want to be sending emails to a certain email? This is where you set the emails and keywords you want to blacklist.