Calendly offers your availability for scheduling chats, meetings and showings with your clients, and works seamlessly with Google Calendar
Be more available to your clients, on terms and times that work for them. With Calendly.com! Get yourself an account today with this handy scheduling software, built to make it easy to allow your clients to lock in time with you for property showings, calls, and in person meetings.
Calendly works great with Google Calendar, which makes keeping organized a breeze.
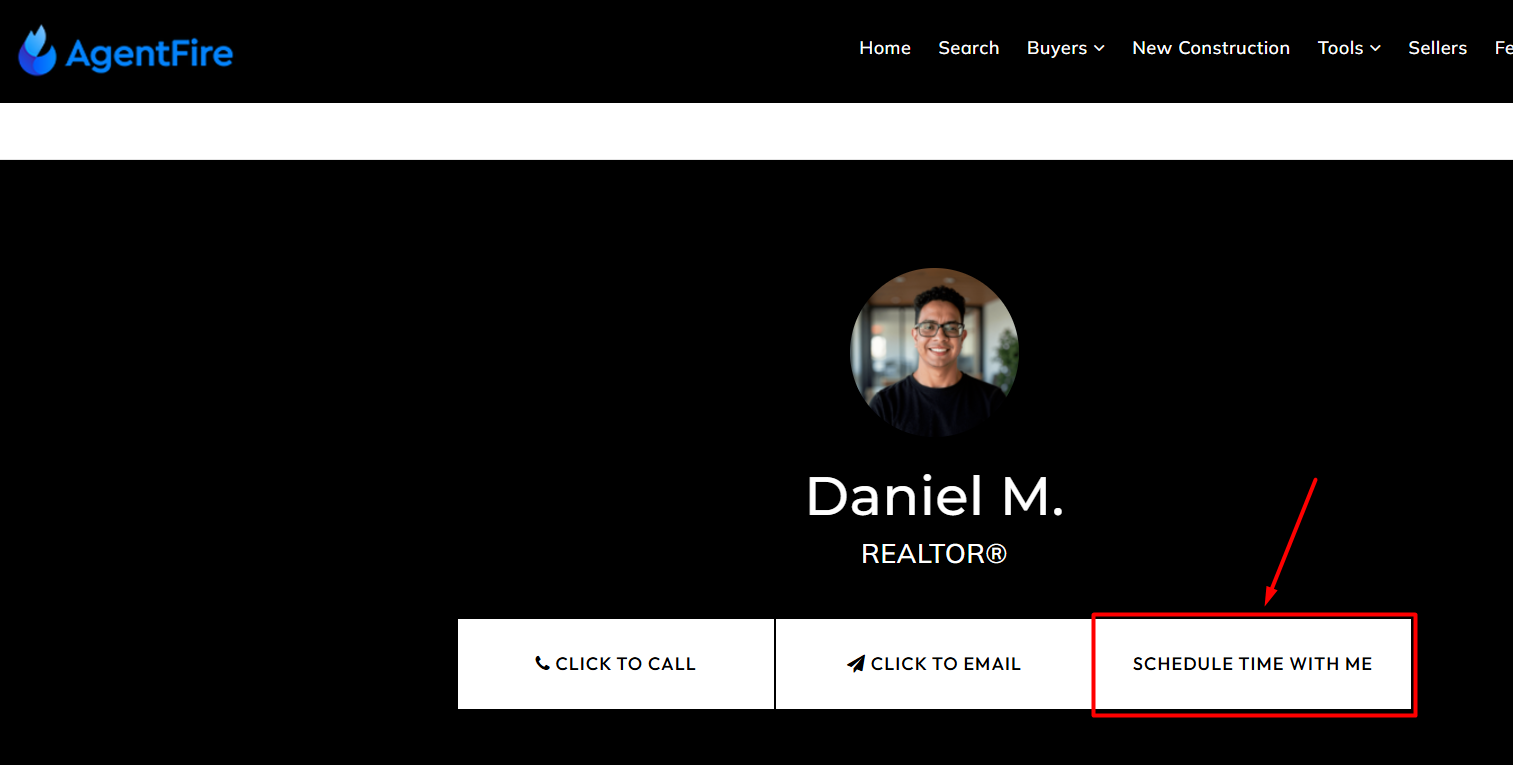
Even better - your calendar directly on your Team Member profile page!
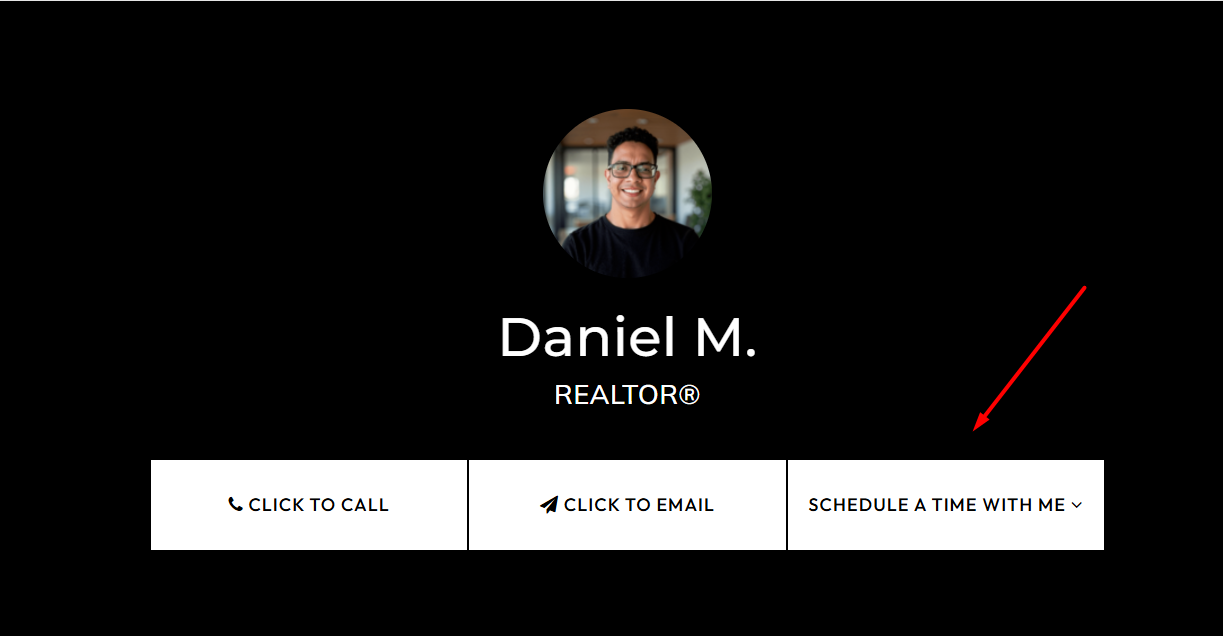
Give your users access to book time with a click of a button!
Notes on this integration:
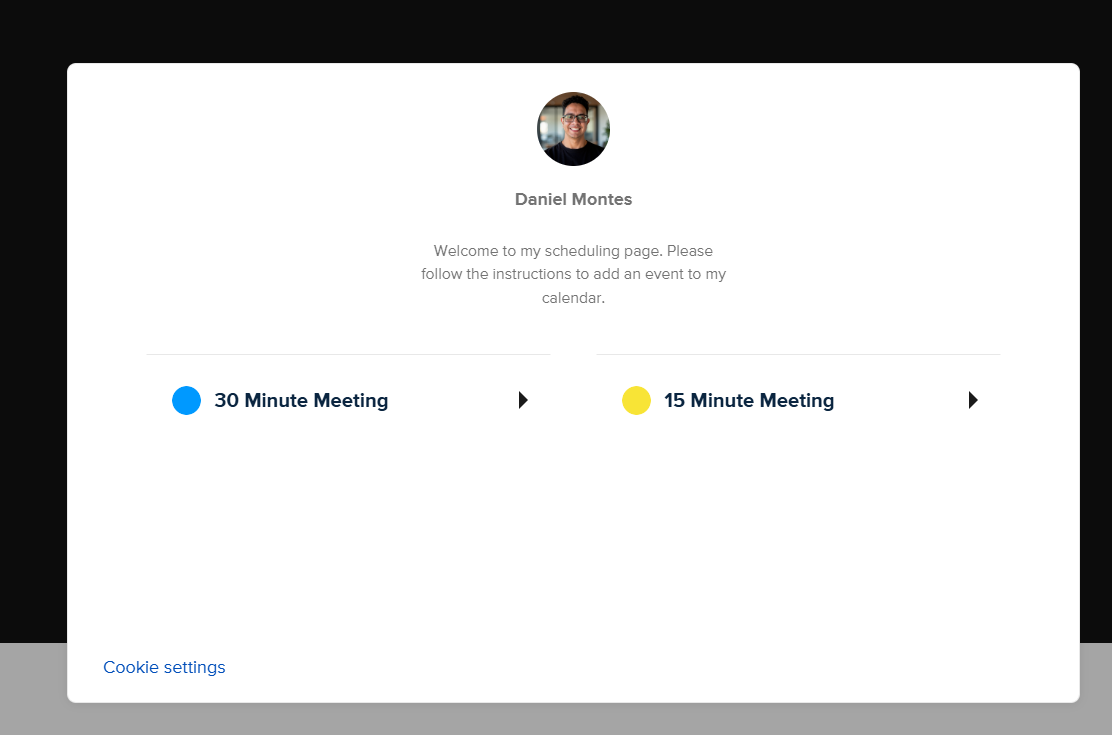
To integrate the Calendly calendar, you'll need a Calendly.com account with an established Calendly scheduling page.
Obtaining your Calendly Embed Code:

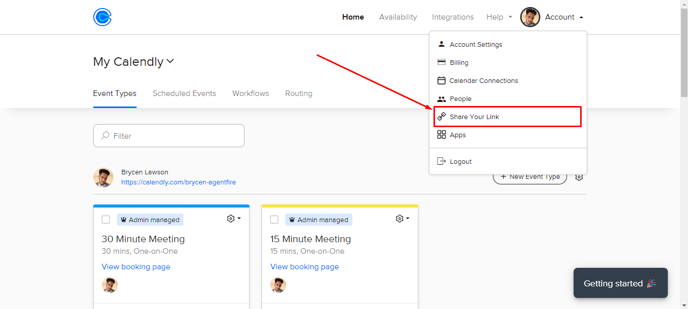
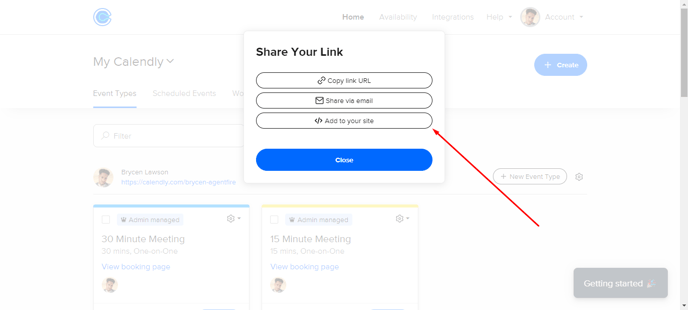
From the dropdown in your account, select Share your link.
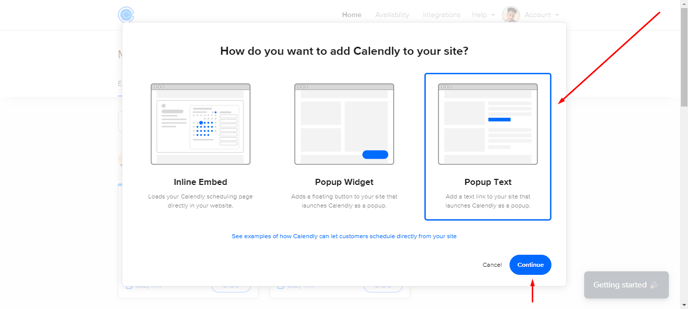
Calendly provides easy ways to generate embed codes, and we'll be using the Popup Text option they make available.
In the Share Your Link modal note that Calendly offers a variety of sharing tools including embedding options.
Click "Add to your site".
Calendly offers multiple Embedding options. For your Team Member page, we'll be making use of the Popup Text Embed code.
Click "Popup Text", then continue.
Optionally, edit the button label text.
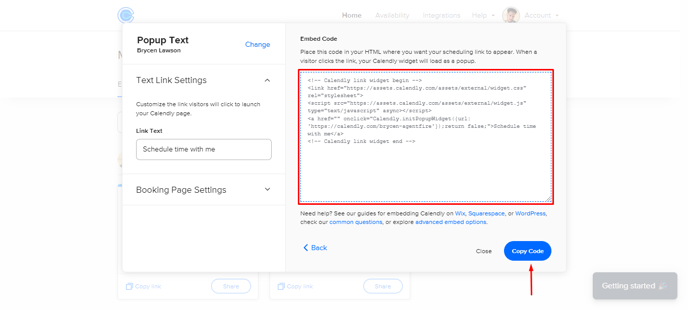
Once you have edited your button label, then you are ready to copy the code to your clipboard by selecting the "Copy Code" button. We'll be placing this code directly into the Team member profile inside of the Header options of the Design tab.
Copy the code to your clipboard.
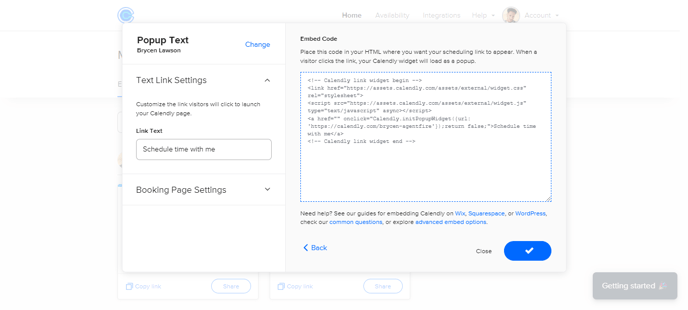
That's it! With your code copied, it's time to get it placed in your team member profile.
Placing your Calendly Embedded Code in your team member profile:

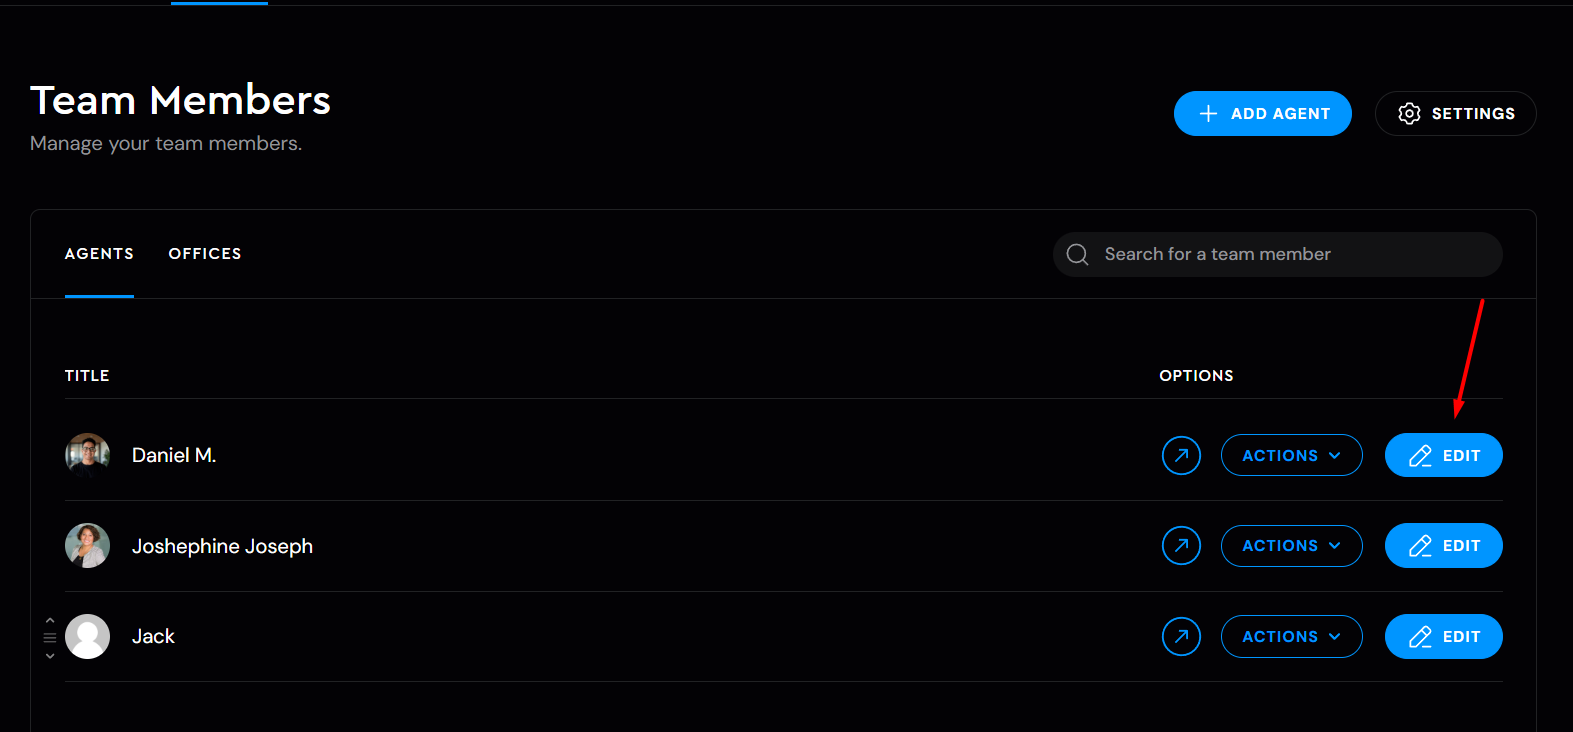
Navigate to your team member plugin, and open your desired team member entry in the AF Editor.
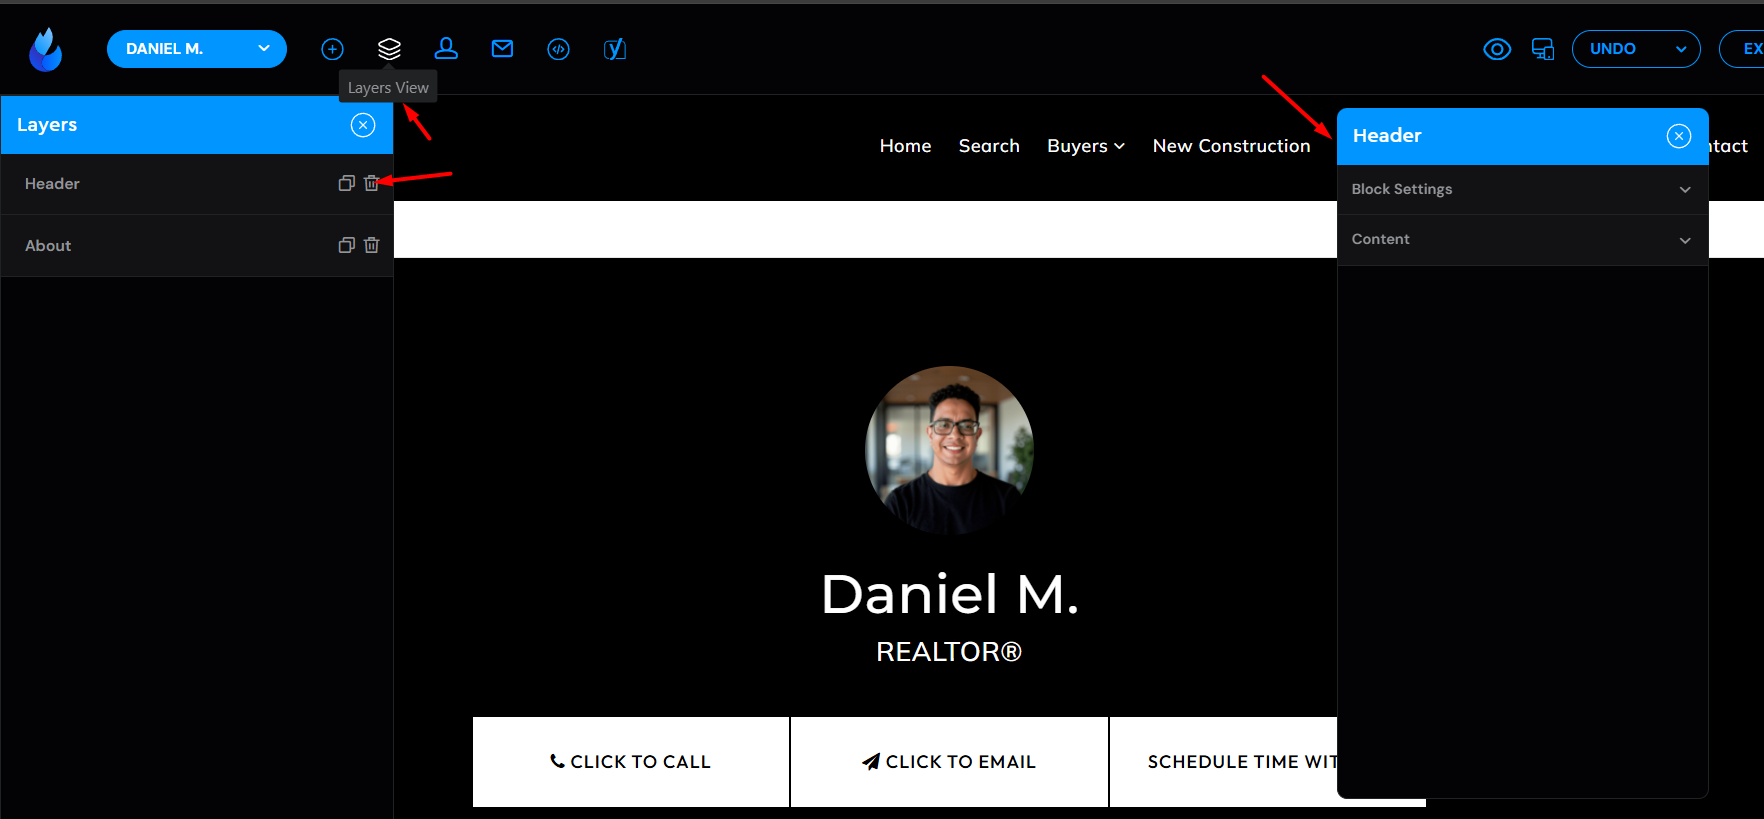
Open the Layers View tab, then select the Header block.
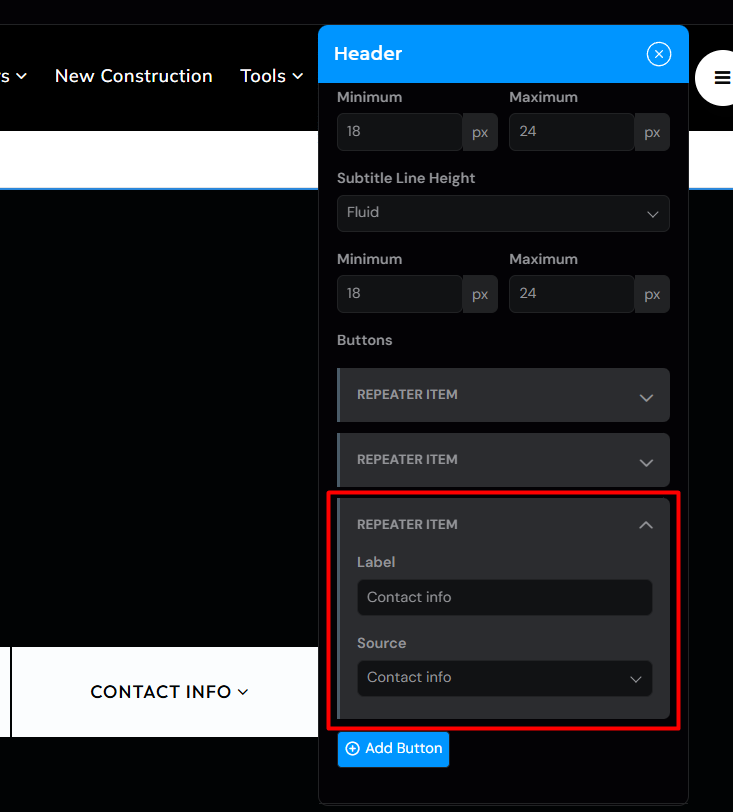
Expand the Content tab and scroll down to the Buttons section. Select the last Repeater Item labelled "Contact info".
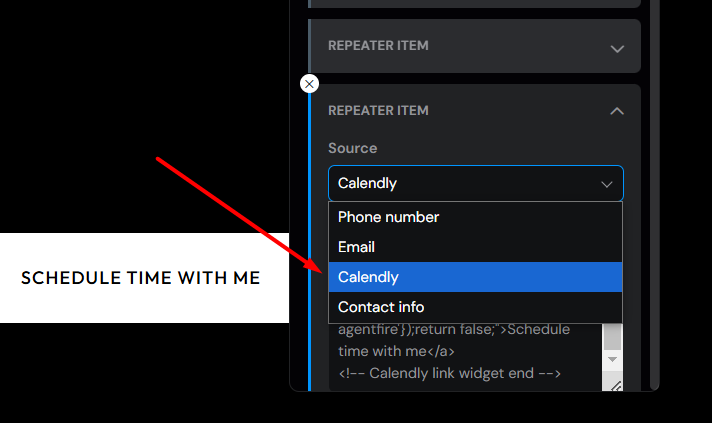
Change the Source field from Contact info to Calendly by selecting "Calendly" from the dropdown items.
In the Calendly Code box, paste your Calendly Popup Text Embed Code.
Paste the Embed Code.

You will see your button displayed directly below your profile in the hero section of your team member profile.