Your team member photo is set in your individual team member settings area.
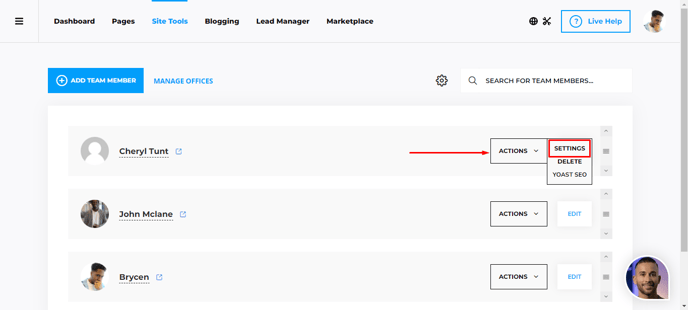
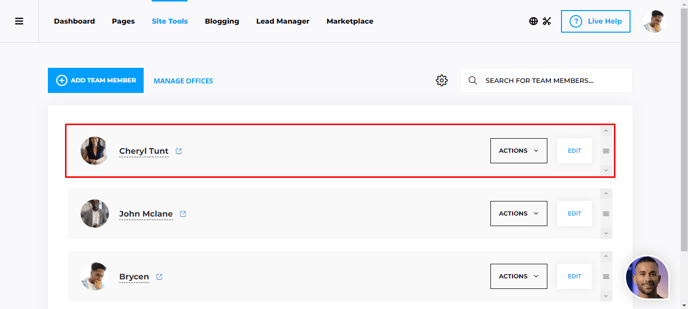
To connect a team member photo to a profile you have created, simply navigate to your Team Member plugin area and click on the Actions button to open your Team Member settings.
Open your team member settings by pressing the Settings button.
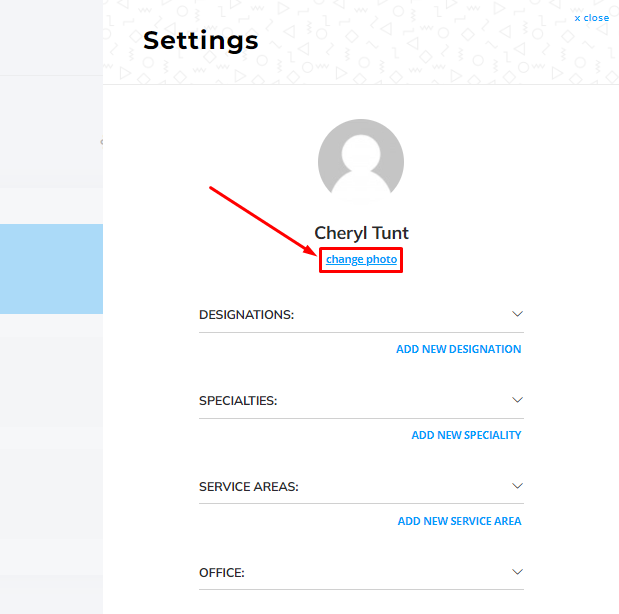
Your team member photo is the first option shown in the panel. Click Add Photo or Change Photo to open your media library. You may select or upload a new photo for use with this team member profile.
Click Add Photo to open your media library:
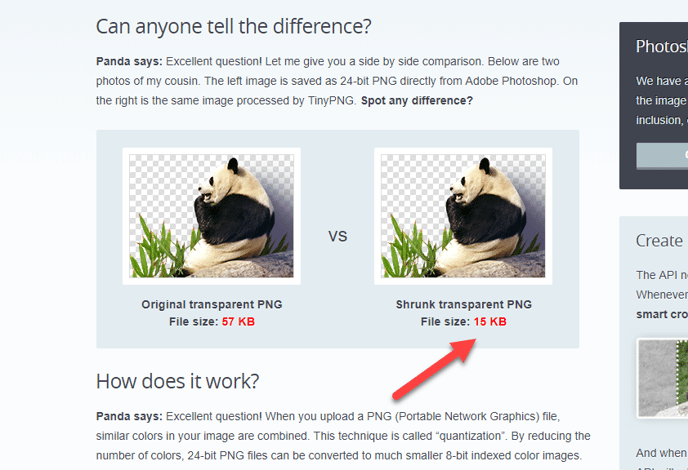
For Best Results:
We recommend your image be cropped and optimized to 180px by 180px. You may utilize online optimization services like https://tinypng.com/ to compress and crop your agent image for optimum page loading performance, and image clarity.
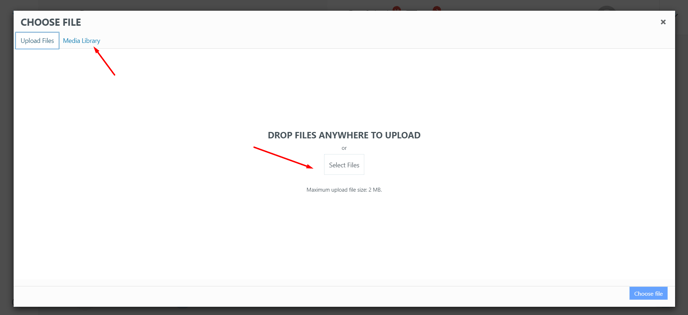
With your Media library open, click to add an existing image from your media library or upload a new image you have prepared for use.
Your agent image will display to the left in your Team Member list, and will appear on the Team Member page. This image will also be referenced in plugins that make use of your team member profile information.
Be sure to consider configuring your agent attributes and your page settings while you are here!