Making new beautiful and functional Team Member pages is quick and easy to using our AF editor.
Important notes:
Be sure to start with our introduction to the plugin, overview of the listing settings areas like agent attributes, SEO and profile photos, and the AF editor prior to building your first team member entry.
Learn more about the AF Editor here:
Learn more about the basics of the Team Member plugin here:
![]() Building your Team Member page:
Building your Team Member page:
Once you have started a Team member entry, and have placed a profile photo it's time to start building your page content. Lets get started by opening the AF Editor.
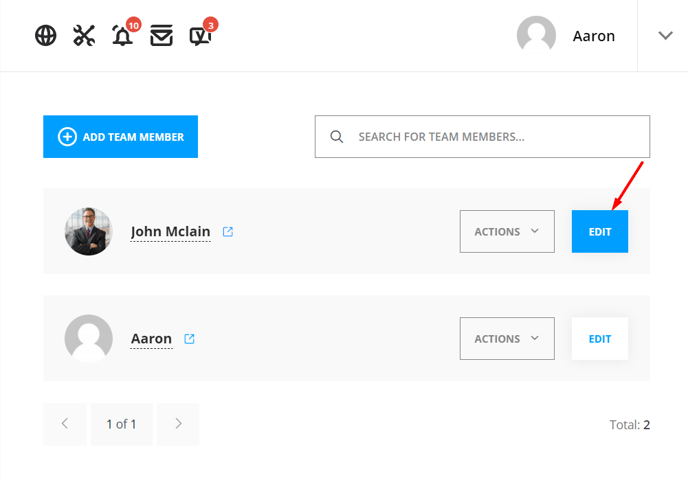
Click on the Edit button.
With your Editor opened, note that there is a details tab, a design tab, and a call to action tab.
The Details Tab: This is where your primary contact information including social media destinations will be placed.
The Design Tab: This is where various required and optional components of your page layout, and content are stored. We will be reviewing each subcategory separately with highlights of each feature.
The Call to Action Tab: This provides optional support for the Facebook Messenger product which can be used to offer instant chat capabilities to end users on the page.
Editing your Team Member Details:
Click to open the Main Details category.
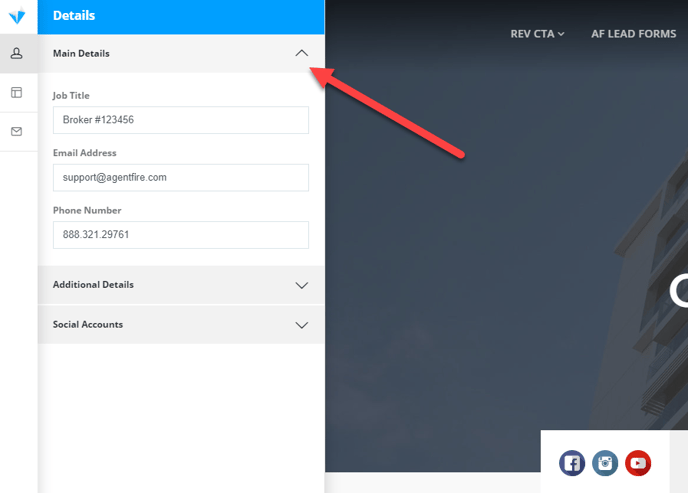
In this tab is your primary contact information as well as your job title.
Add your email address, phone number, and job title.
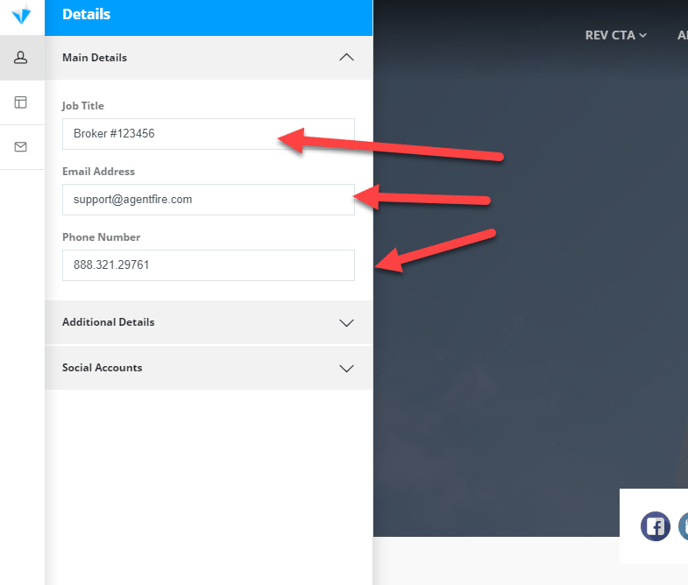
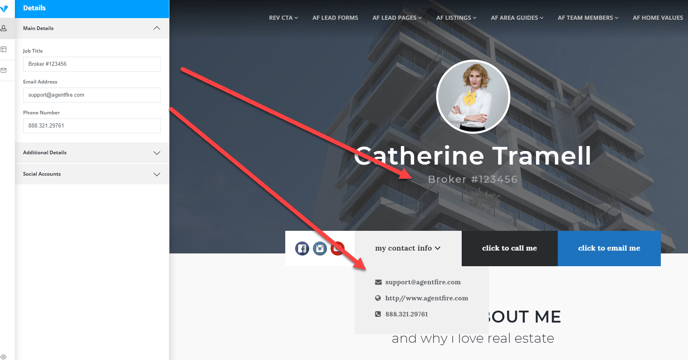
With these items entered, you'll see your job title display below your name in the hero image of the page, and your email address and phone number will be added to your contact information.
You may have additional contact options you want to provide, and these can be entered into the Additional Details category.
Open the optional additional details category:

Here you may place a Fax Number, Office number and website URL as needed.
These items will also display in your contact information area of the page.

Open the Social Accounts category.
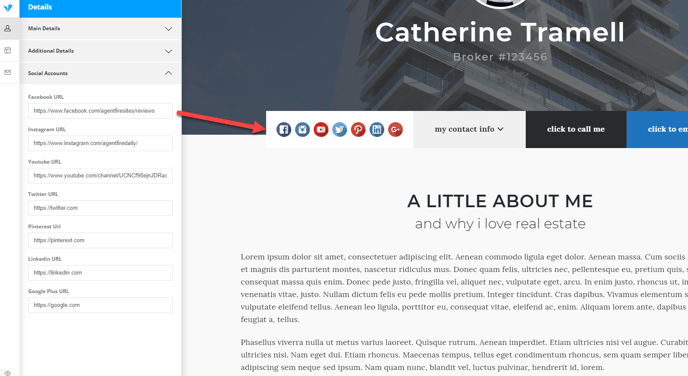
Here's where you may add links to your social media destinations. These will automatically display with appropriate social icons in your team member page and in the team member index.
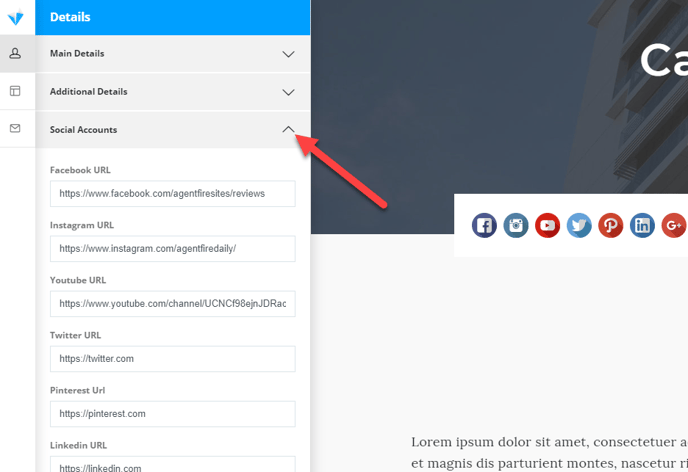
Add URL's to your social media pages.
Icons will only display for URL's you have placed valid links to.
That's it! Now it's time to control your content and page design. Lets head into the Design Tab to get started.
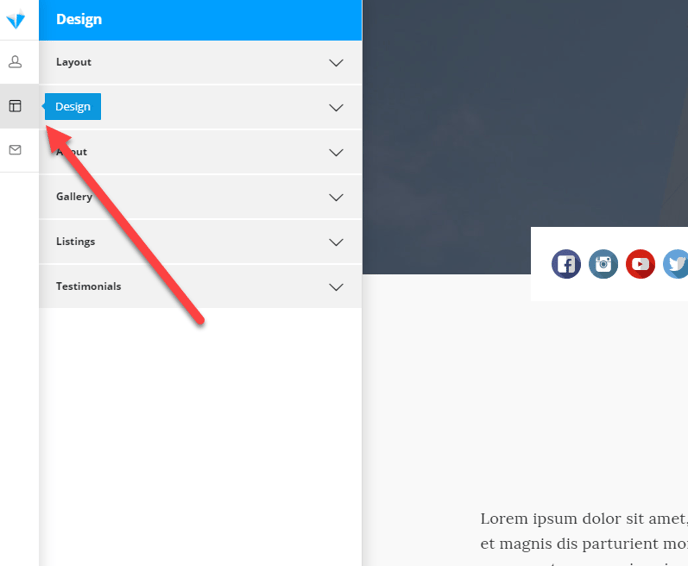
Editing the Team Member Design Tab Content:
The Design tab controls most of the visible content you see on the page. Here we will be deciding things like: whether to show the site header and footer, what to include in the about section of the page, what photos to include in a gallery, how your hero section will appear, and much more.
Click to view the Design tab categories.
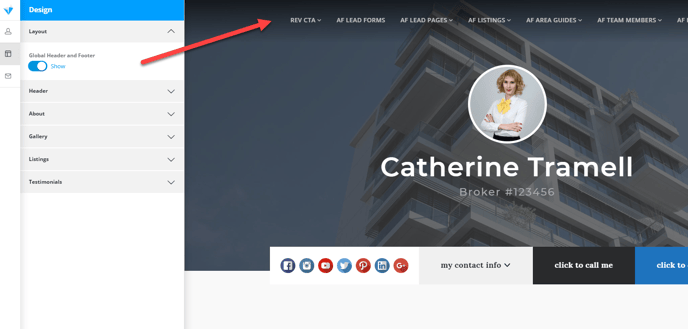
Click to open the Layout tab.
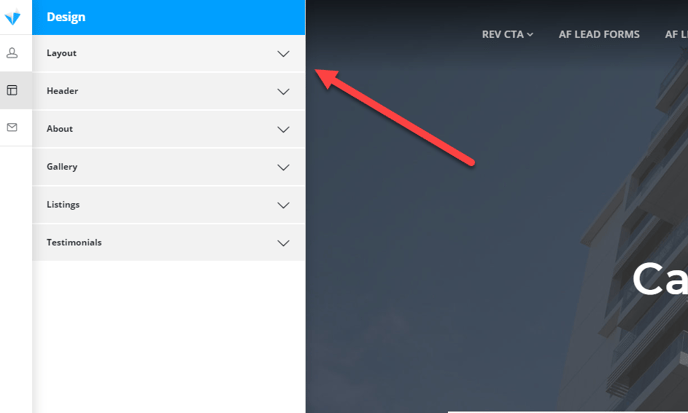
With the layout tab opened, you may elect to display the site header and footer, or you may optionally hide both.
Choosing Show: Use this option (recommended in general) for Team Member entries that you want to make available on your site as part of your overall site content. Your brokerage navigation, and any associated footer contents will be displayed before and after the page body content of your team member profile.
Choosing Hide: You may elect to make your Team member profile appear more like a splash page for advertising purposes. Choosing hide will disable the header and footer output, making your body content the only output on the page. This can be used along with our SEO masking capabilities to generate the appearance of a standalone website domain for your Team Member entry! Select your preferred layout option. (Show recommended)
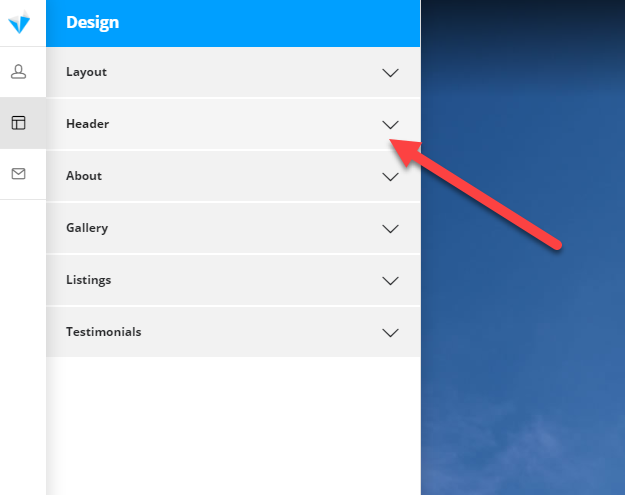
With your layout confirmed, it's time to configure your header area hero background.
Open the Header tab.
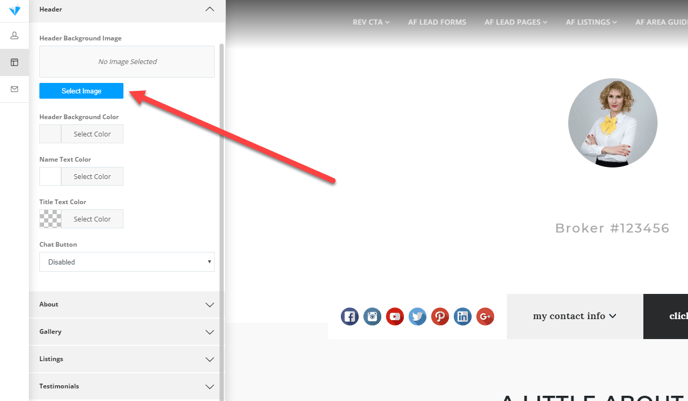
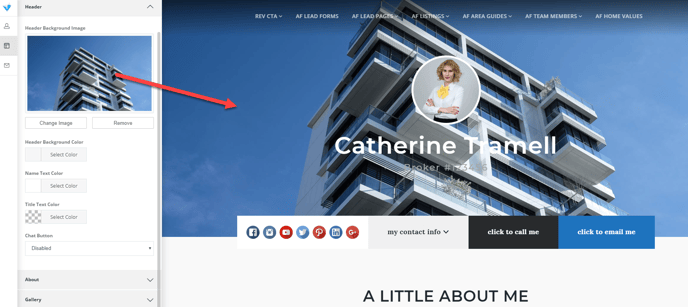
The header background image is a full width hero image to display behind your agent profile photo and title.
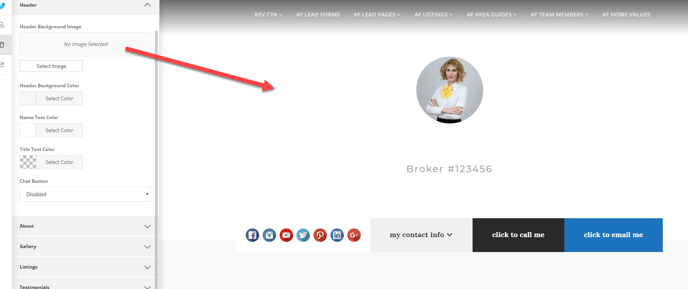
Select an image from your media library, or upload your own new image to use as a background.
Note: We recommend an image with a width of around 1800px wide. This ensures that the picture will remain crystal clear on larger desktop devices. Be sure to optimize your image if needed. Tinypng.com is a great resource to make this easy for you.
The image you upload will be shown on the page when you select it for use. If you notice that the text is hard to read, you may want to use the Header Background Color to create an overlay.
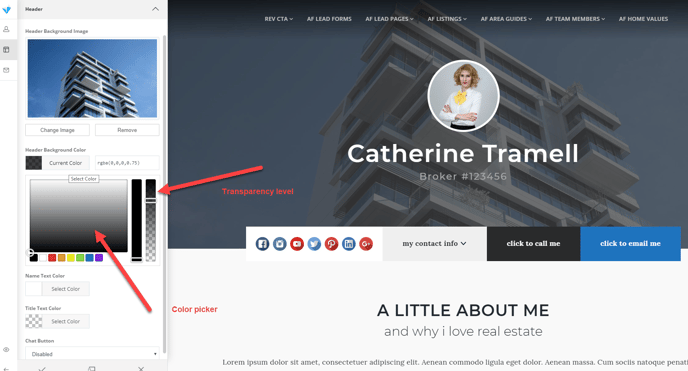
Adjust your header image color overlay as needed.
The image you use may benefit from a color overlay to ensure that the contents shown above it are clear and easy to read. There is a color picker as well as a transparency level to control the output.
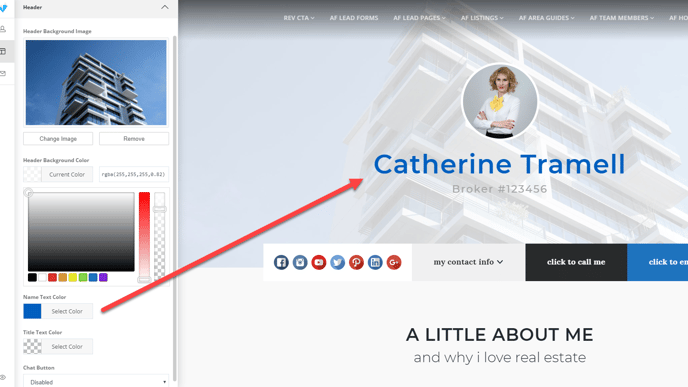
You may also want to adjust the name text color to account for your background image choice.
Change the text color of your Agent Name Text as needed.
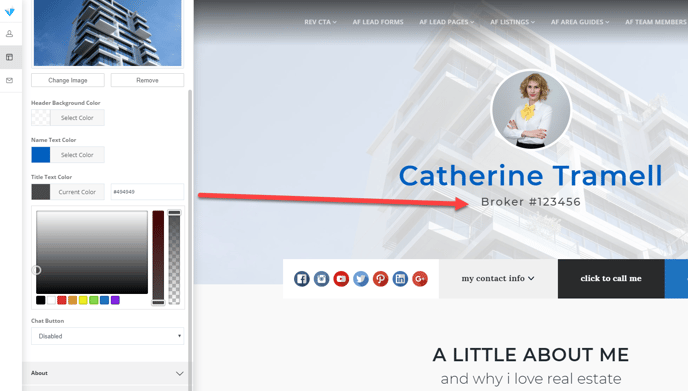
You may also control the title text color if you like.
Change the text color of your title text as needed.
Other important Header Area Features:
The header area also supports some handy contact options you may want to make available to your end users. Learn more about how to connect Facebook chat to your page as well as Calendly in these additional resource articles:
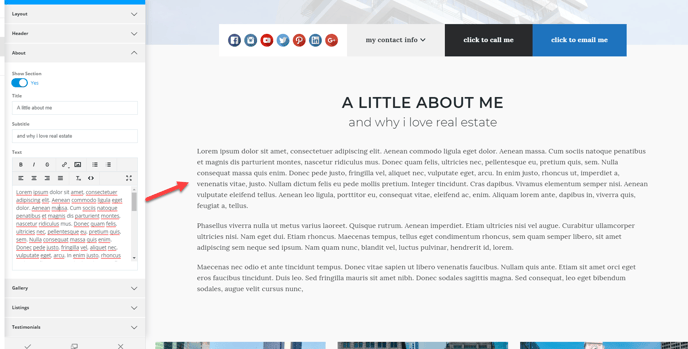
Click to open your about category.
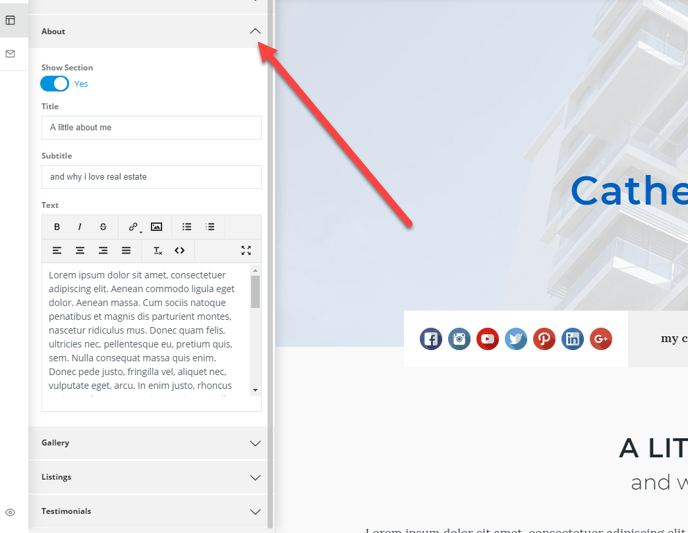
In this area you'll have the ability to place and display your bio, along with a title and subtitle.
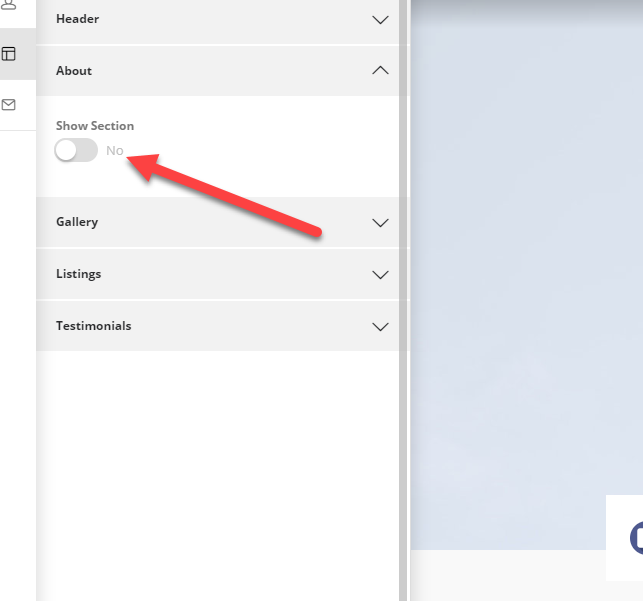
Start by selecting Show section.
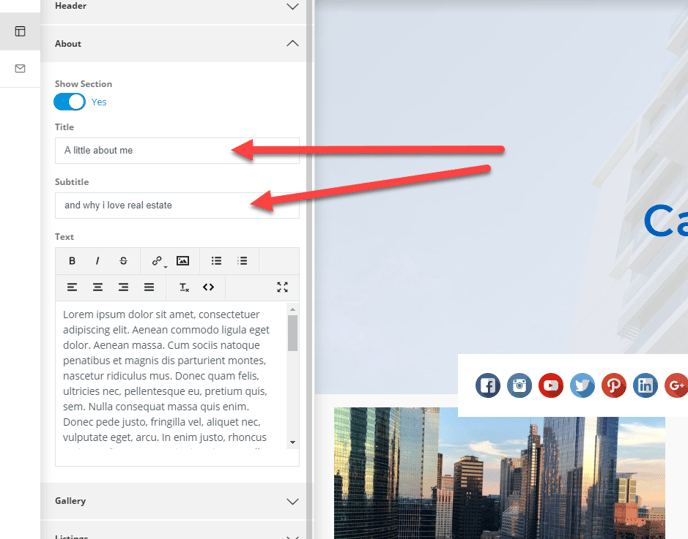
With your about area enabled, place a title and subtitle for use on the page.
Add a title and subtitle.
Add your property description.
Note: You may use the <> symbol to add html directly to the page.
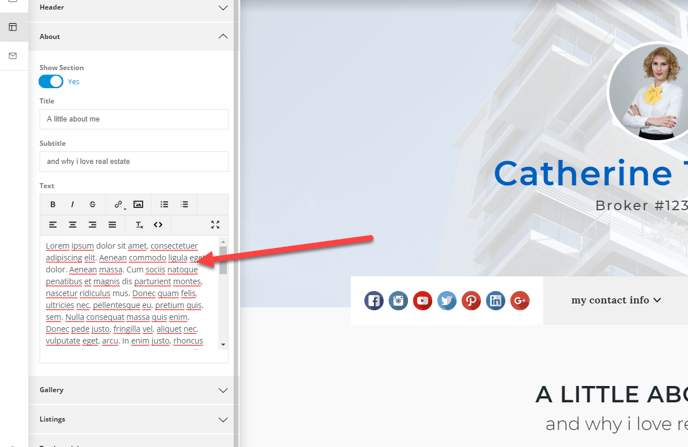
Your bio and title will be shown on the page directly below the hero background image.
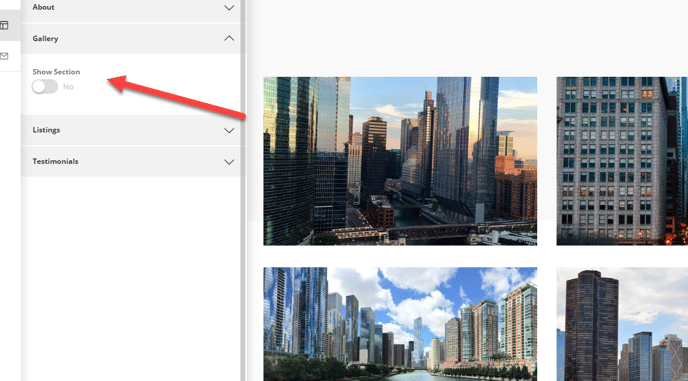
Next we'll look at building an image gallery to include with your team member content.
Click to open the Gallery tab and enable the section.
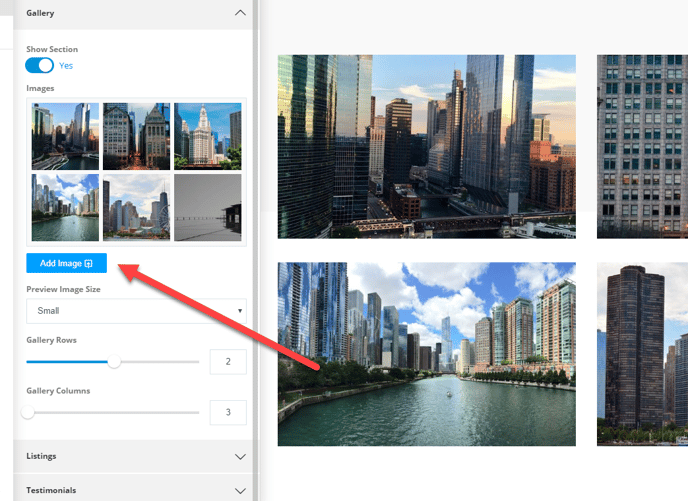
Add new images to your gallery on the page by selecting the Add Image button.
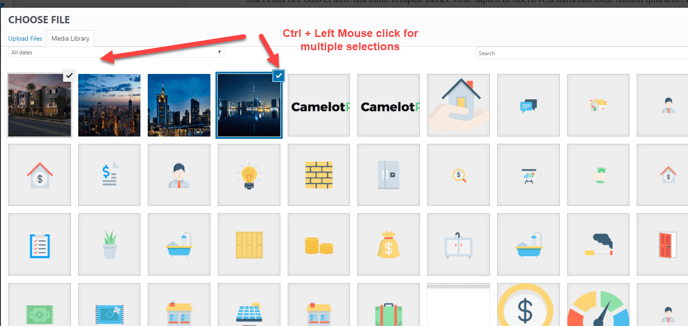
This will open your media gallery. You may upload new images or use images that are already in your media library.
For adding multiple images at once, use Ctrl+Left Click to select more than one image from your media library.
Ctrl+Left click any/all images you want to use in this gallery.
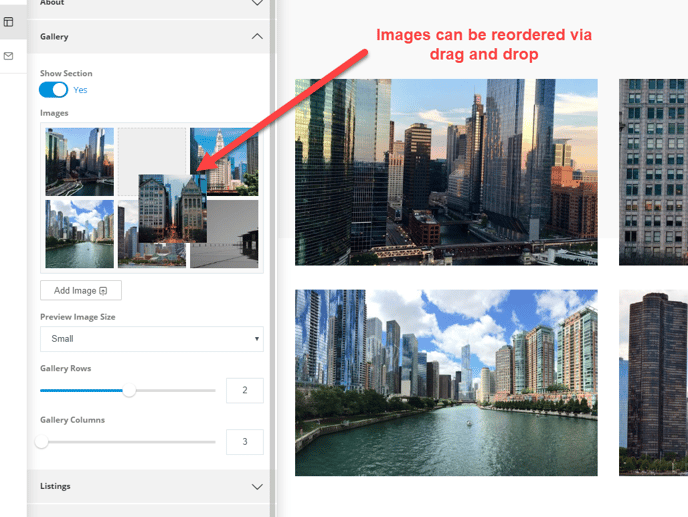
You may also want to re-order the images on the page once you have uploaded them to the gallery. All images are drag and drop, and can be re-ordered on the page by clicking and dragging the image into the desired position.
Re-order images in the gallery as needed.
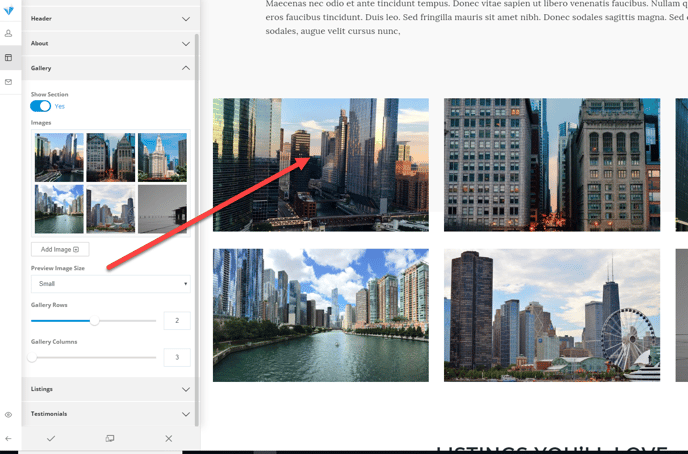
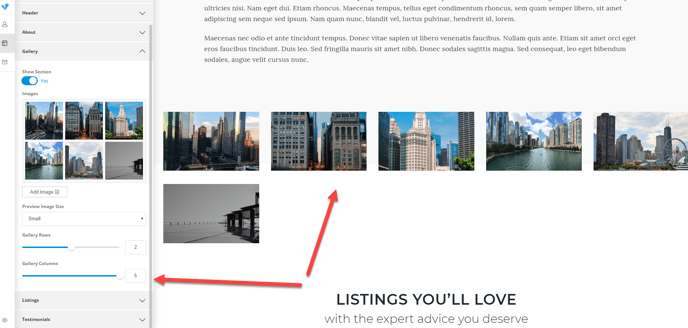
Your image gallery has some easy ways to control the output on the page. By default the preview image gallery shown on the page will automatically crop and display small images in a grid format.
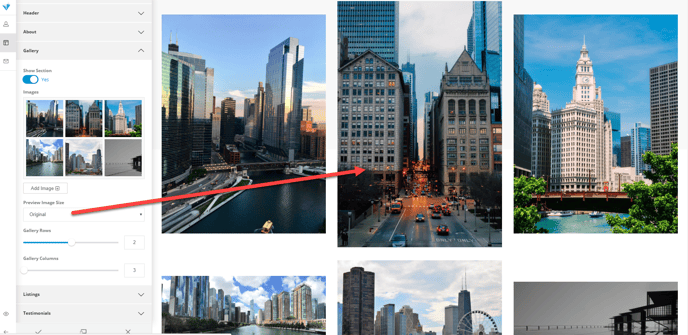
You may optionally elect to use the "original" image dimensions on the page if you prefer to control the aspect ratios and appearance of each image.
Warning: Failing to properly optimize your images prior to upload can result in large page sizes and slow page loading speeds. Be sure to web optimize all images prior to upload to your gallery.
Select Original size only if you are familiar with how to optimize images:
You also have control over the rows, and columns of your media gallery. To create an image slider, simply limit the rows to 1.
This will automatically convert your grid layout to a slider with arrows (when additional images are uploaded that are not shown in the columns of your gallery).
Optionally limit the rows to 1 to create a slider.
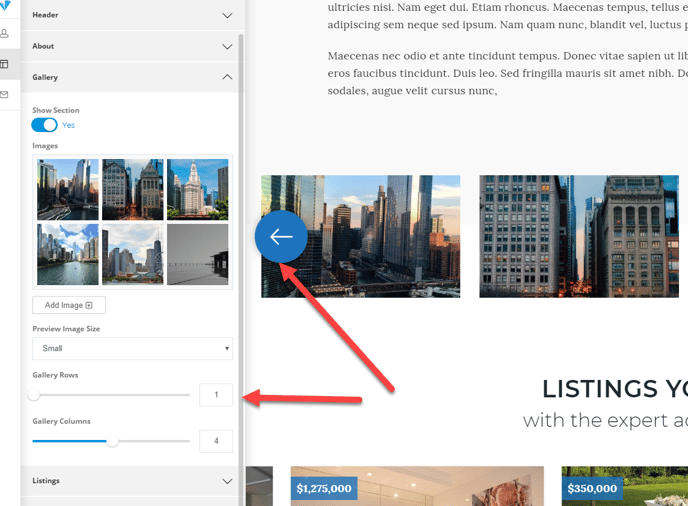
Your gallery can display images in 3, 4, and 5 column layouts. Choose the appearance that best suites your ideal layout.
Optionally adjust the columns in your gallery.
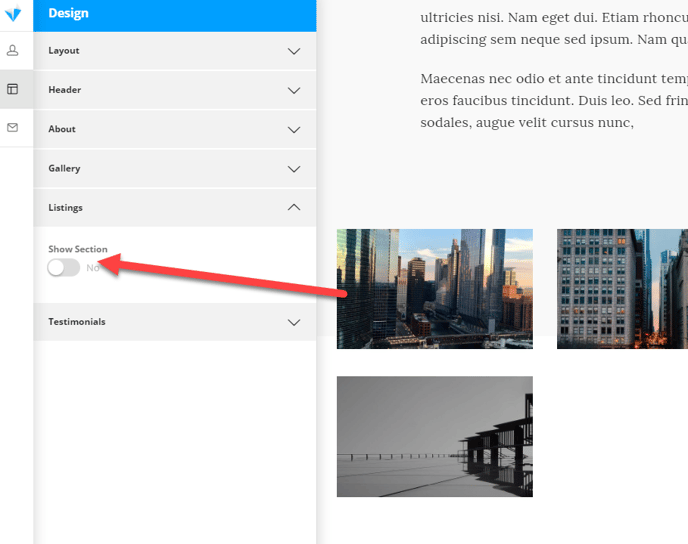
Displaying Listings on your profile:
The Team member plugin can also display your agent listings, if you are using ShowcaseIDX, Diverse Solutions or either AF Listings V2 or V3.
Enable the listings module on the page.
With the listings module enabled, you'll want to create a title and subtitle for your listings area.
Edit the title and subtitle for your listing area as needed.
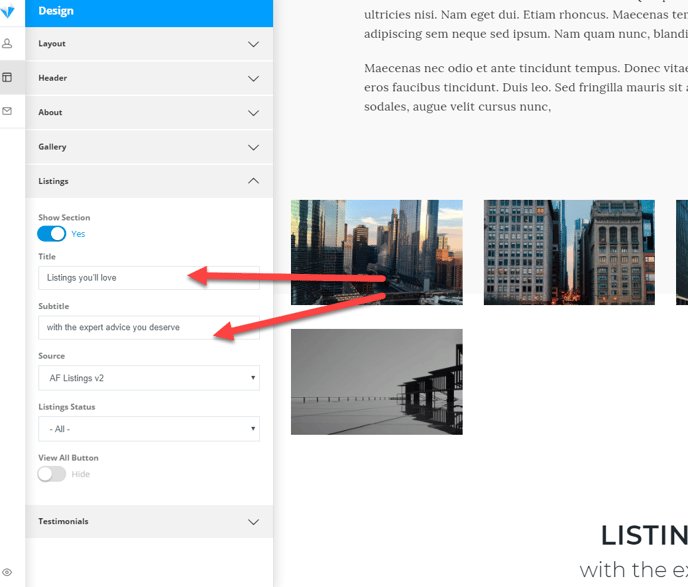
Choose the source for your listings to display.
The Team Members plugin currently supports ShowaseIDX, Diverse Solutions, and AF Listings V2 and V3. Learn more about how to create results for each type in the tutorials below.
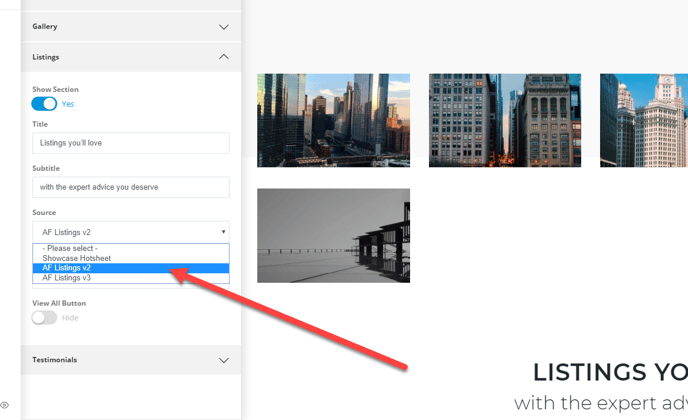
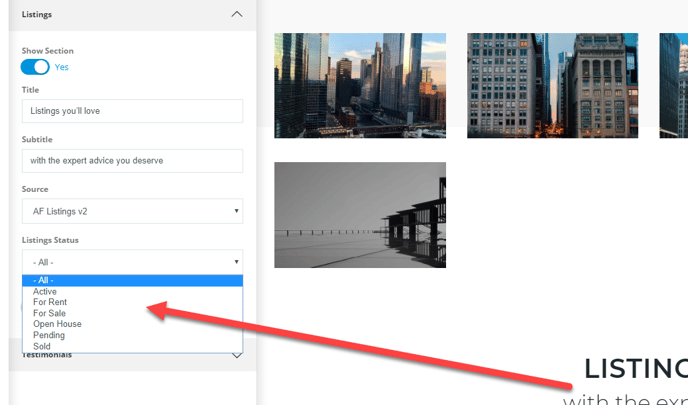
If you are using LIstings v2 or v3:
Select the source plugin your listings have been manually entered in, and then select from an available status to display that group on the page. You may want to refer to our Listings plugin tutorials for info on how to create new status's and control the output of listings via filters attached to your entries.
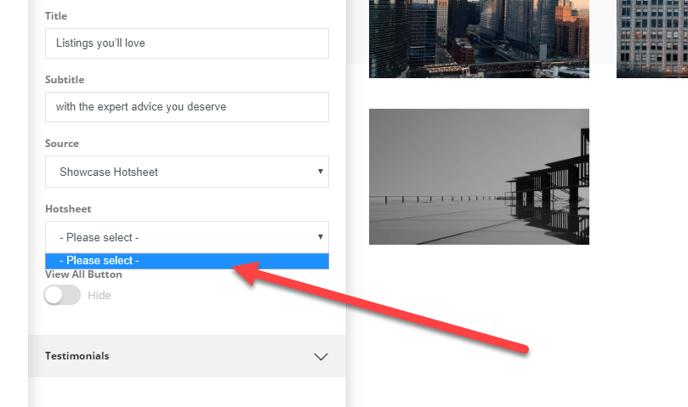
If you are using ShowcaseIDX:
Create and save a hotsheet in your ShowcaseIDX control panel. You may select it from the hotsheet dropdown in the listings category of your team member profile.
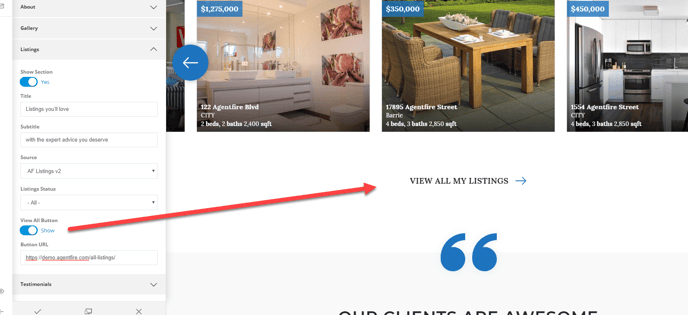
Optionally, add a View All listings link to your page so users can see more of your available inventory.
If you are using Listings V2/V3: Refer to How to Create a Listing Feed.
If you are using ShowcaseIDX: Refer to How to place a Showcase Hotsheet on a page.
Add an optional View All button if desired.
Displaying Testimonials on your team member entry:
You may optionally display available testimonials if you are making use of the AF Testimonials plugin.
Open the Testimonials Category.

Enable Testimonials on the page.
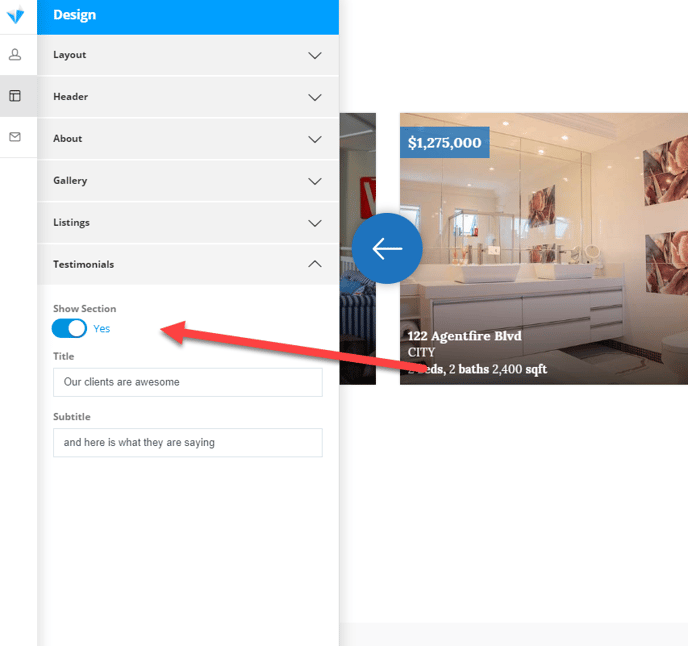
Edit the title and subtitle as desired.
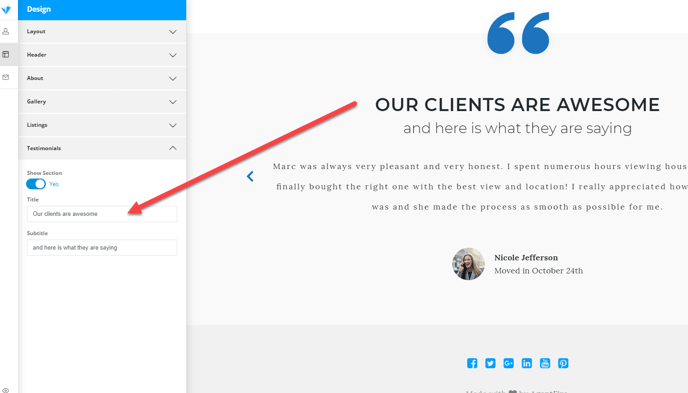
That's it! Testimonials that have been added and attached to your profile through the AF Testimonials plugin will be displayed here.