Your core site is built with a team member overview page, but you may need to create an overview page if one does not exist in your install.
The Team member overview page is where your end users can scan, filter and view all of your team members on staff.

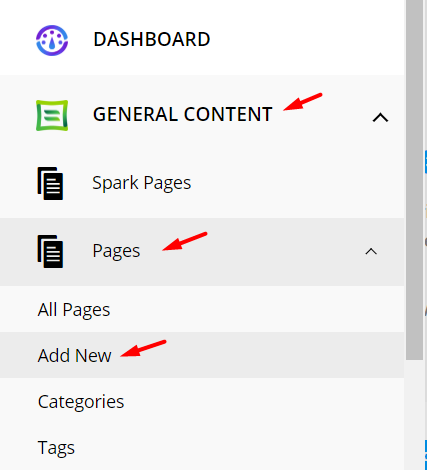
To Create an overview page, we'll first need to establish a new WordPress Page.
Navigate to General Content > Pages > Add New
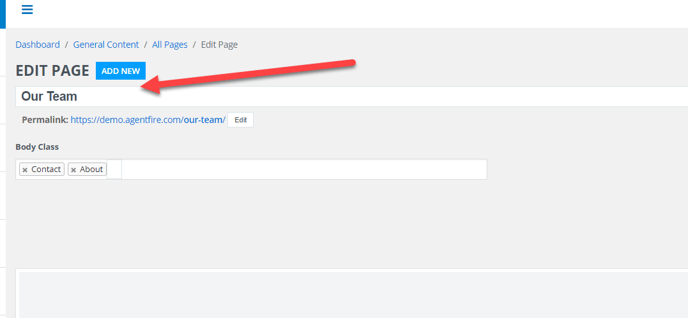
Give your page a title and permalink.
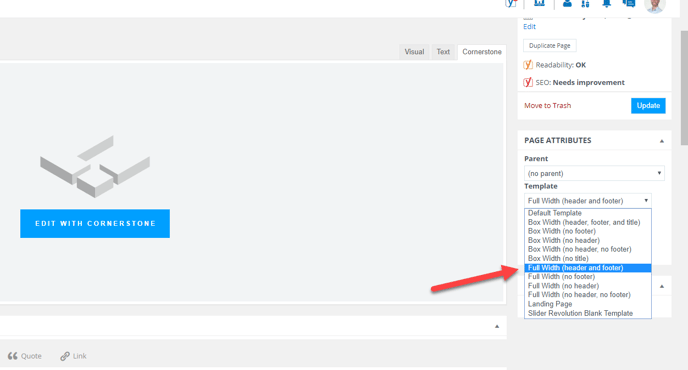
From your page attributes, select a full width layout template that includes your header and footer.
Select Full Width Layout.
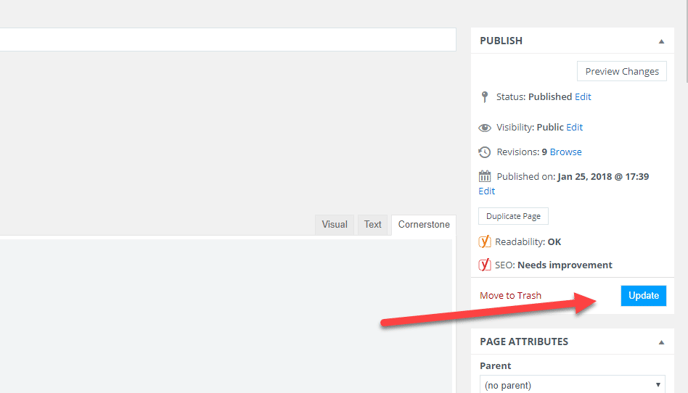
Press publish to save these template changes.
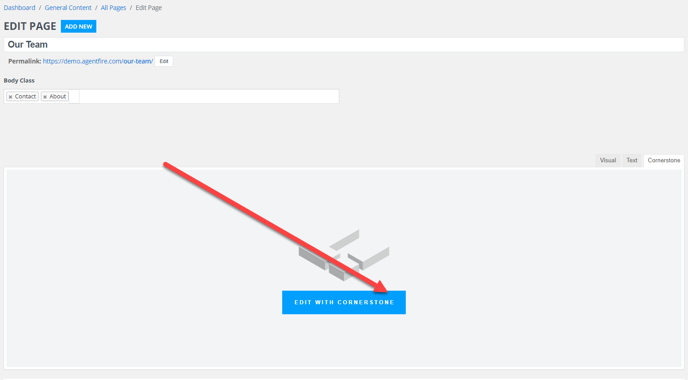
Tab your visual editor over to the Cornerstone Editor.
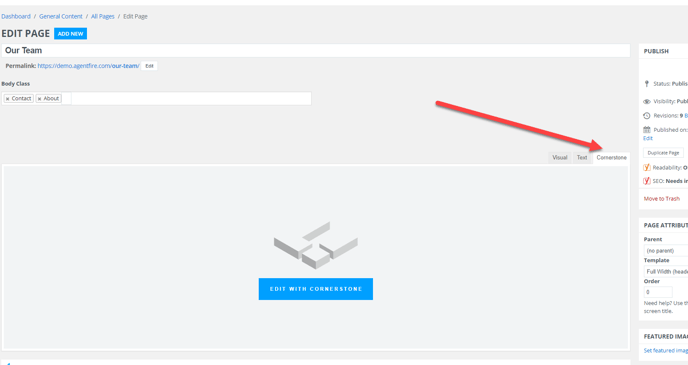
Open the page in Cornerstone.
From here, we'll be creating a page layout that includes a single section on the page, with a Team Members Grid Element in a single column layout. You may add additional images, titles, text or otherwise as desired.
Add A New Cornerstone Section to the page.
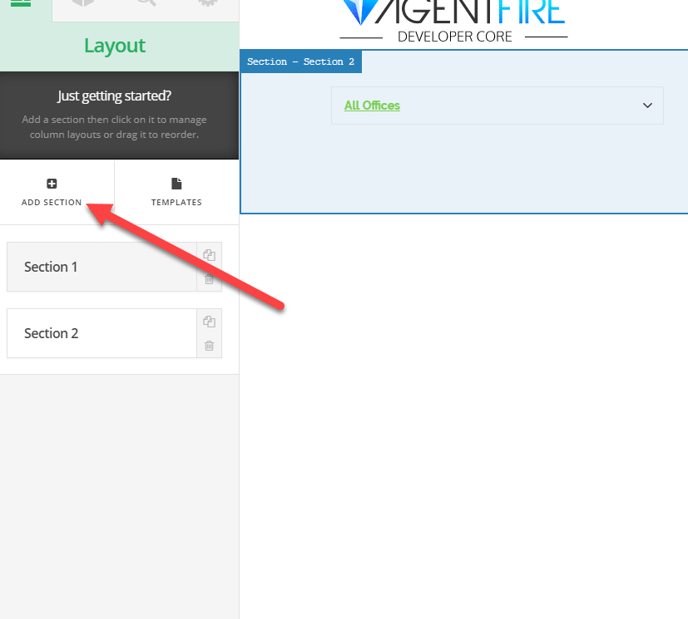
Once you've clicked Add Section, you'll see a new Section with accompanying row and single column appear on large right side panel.
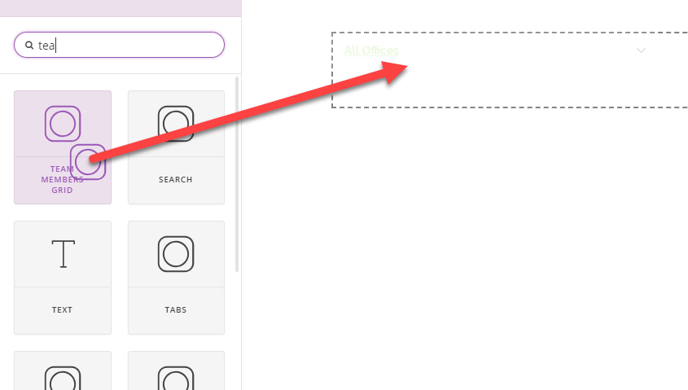
With our layout in place, it's time to add the Team Member Grid Element.
Tab to the Element symbol and search for the term: Team
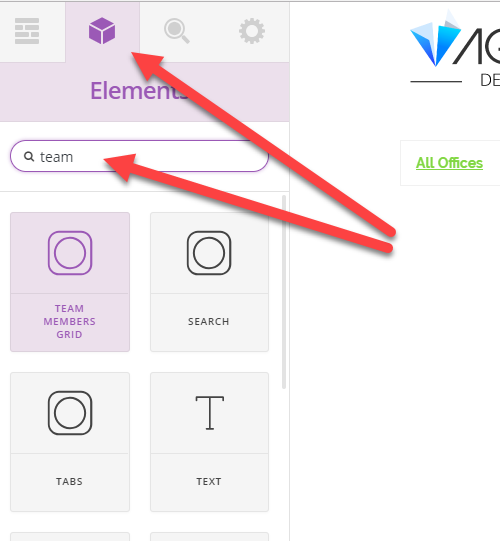
Drag and drop this element into the column on the right panel of the page.
The team member element can now be configured.
Click on the element on the page to reveal it's inspector panel.
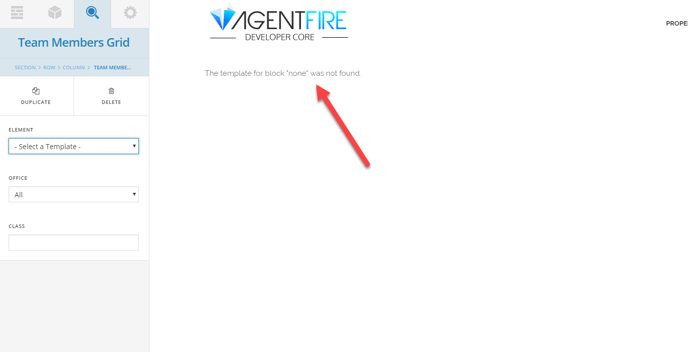
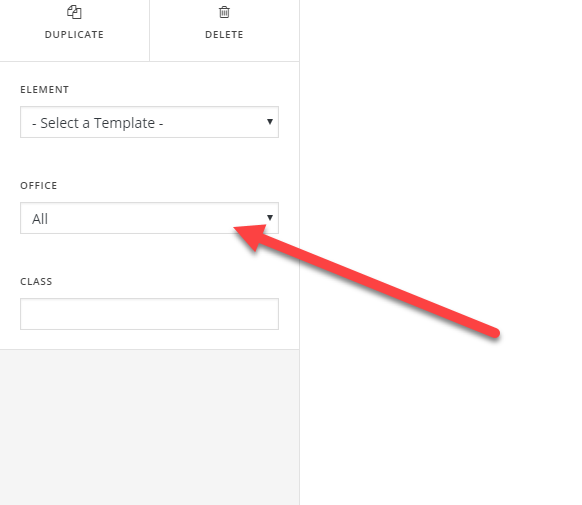
In the left hand side, you'll see options to select a layout template, as well as filter for a specific office if you have multiple offices to display and want to isolate for only one on the page.
Multiple Office Filtering
If you have multiple office locations, but want to isolating for a single office location on the page, select that office from the dropdown list to filter for.
There are a number of additional settings available within each template.
Default Layout Settings:
Select the default layout.
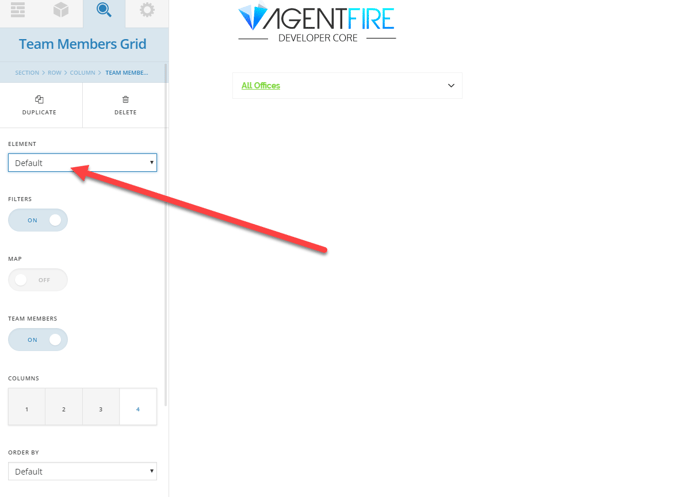
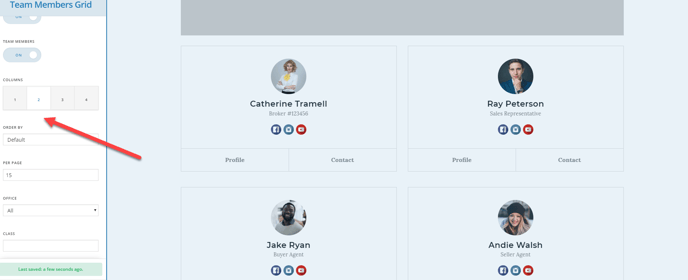
With the default layout selected, there are a number of ways to control the resulting team member roster appearance and functionality on the page.
Displaying filters for your end users:
The filters bar is useful for offices that have multiple agents and more than are appropriate to load on a single page. Additionally if these agents are split amongst multiple offices, you may want to allow users to isolate for agents in a specific location.
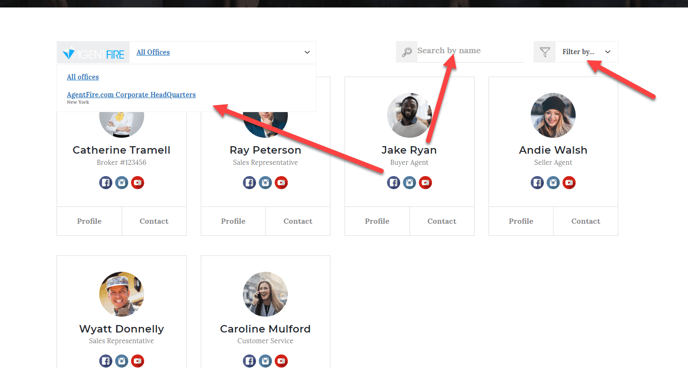
Click Enable Filters to turn this bar on.

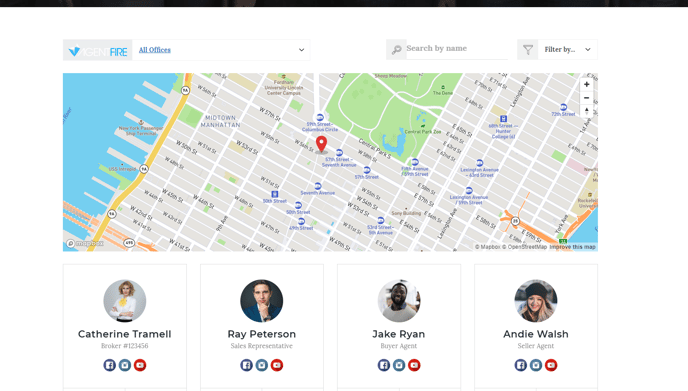
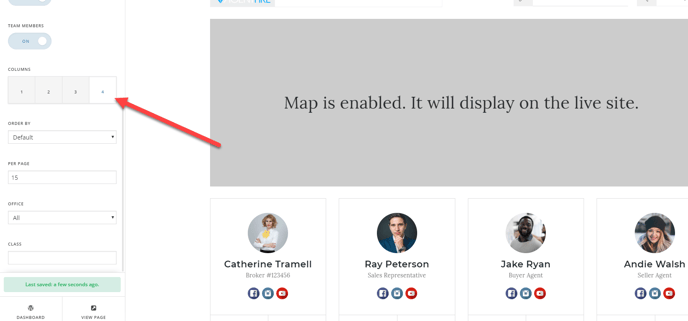
You may also want to show a map of your office locations. Enabling the map will display a mapbox view above your team member roster.
Optionally enable the office location map.
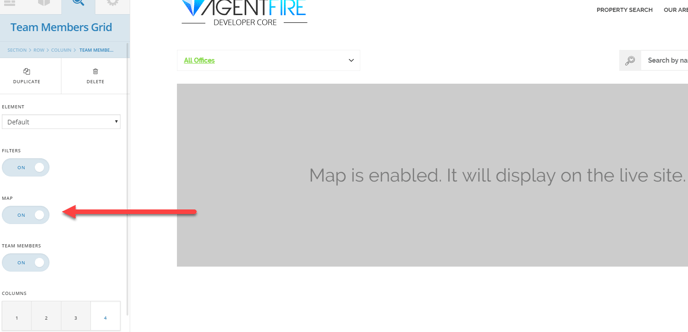
The map will not render within cornerstone, but it will display on the live site if you have it enabled in the editor.
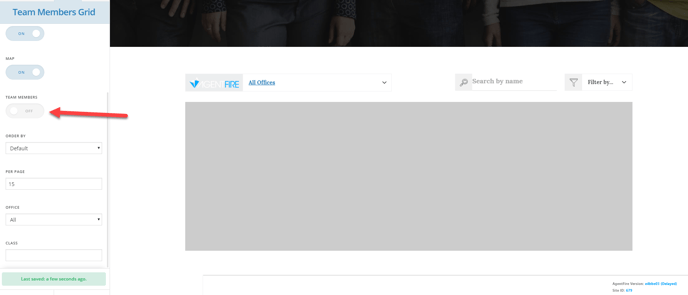
You may also optionally use this page primarily as a map of your office locations. Simply turn "Team Members" off and leave the map enabled. Your users will still be able to view any office locations you have available.
Optionally disable team members for an office location map only.
Controlling the layout and appearance ![]()
The team members shown on the page can be in various column layouts, as well as displayed with any pagination limit you prefer. We recommend loading no more than around 20 per page to keep load times snappy for your end users.
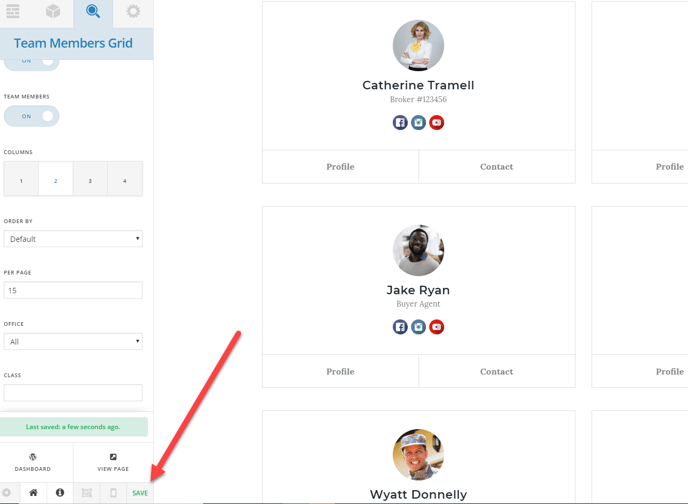
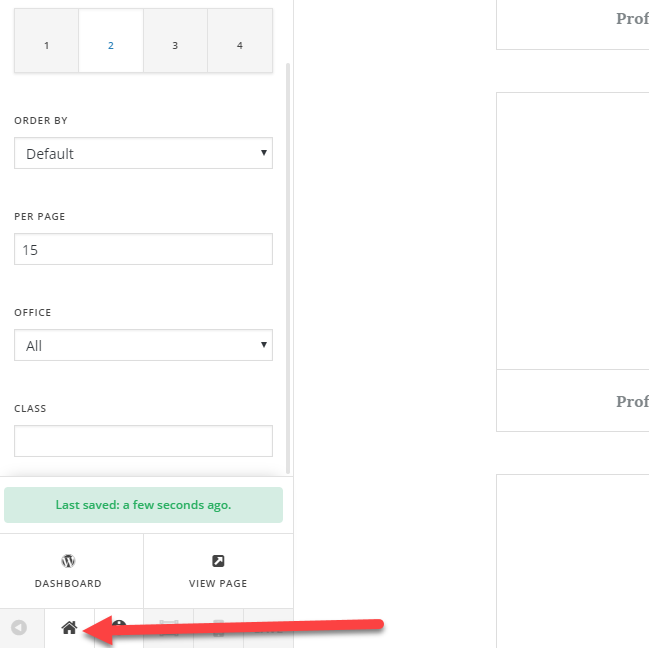
Select the column layout you prefer.
Columns 1 through 4 are fully desktop and mobile responsive.
Be sure to save your work! ![]()
Save your changes before exiting the page.
You may now return to the dashboard, or view this page on your site.
Further Education: